


Blender Pre-amp Installation., Lots of Pictures!!! |

|
|
|
|
Apr 23 2015, 08:12 PM

|
|
OK, so what do you get in this 'Blender' Pre-amp kit?
This:- 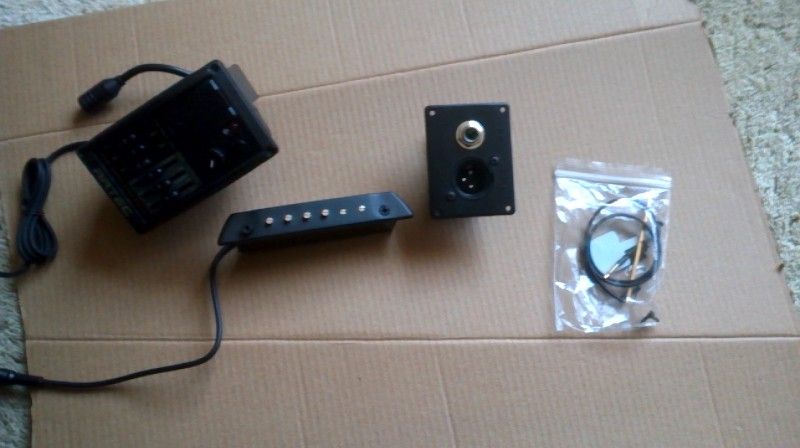 L to R:- The Pre-Amp with attached Microphone, Magnetic Pickup (same as in your electric guitar), Jack Plate with a Direct Level Out XLR and an Under Saddle Piezo Pickup. Here's a closer shot of the Pre-Amp:- 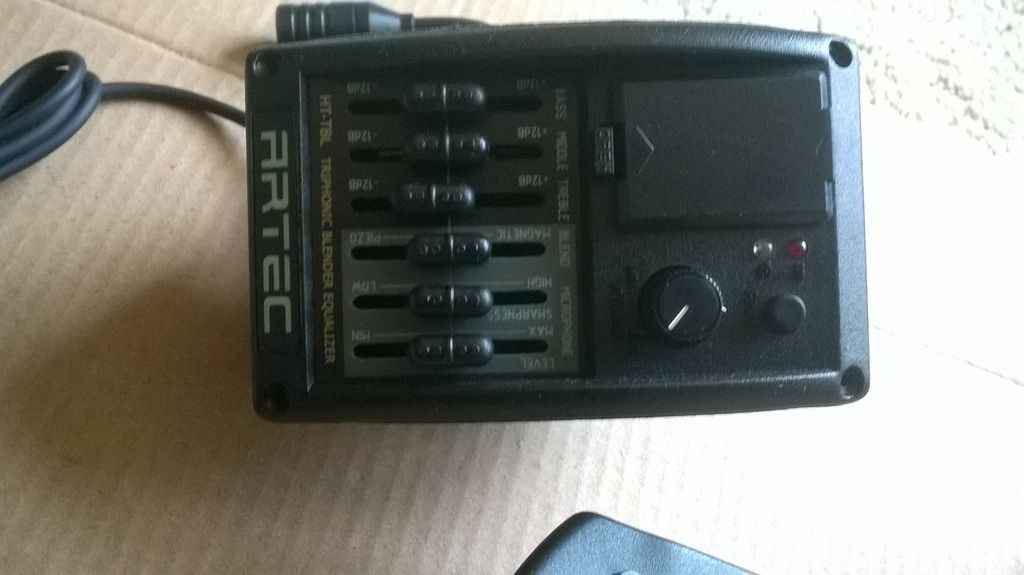 You can see what each of the sliders control. The main Rotary Pot to the right is a Master Volume and just above it is a Phase On/Off button. So what am I cutting holes in to fit it? This:- 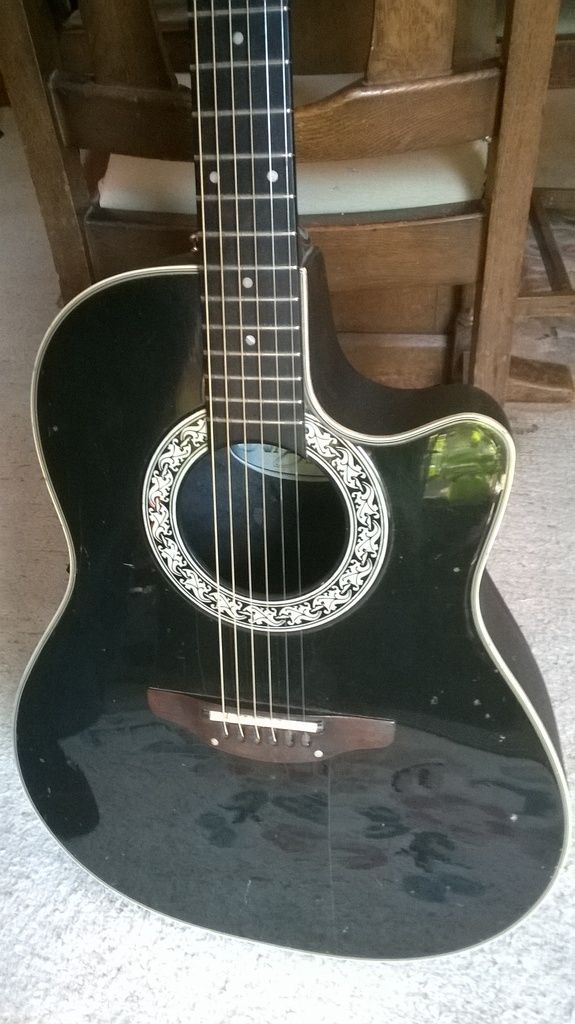 My late 80's USA Ovation. This guitar has had some serious abuse over the years and been around the World more than once. The first time it came across the Atlantic it had a chunk knocked off the Headstock!! 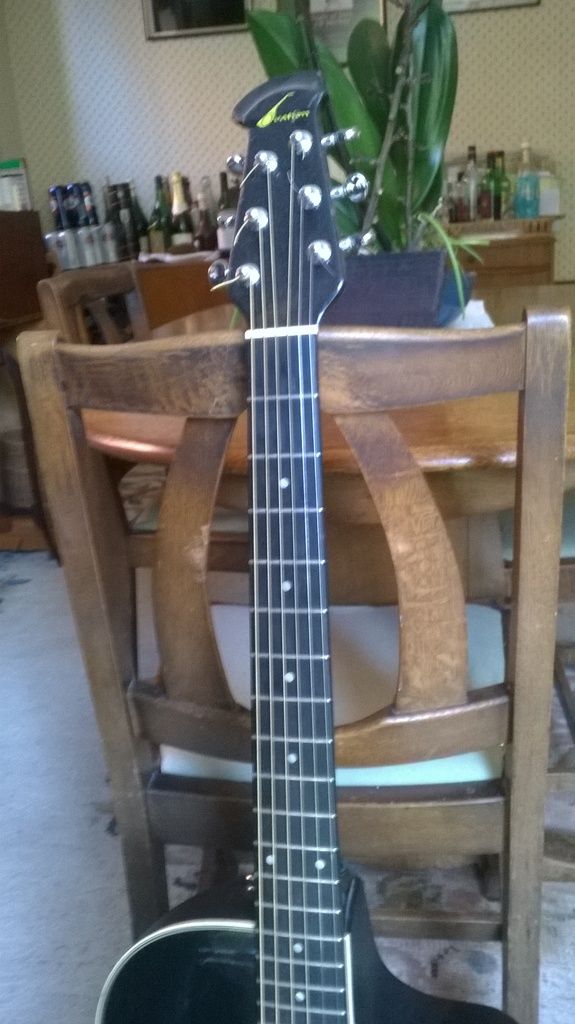 Just recently I swapped out the original tuners for those chrome Locking ones. OK, first job, remove the strings so that we can remove the old Pre-Amp unit. Once the strings are unattached we need to remove this Volume Knob:- 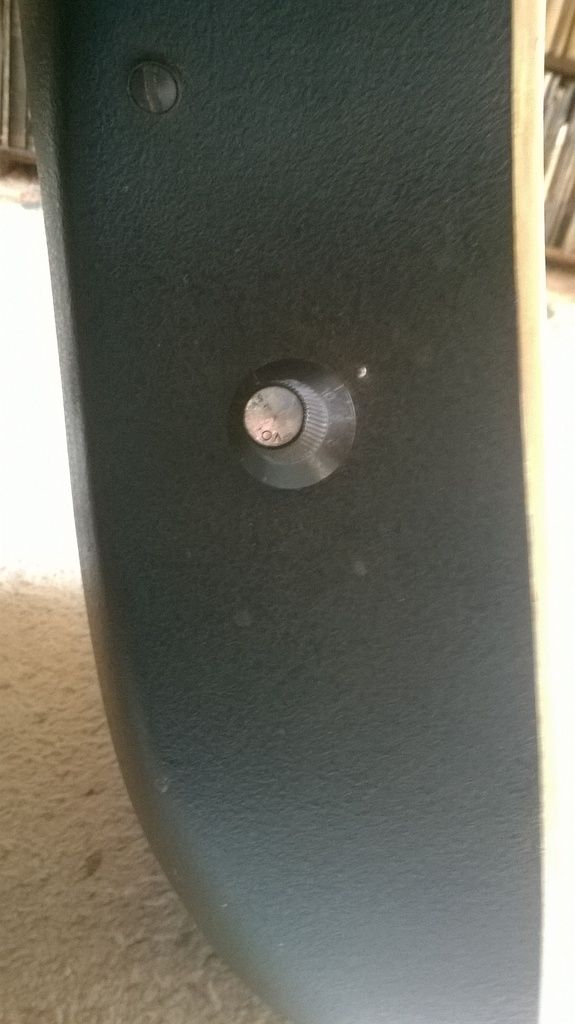 It's held in place by a small Allen Screw. Once the screw is slackened the Knob will just lift off:- 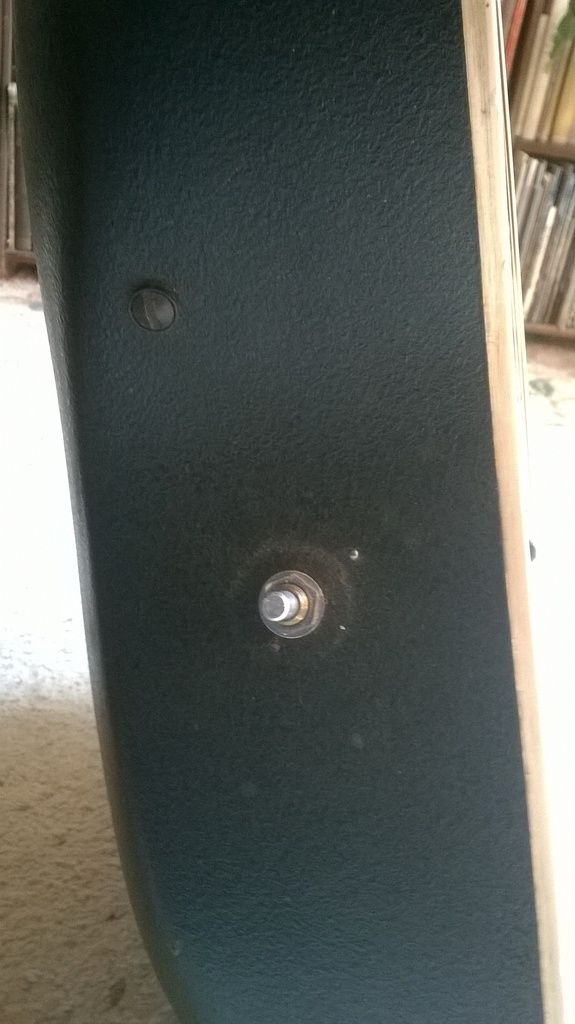 By undoing that Lock Nut on the spindle of the Volume Pot the whole unit will be released, undo the similar Lock Nut on the Output Jack and you can now remove everything through the Soundhole. (With these Ovatons there is also a separate Battery Carrier to remove.) 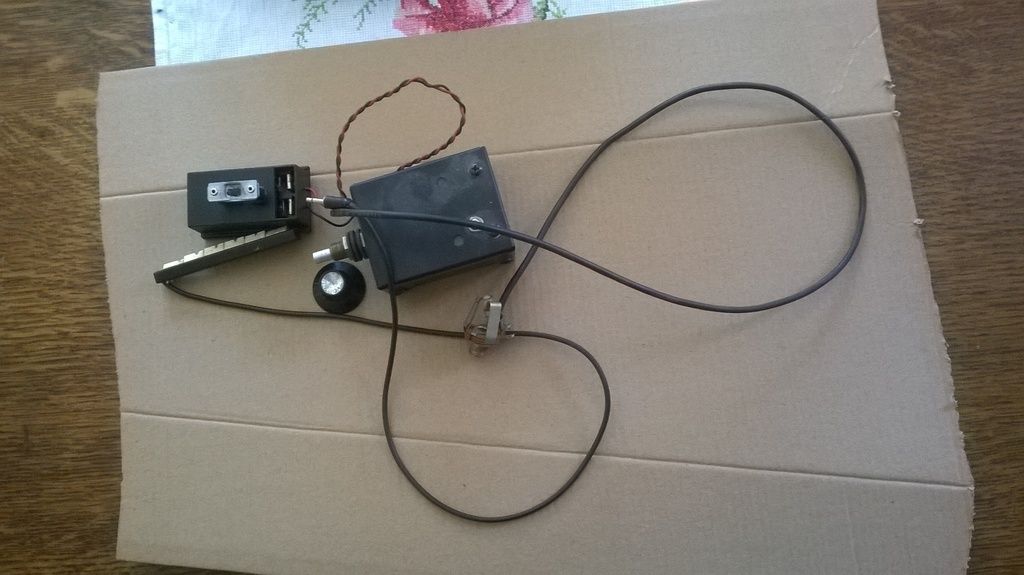 Now we start with the new installation!!! Firstly, get your new Pre-amp and hold against the front of your guitar body to find where it best suits the contours. This is the best I could get with this unit:- 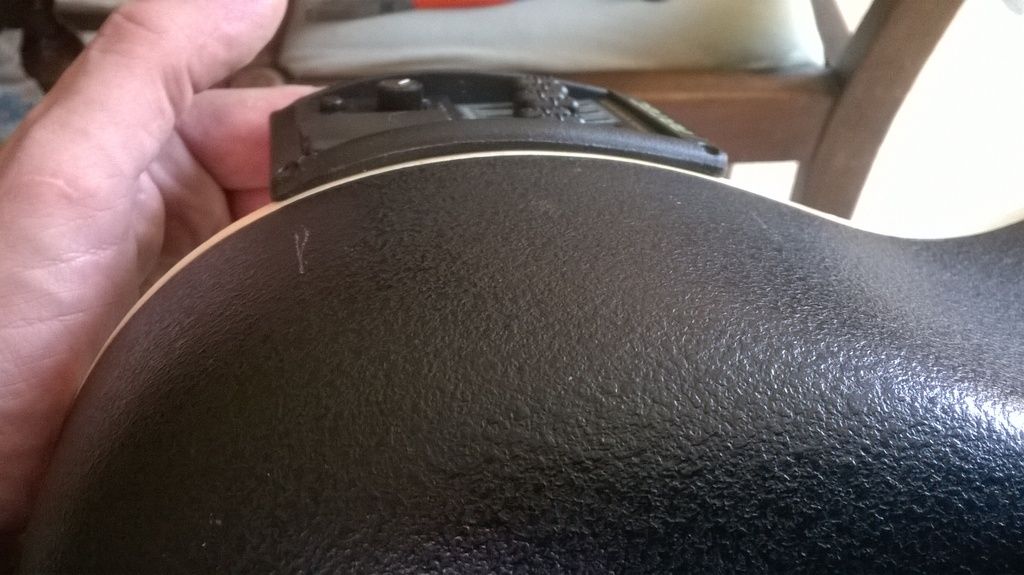 Unfortunately they don't manufacture these units for Bowl-back acoustics which have a very slightly different silhouette to most 'Concert' sized acoustics. Next we need to mark out where we are going to cut the hole for the new unit. We can do this by sticking some Masking Tape on the body, then realign where the Pre-amp is to fit the Body and mark the front and back across the Tape:- 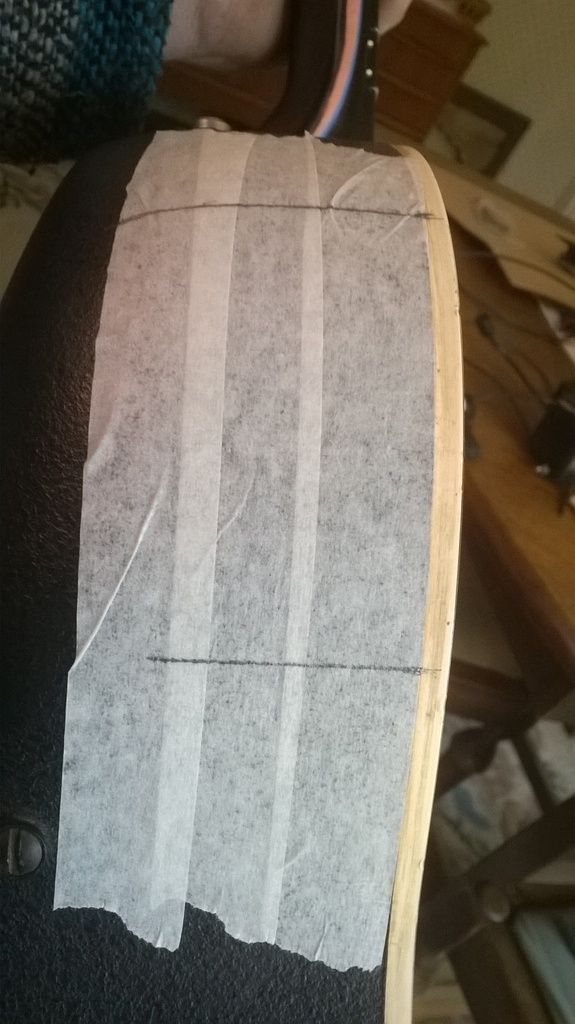 Remember that those lines are the external measurement of your Pre-amp!! Next, we measure the depth of the overhang on the Pre-amp and mark INSIDE our original lines, then mark out the two lines parallel to the front of the guitar:- 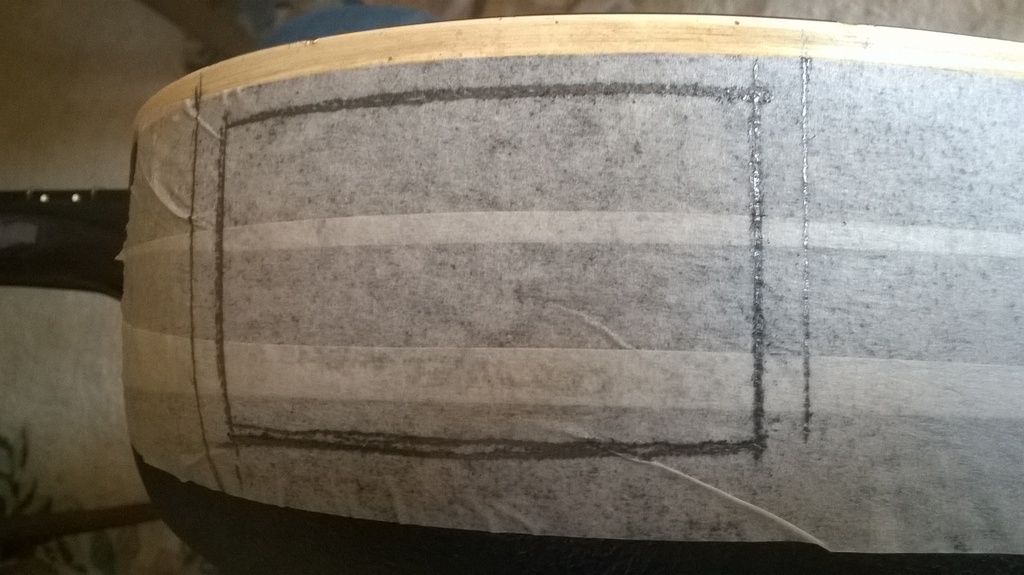 Now it's time to get cutting!!! Using a Rotary Multi-tool with an all purpose cutting disc, like this:- 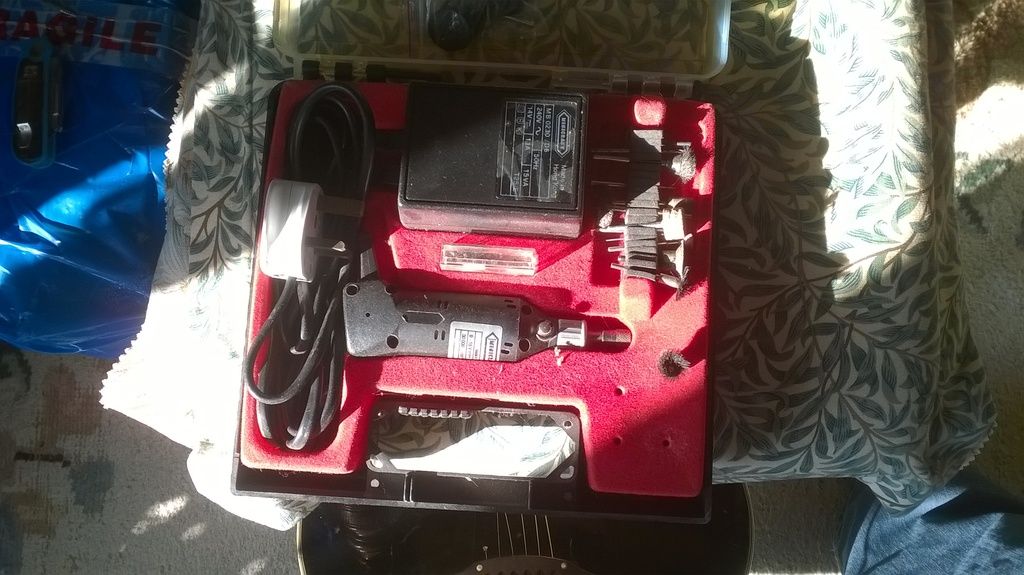 Carefully cut just inside your markings. We can always cut more out if necessary but you can't put it back!!! 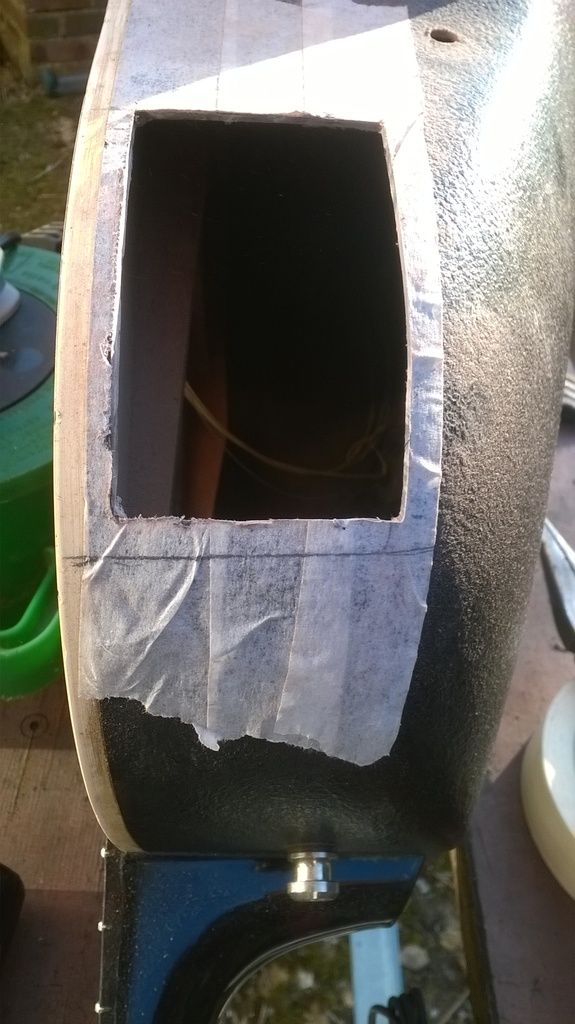 Try fitting the Pre-amp unit in the hole, If it fits first time WELL DONE!!! If it's tight, mark where it's rubbing on your tape with a pencil, remove the Pre-amp and trim to suit. Don't worry if this takes 3 or 4 attempts, we'd rather have it fitting snug than loose! 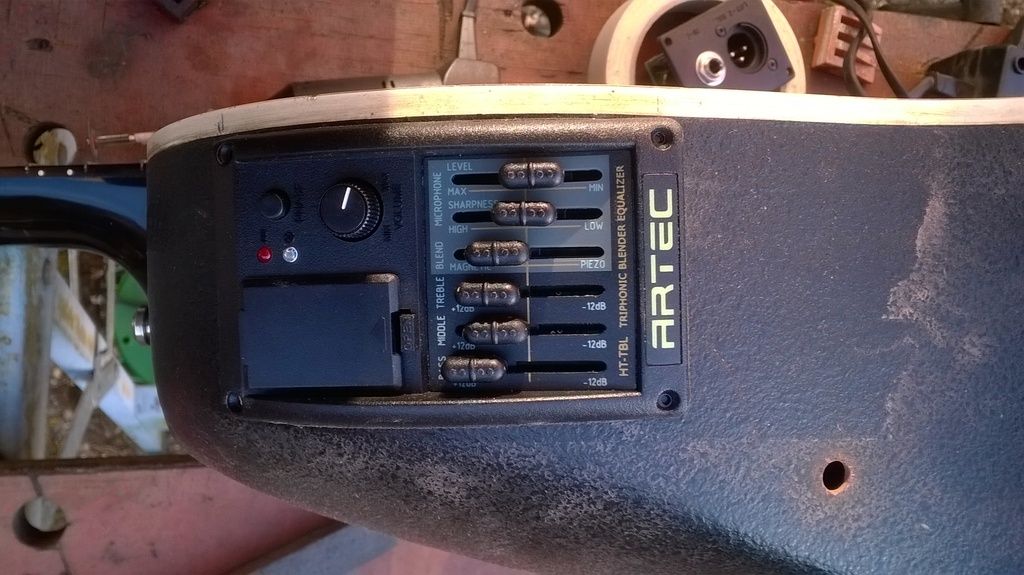 PART 2 CAN BE FOUND HERE!!! This post has been edited by Sensible Jones: Apr 23 2015, 08:54 PM -------------------- I'd rather have a full Bottle in front of me than a full Frontal Lobotomy!!
|
 |
 
|
|


|
1 User(s) are reading this topic (1 Guests and 0 Anonymous Users)
0 Members:


