


The (hopefully Not To Embarrassing) Refurbish Thread |


|
|
|
|
Apr 10 2014, 02:29 AM

|
|
I love watching these sort of topics
 and yeah it seems to be going pretty good and yeah it seems to be going pretty good 
|
 |
 
|
|

|
|
|
|
Apr 10 2014, 10:20 PM

|
|
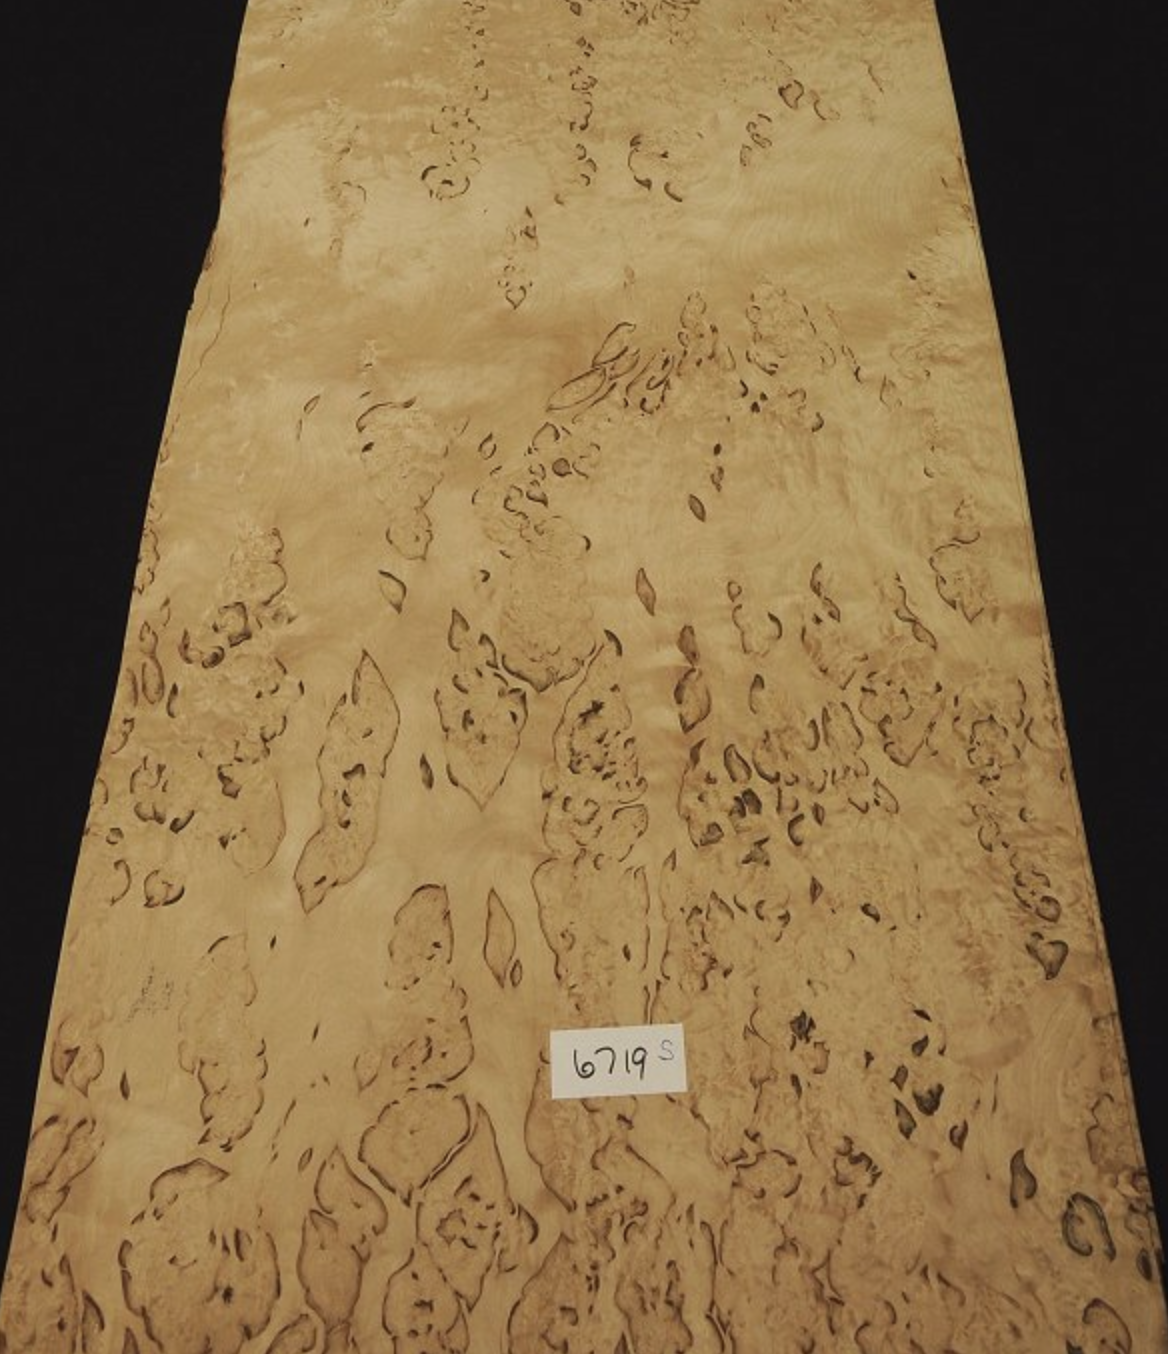
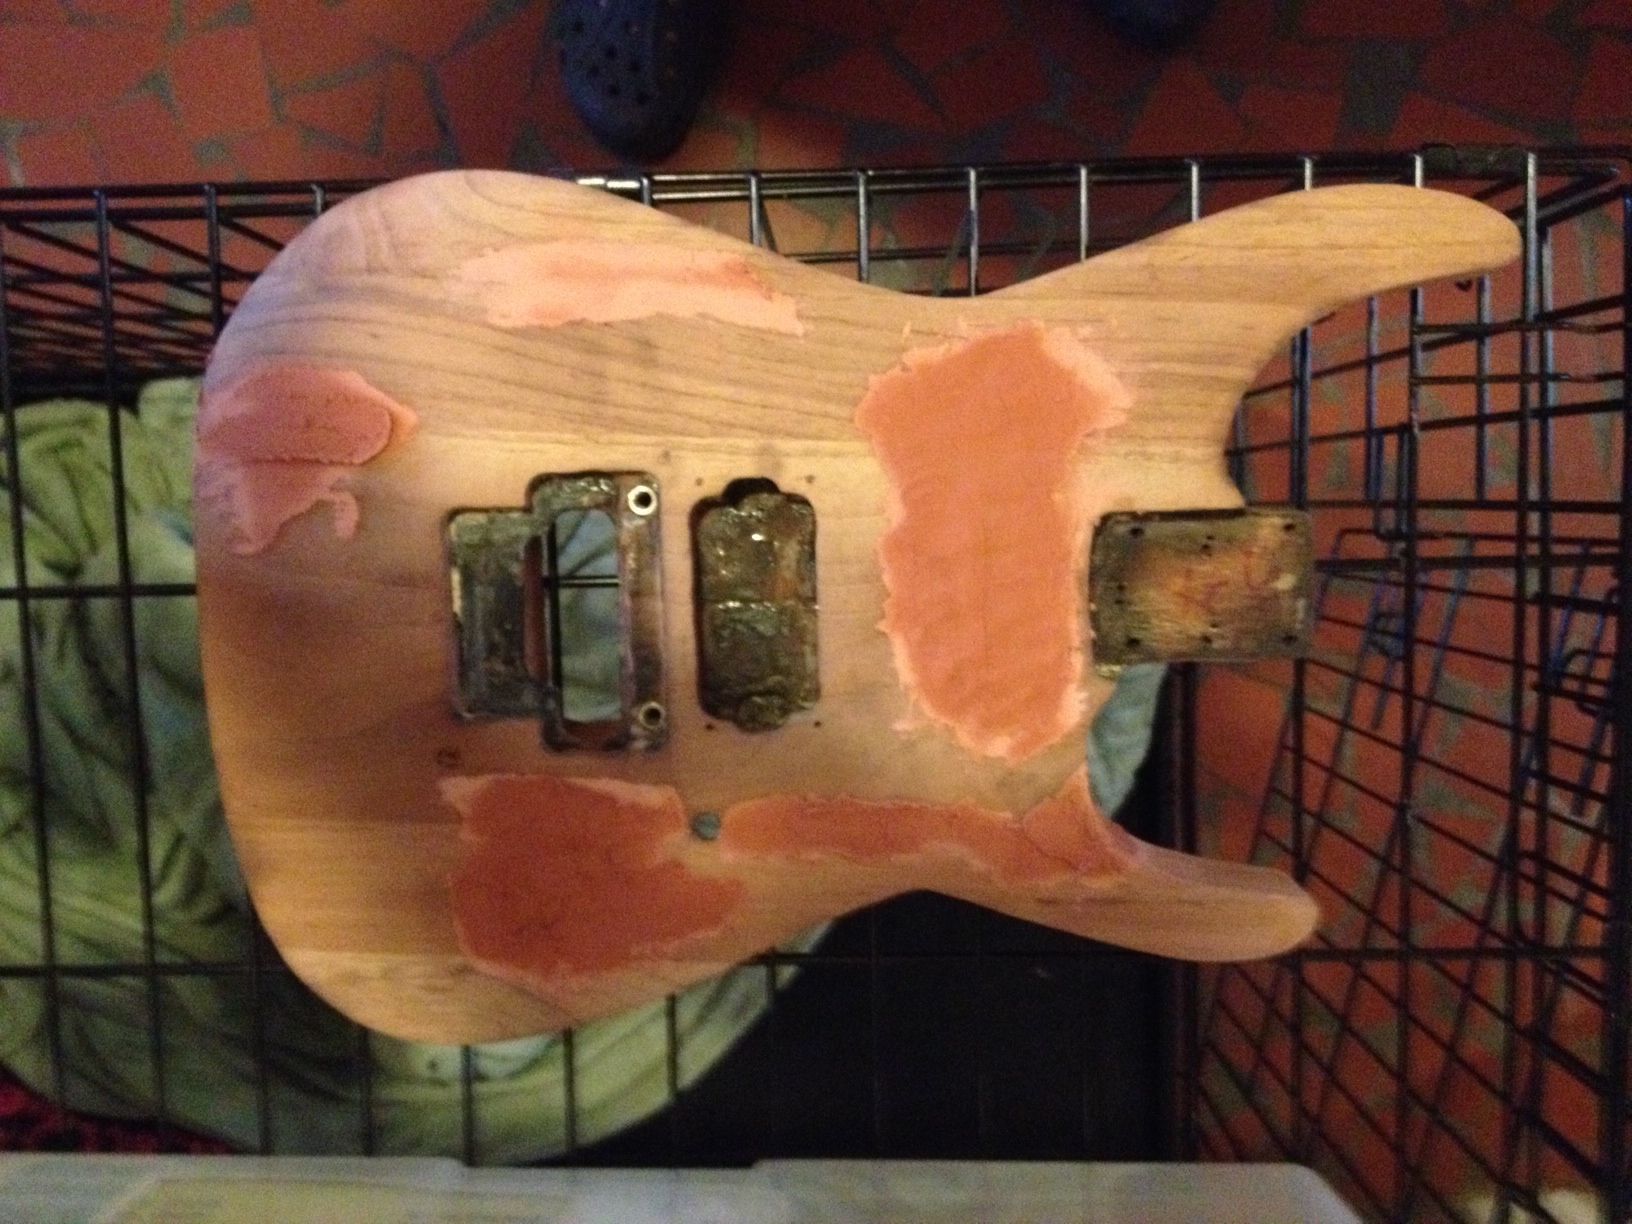
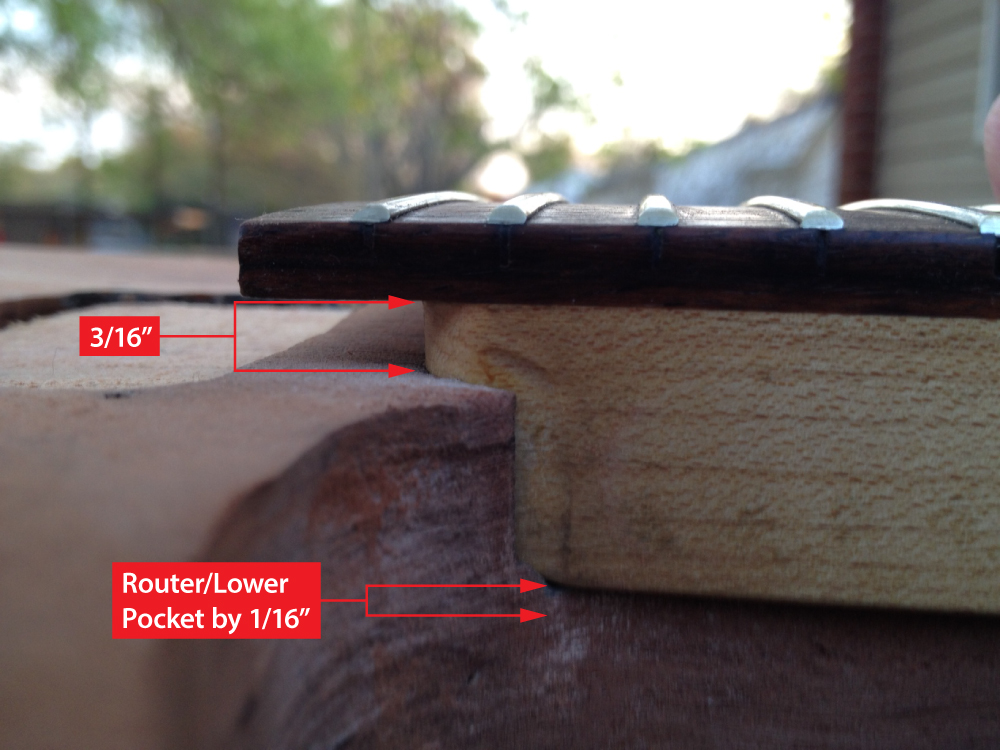
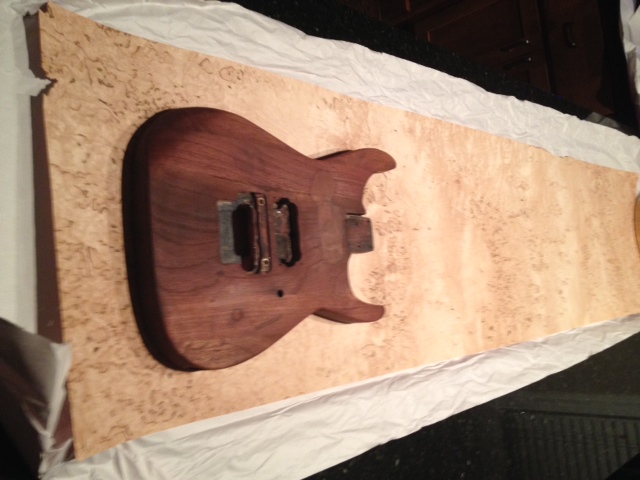
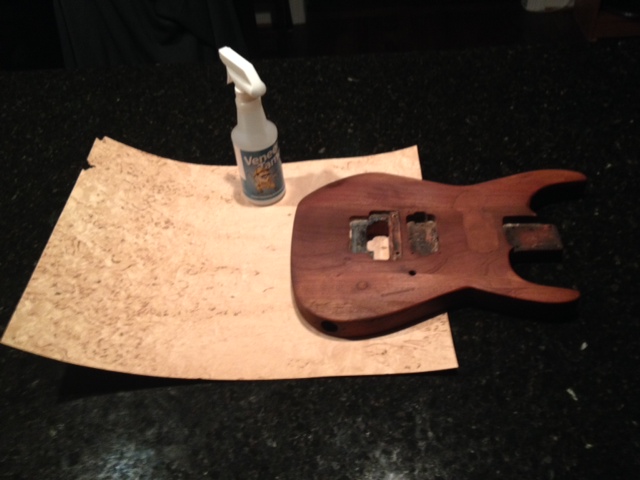
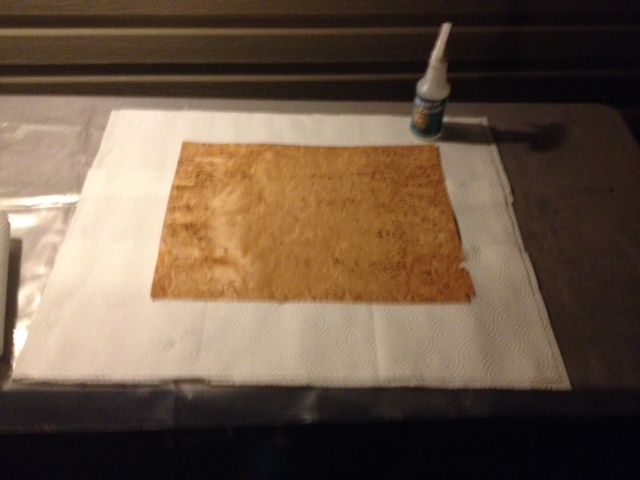
I've considered that and it's very possible. But I still have hope. I'll post another pic in the morning with some finer sanding completed - it is so close - plus I got my veneer in today.
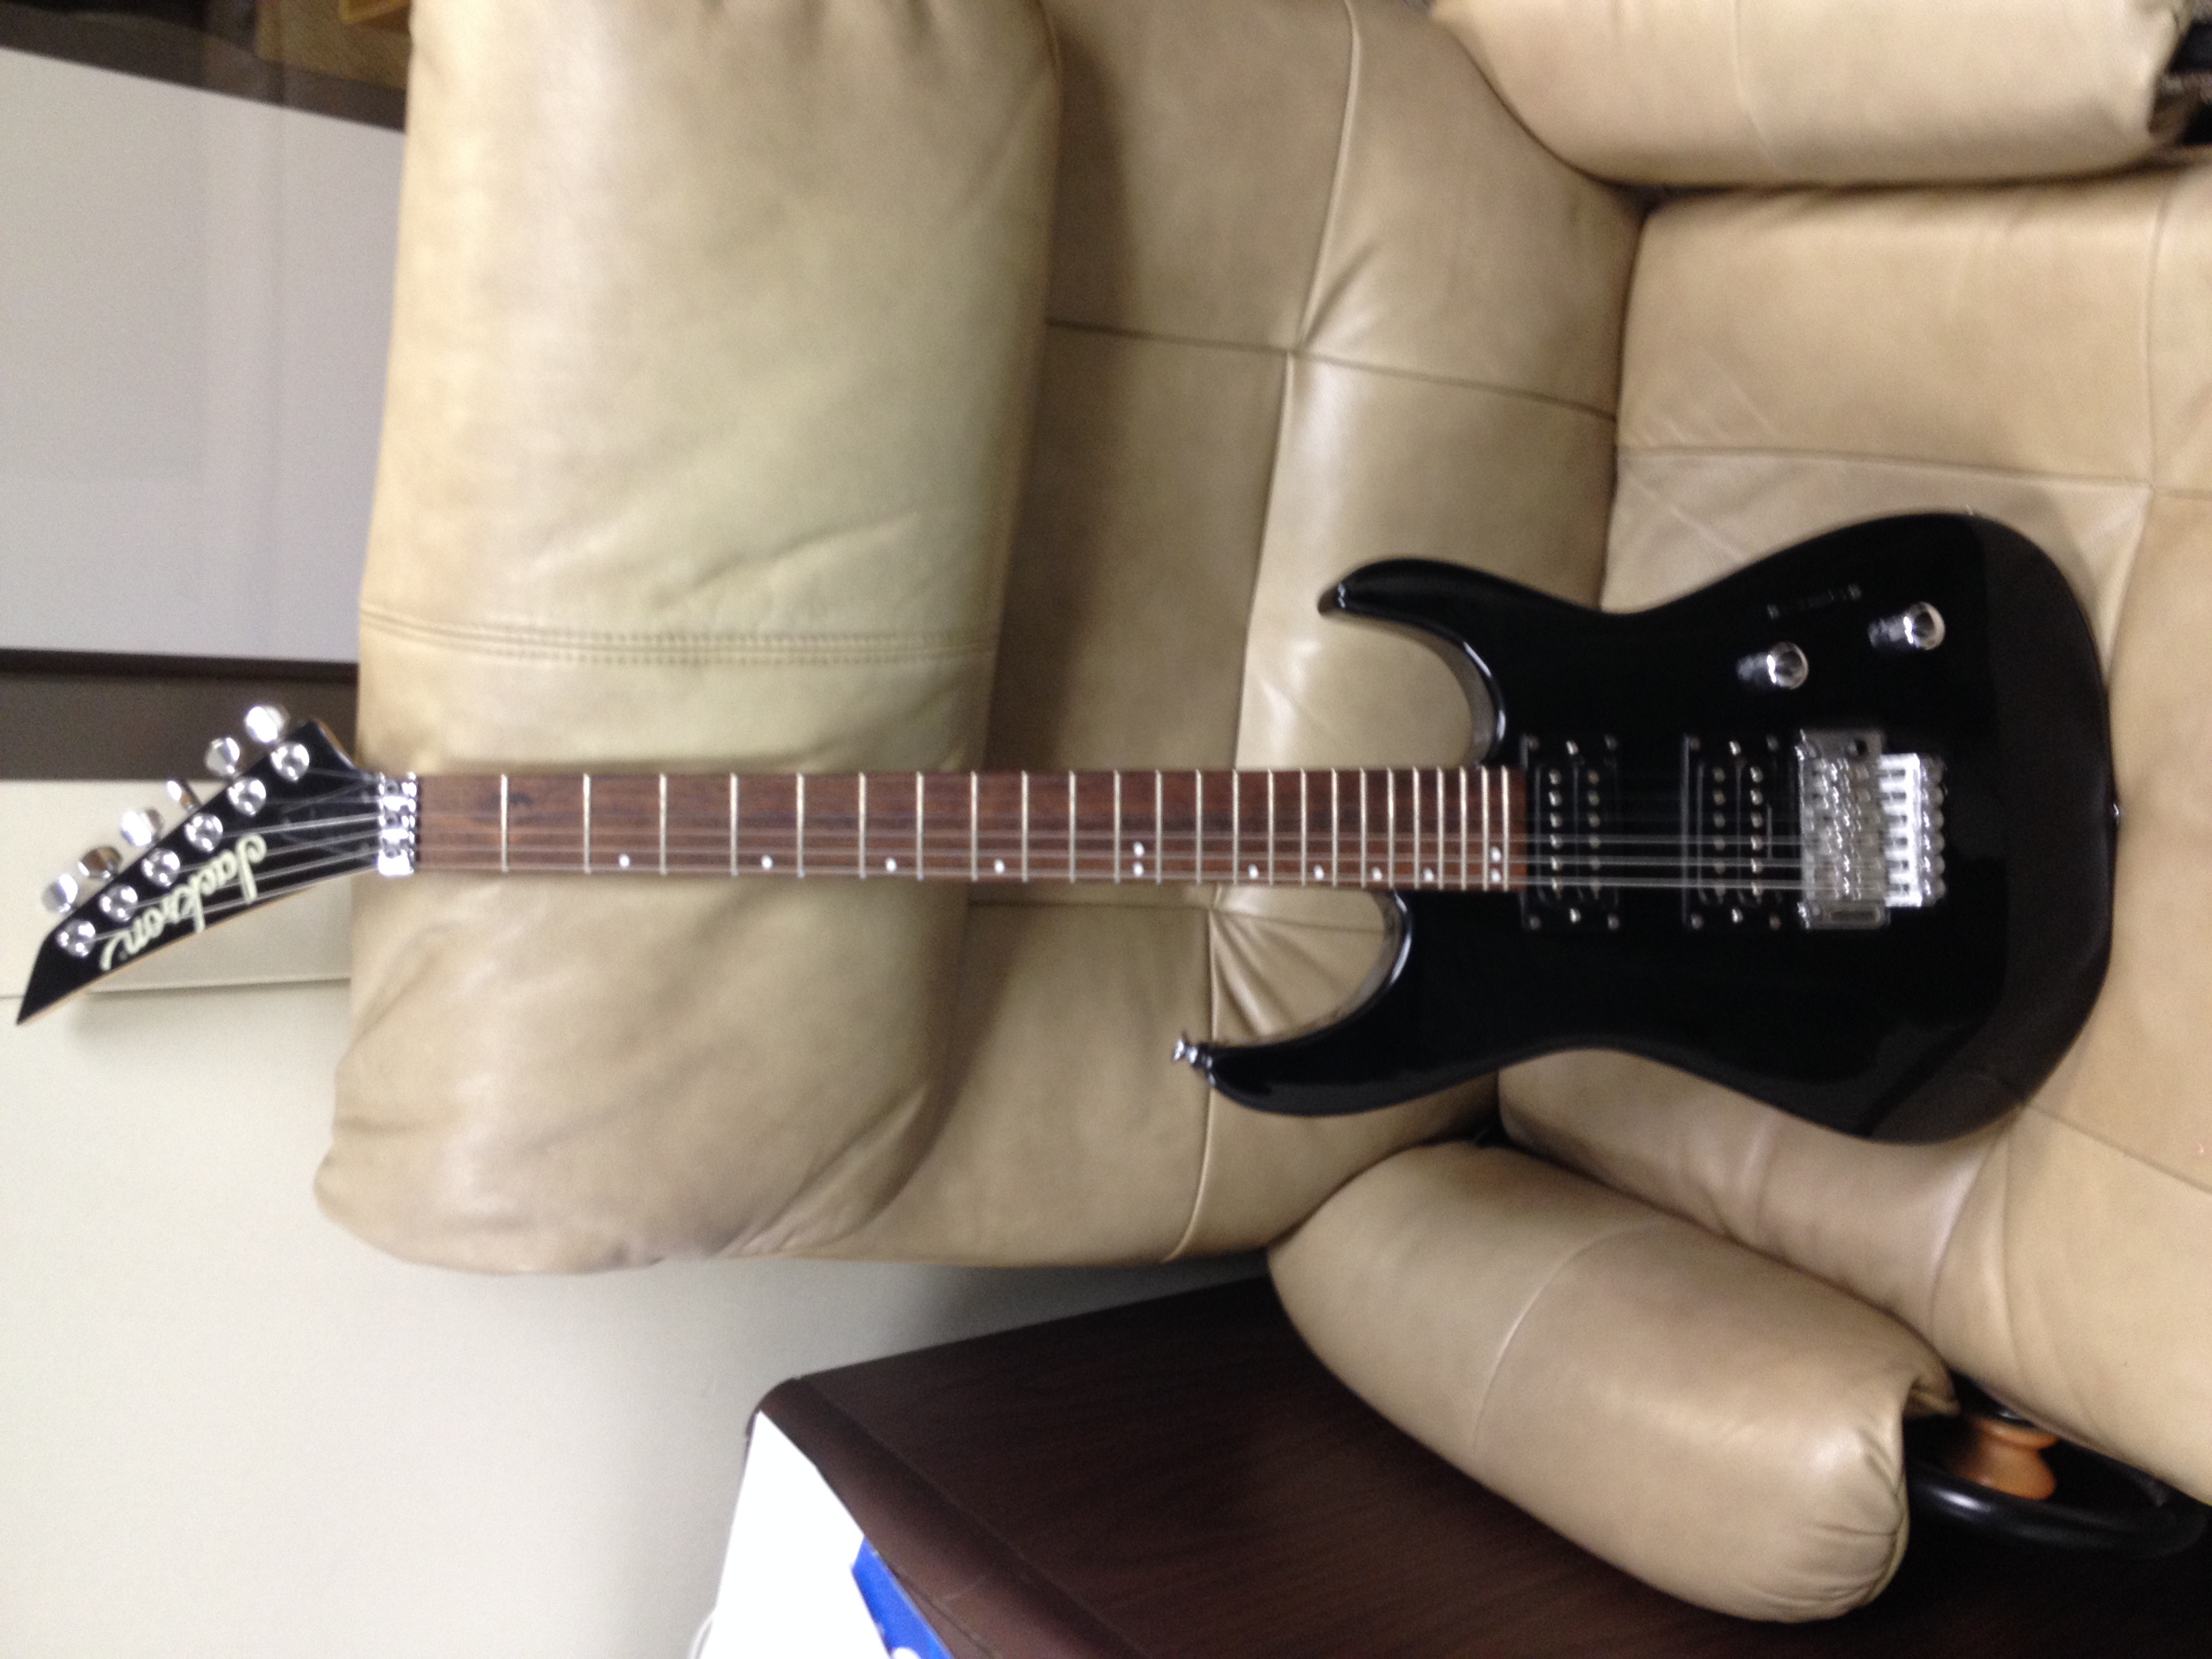
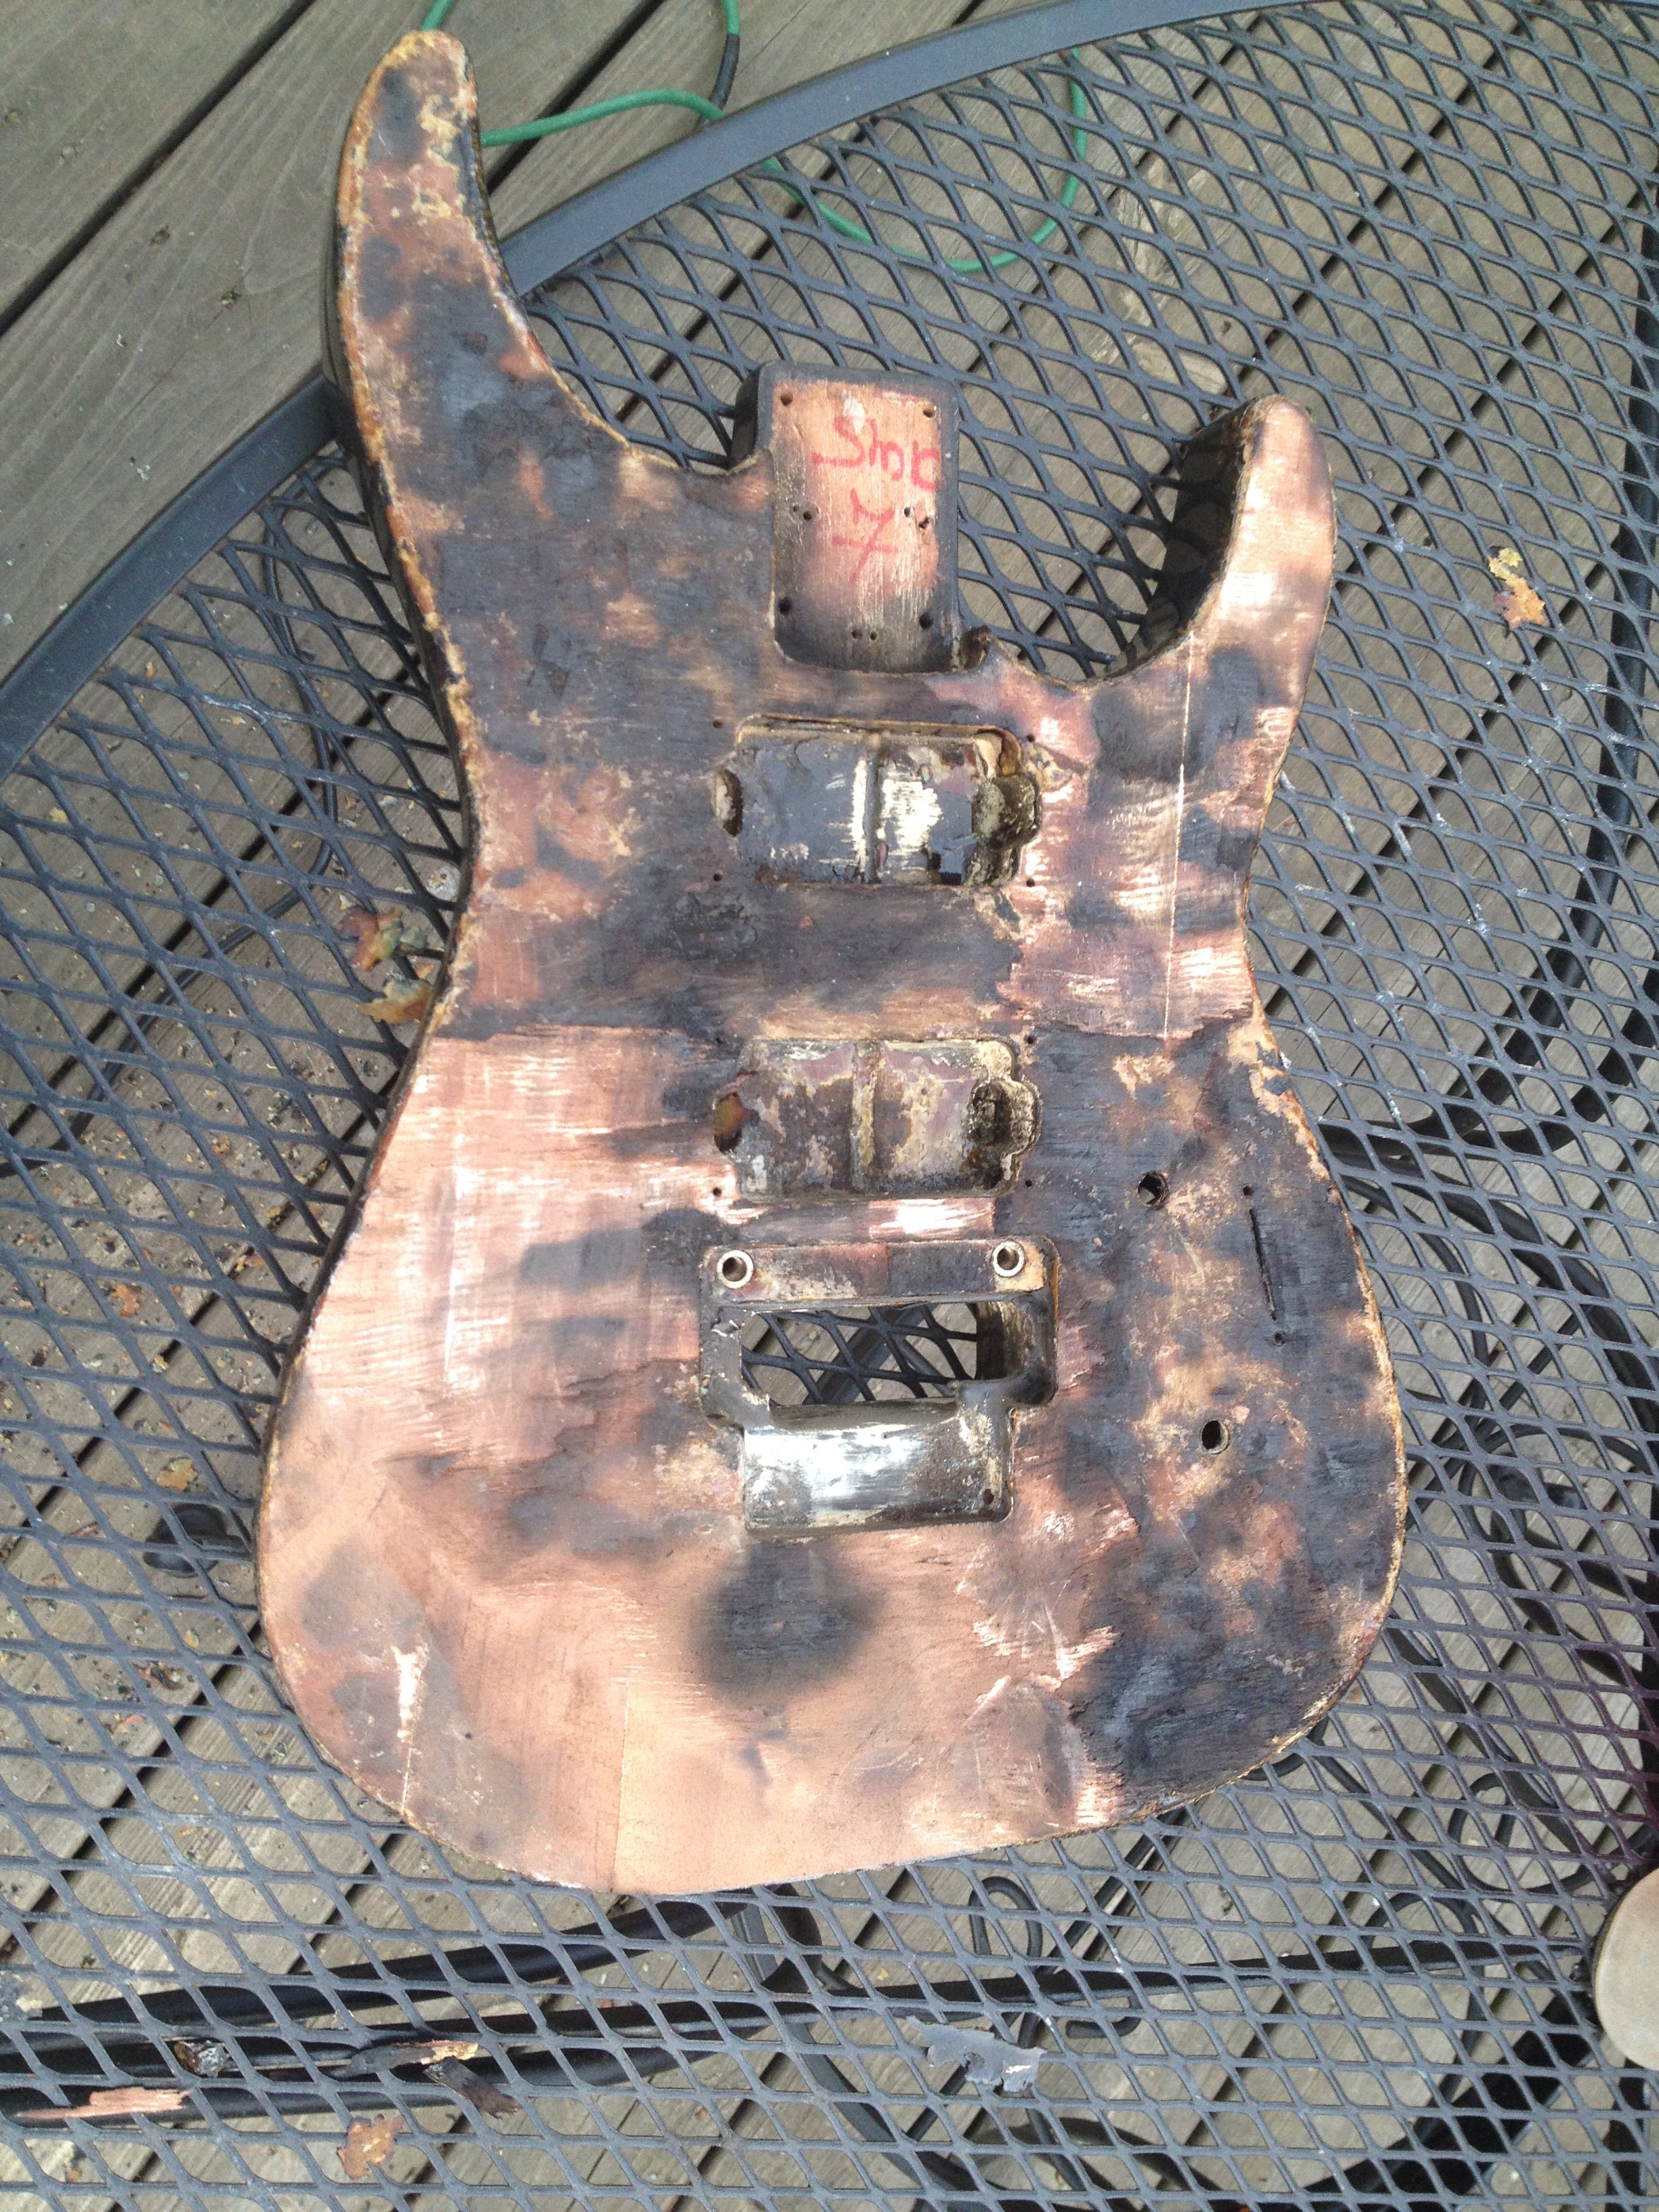
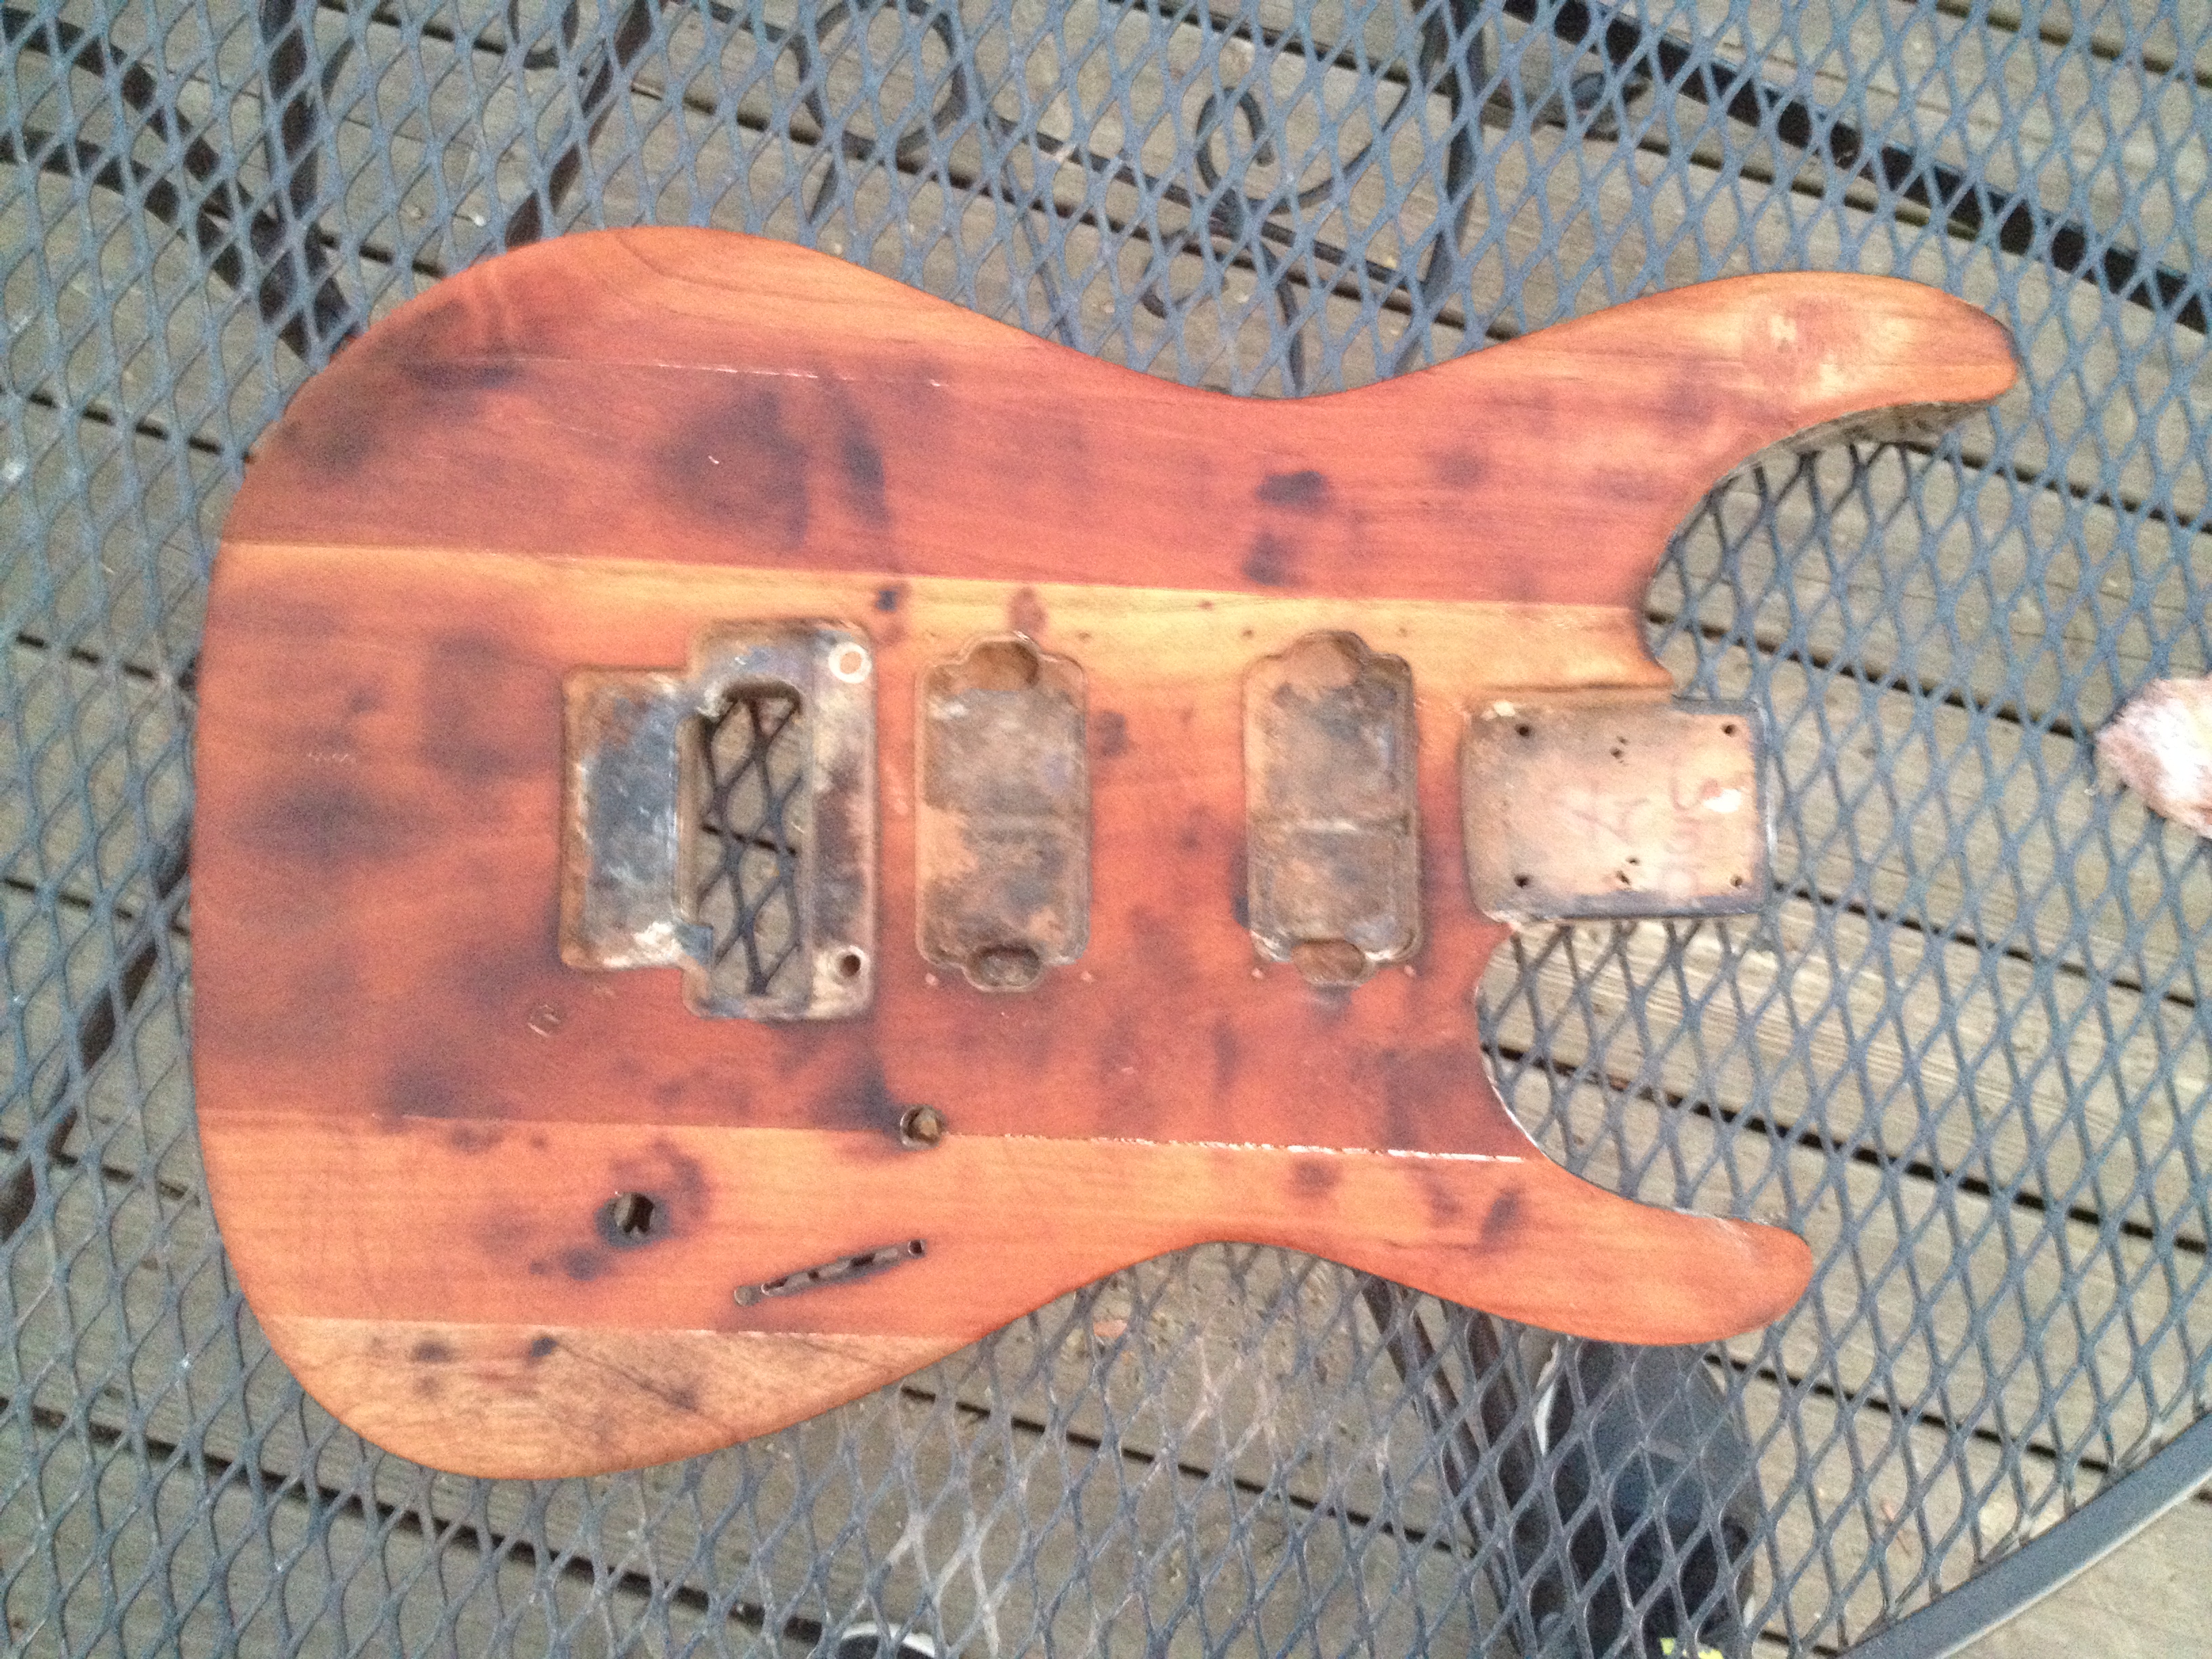
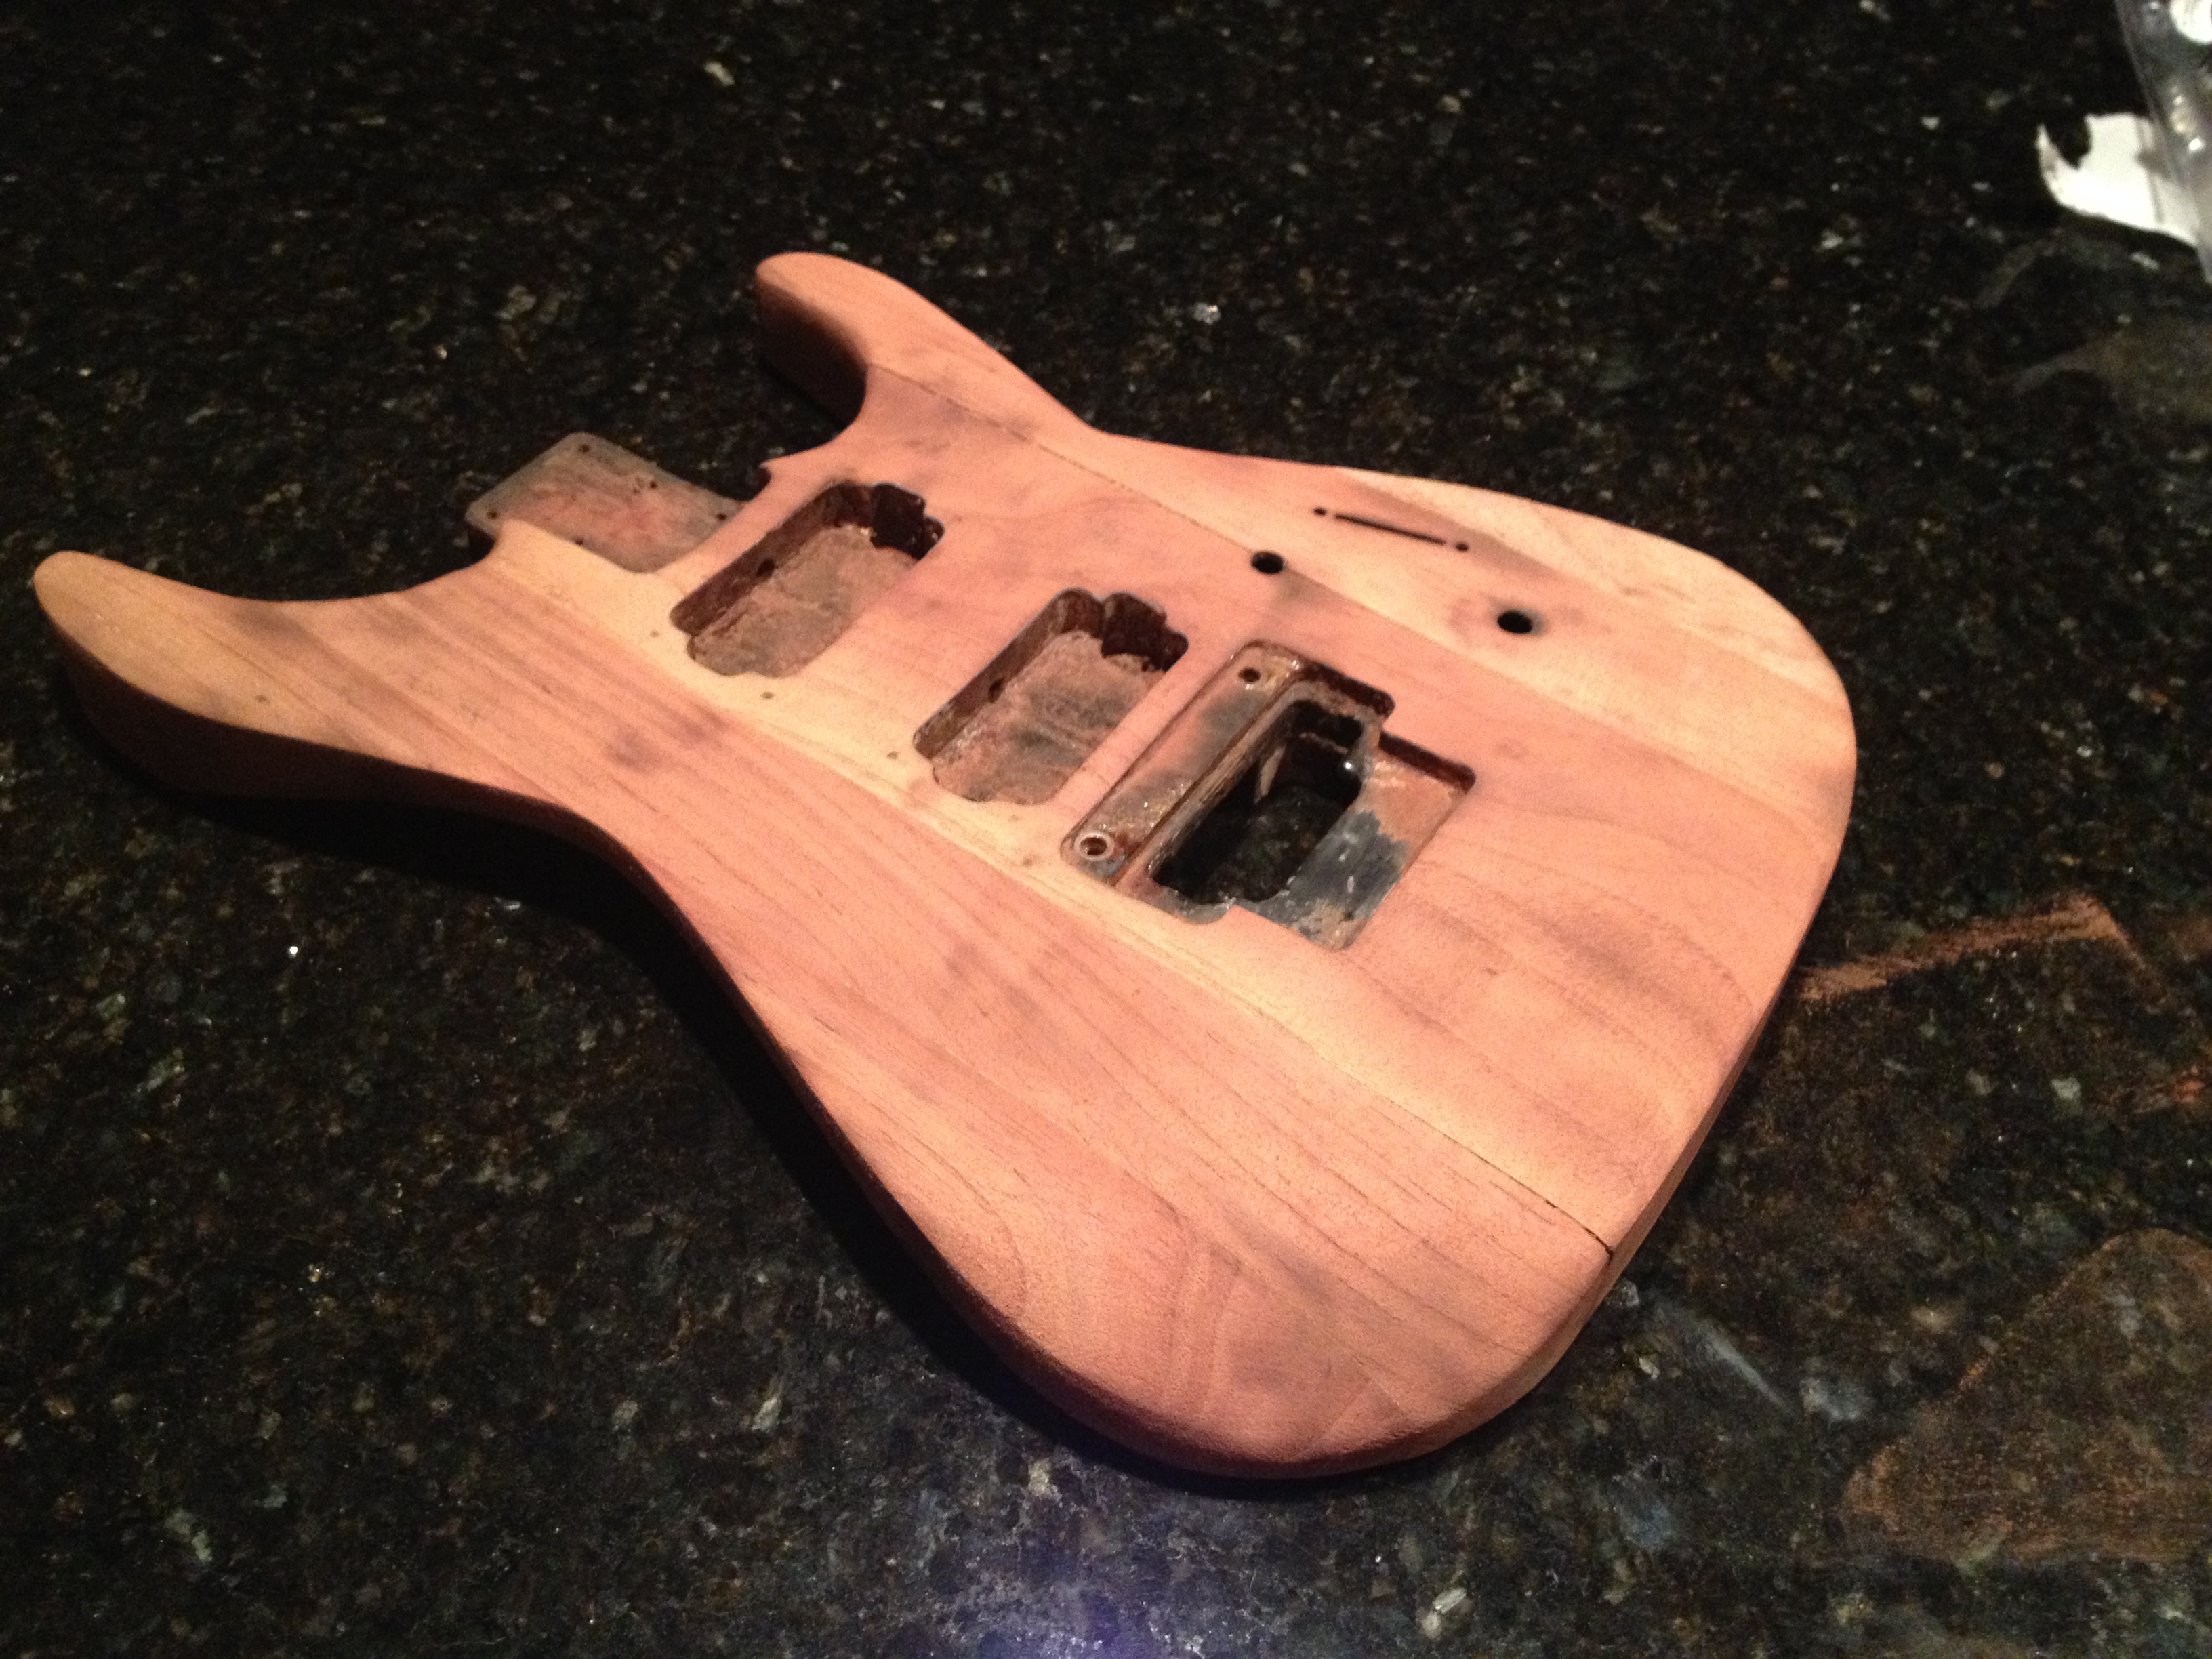
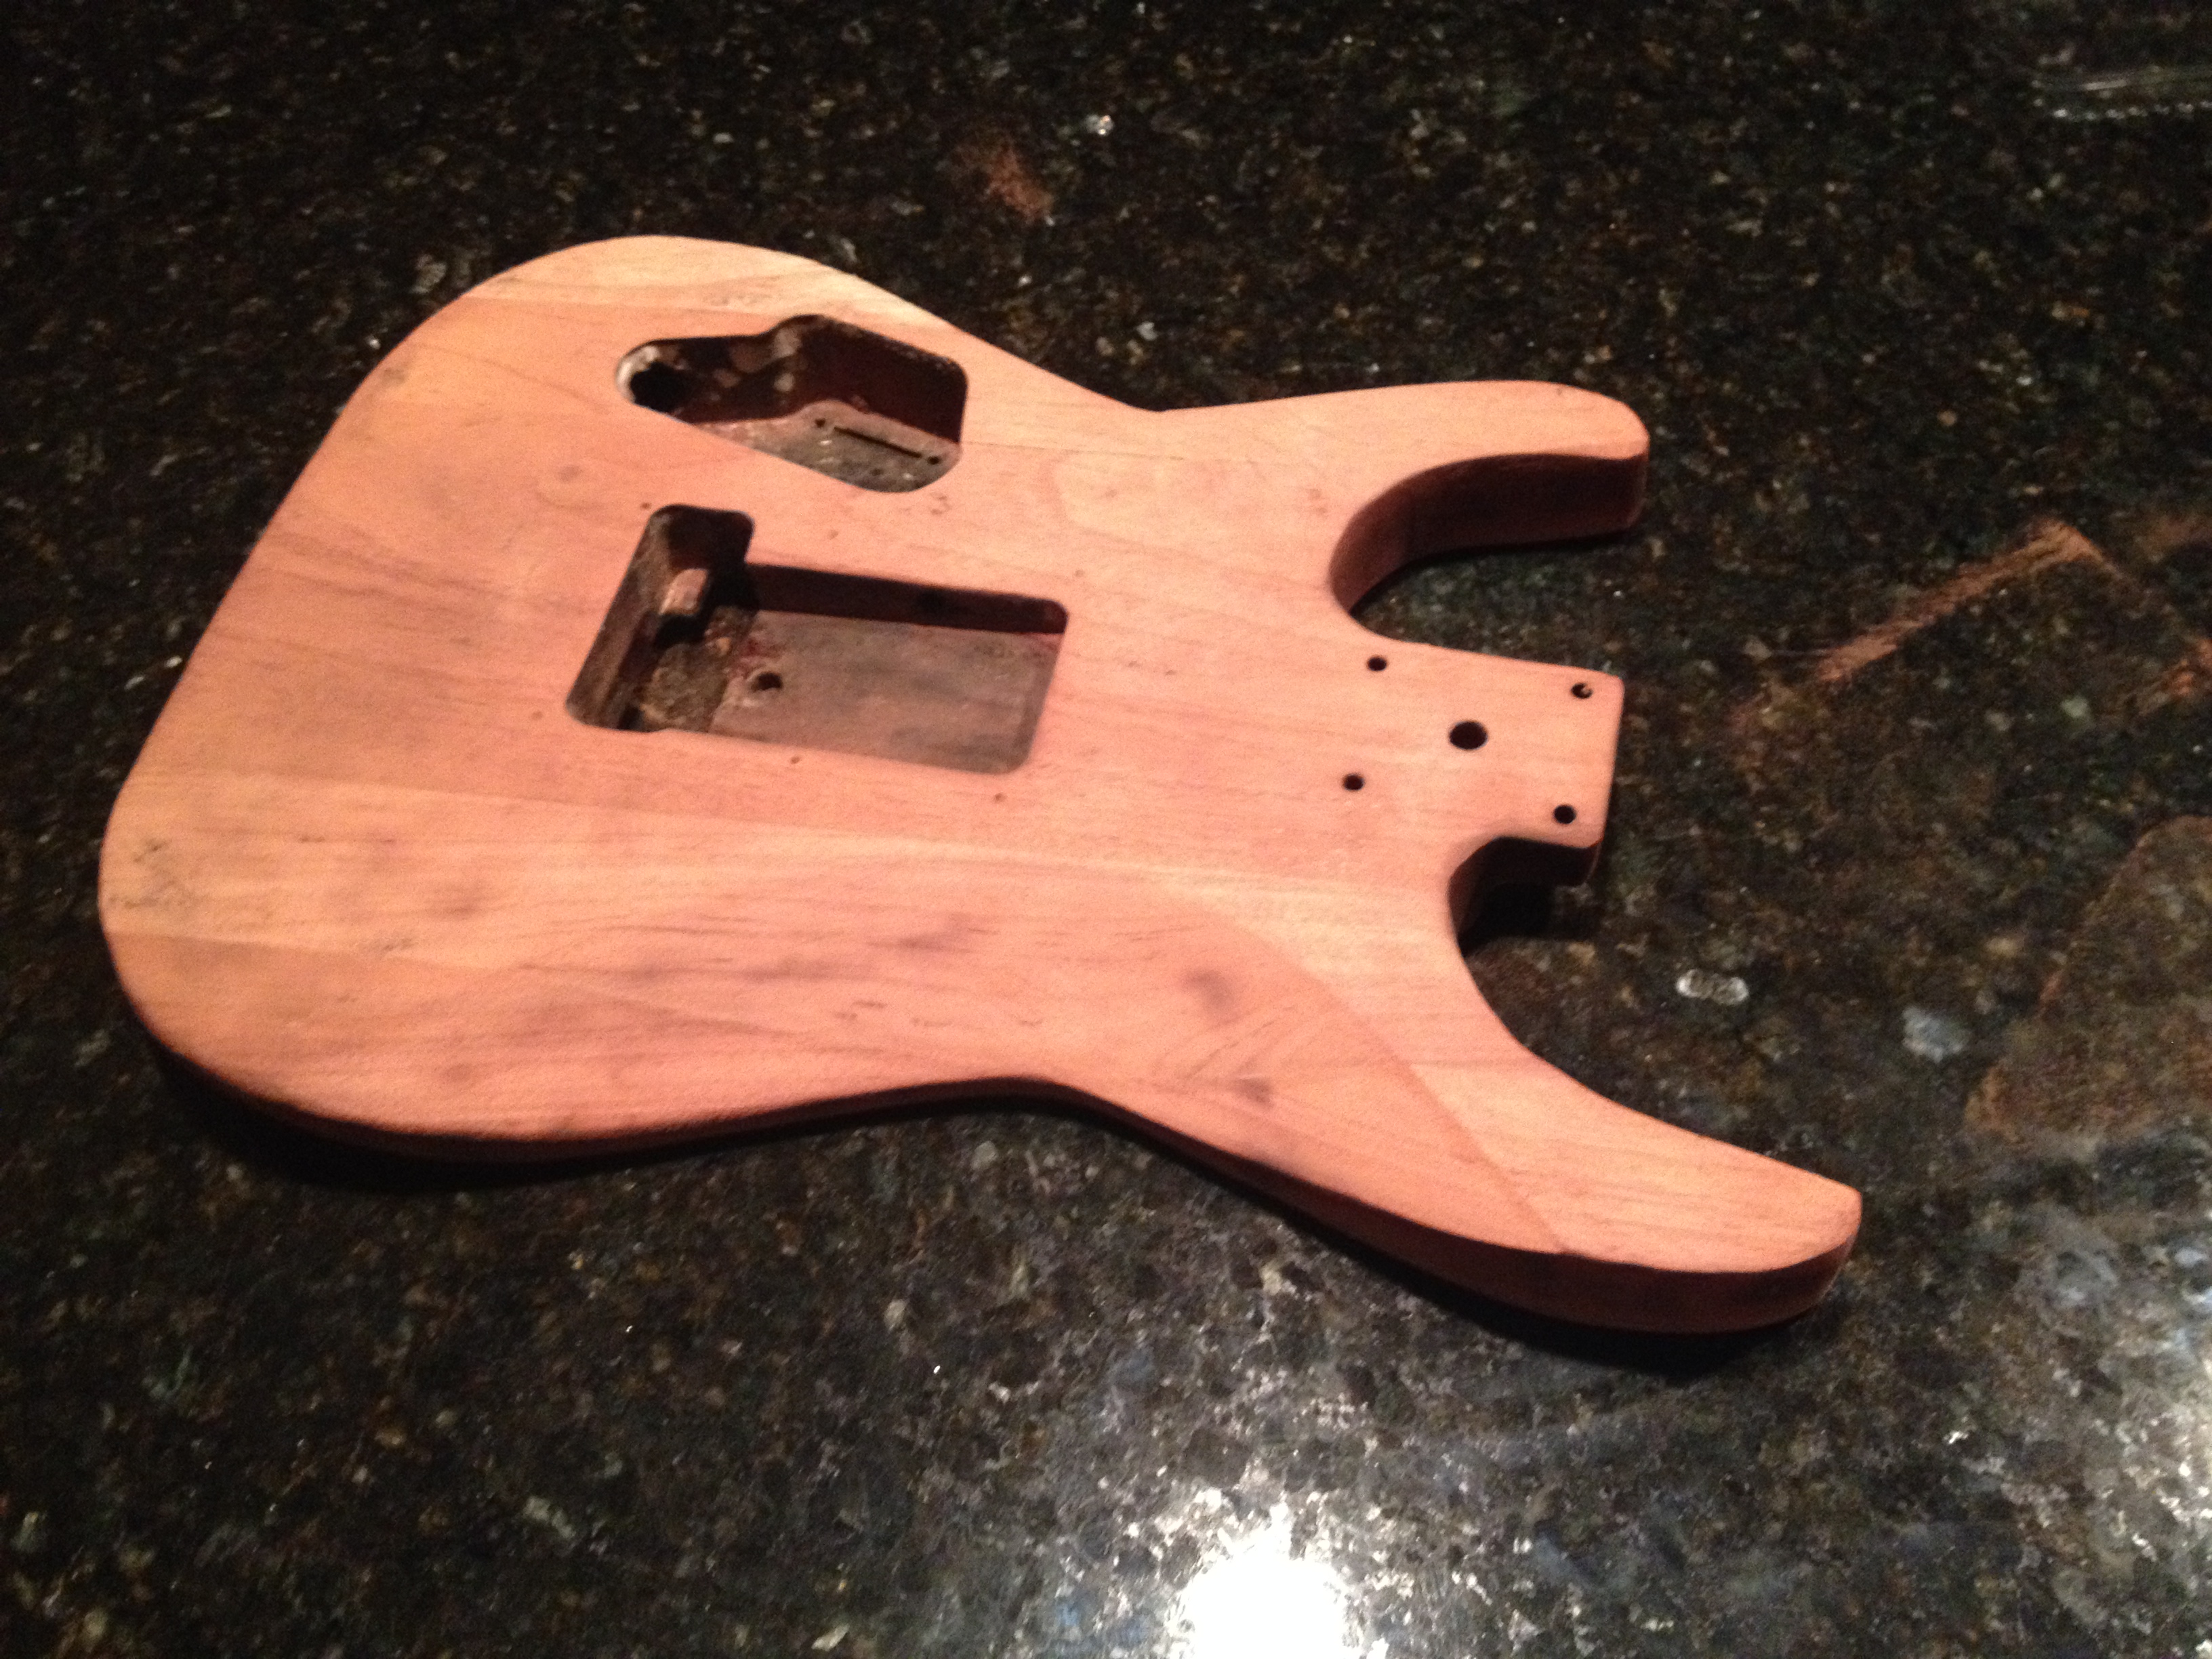
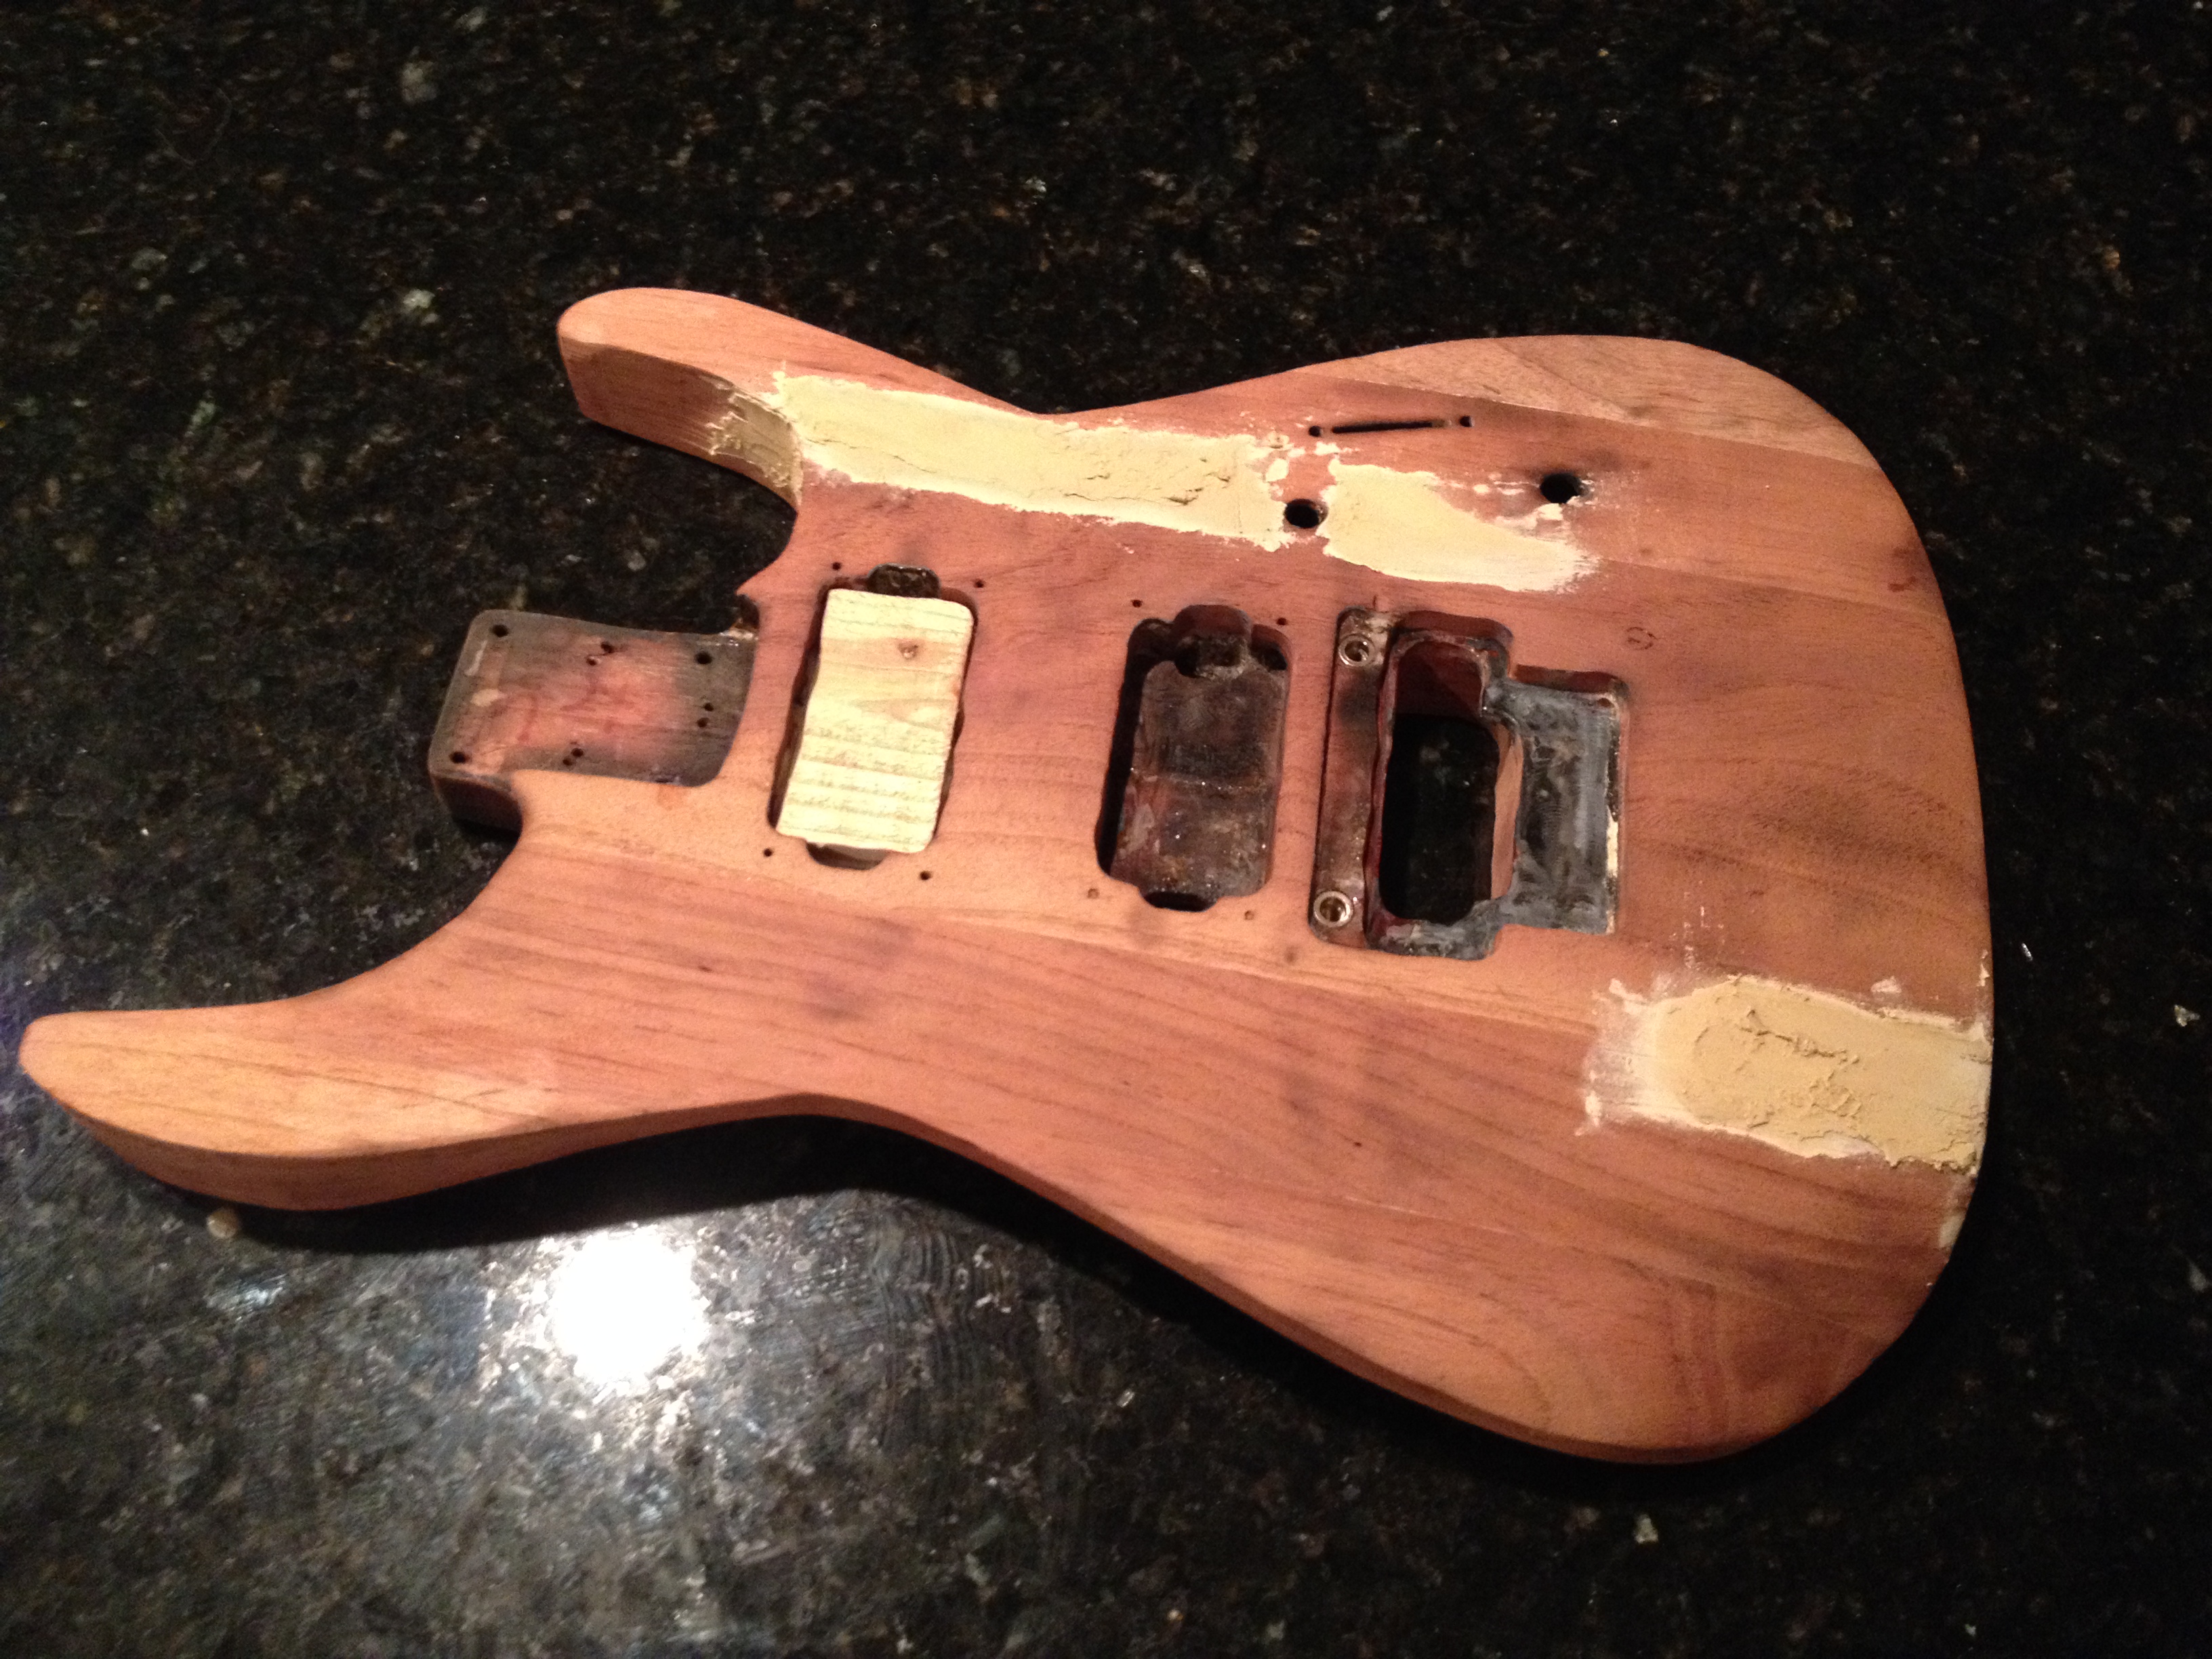
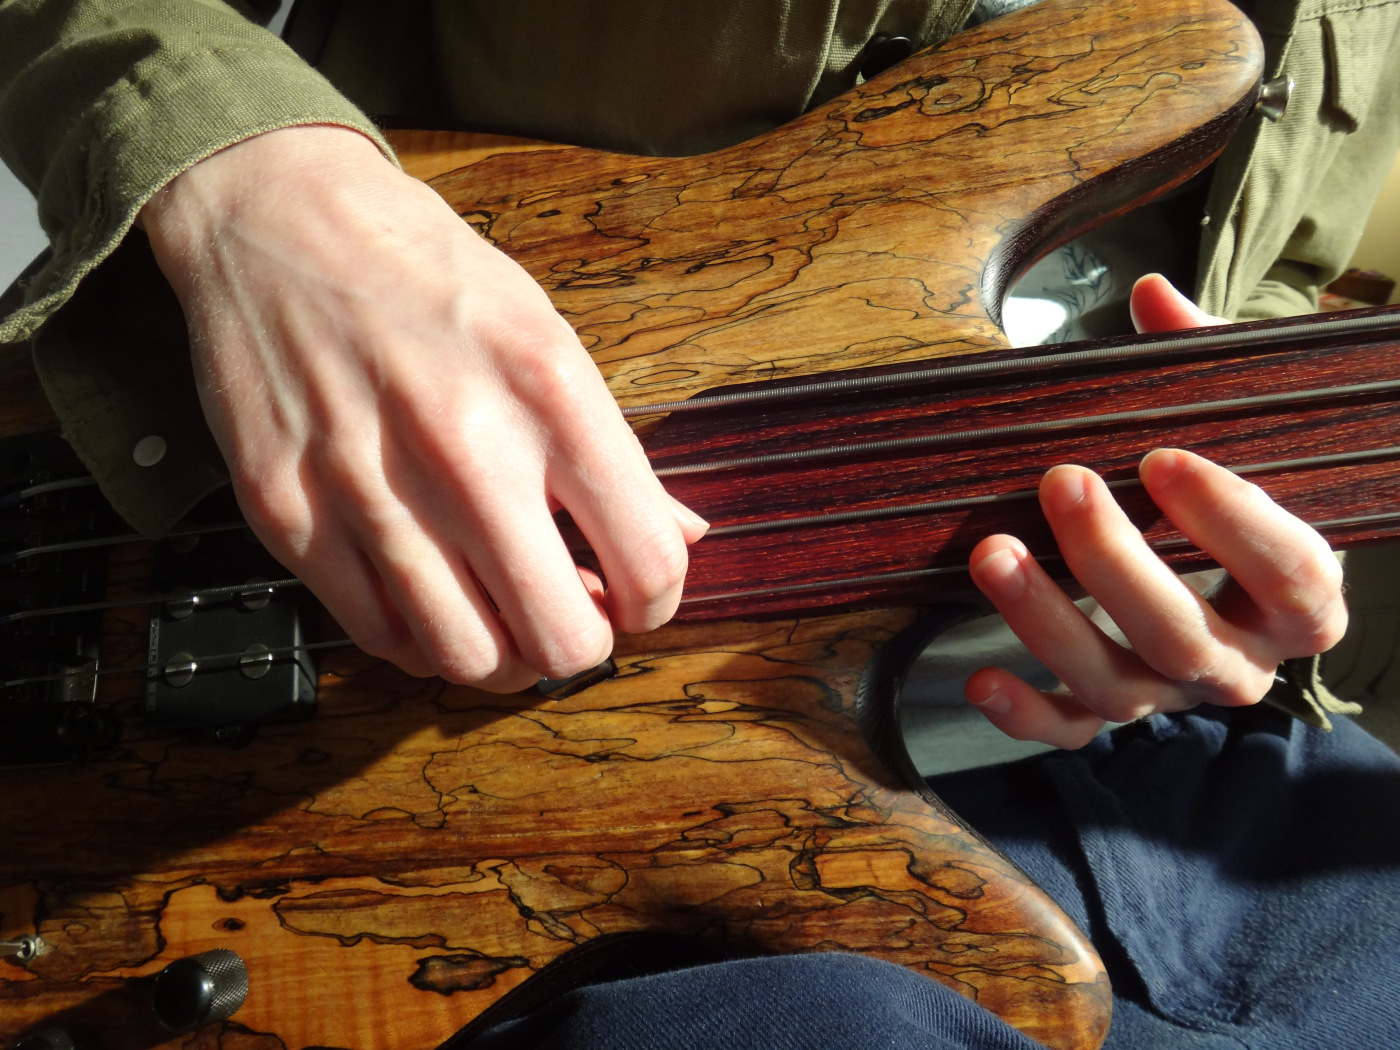
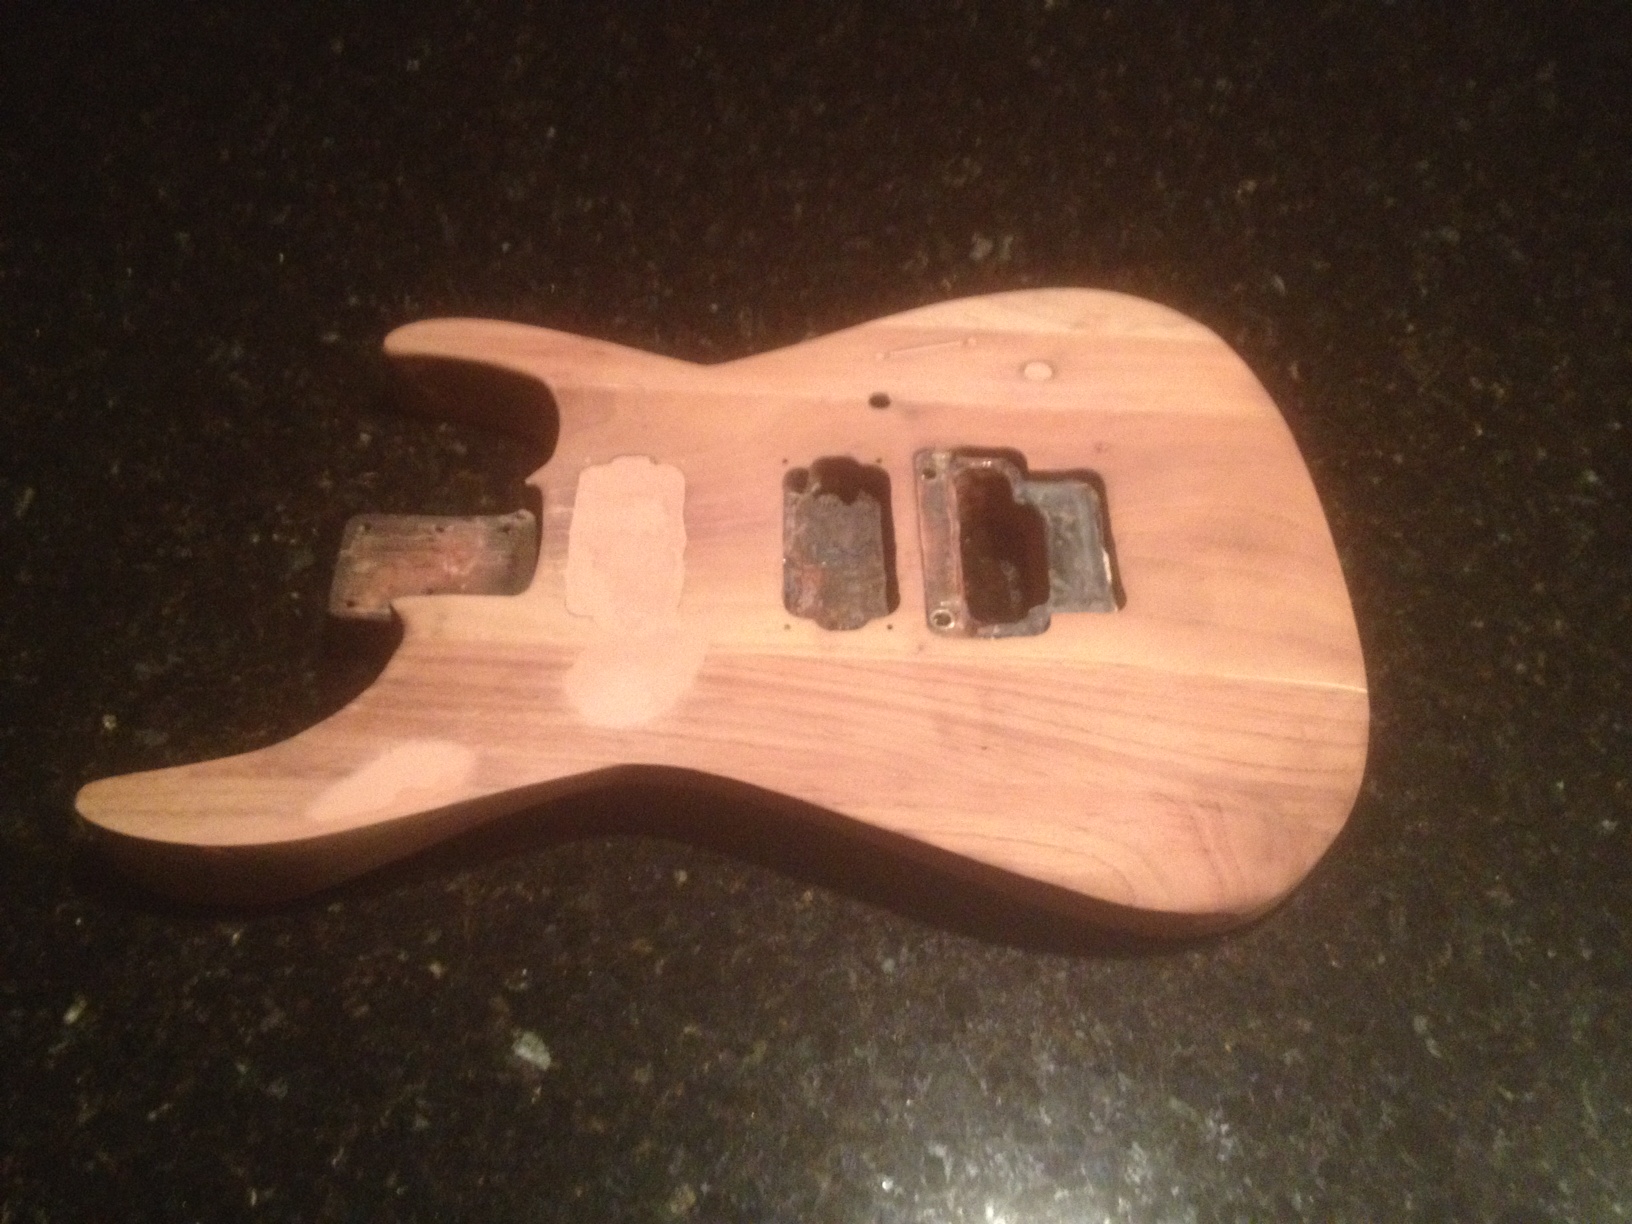
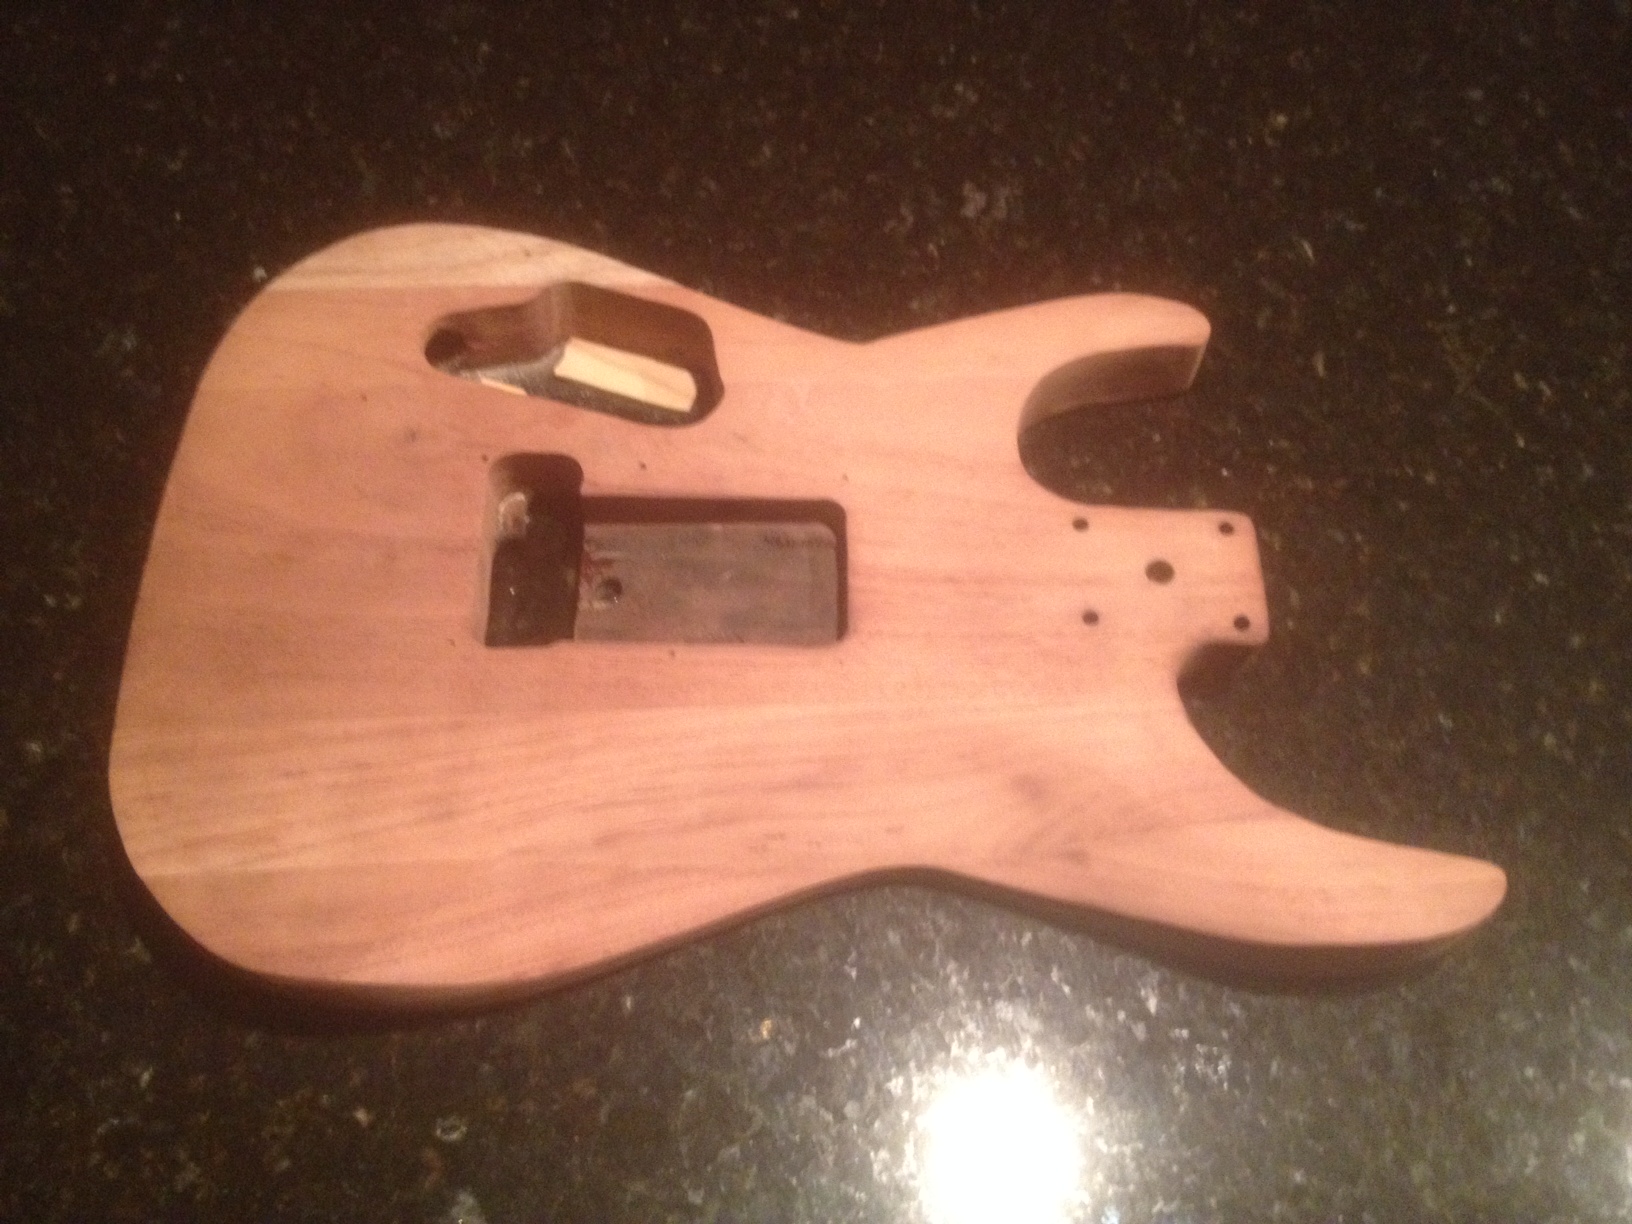
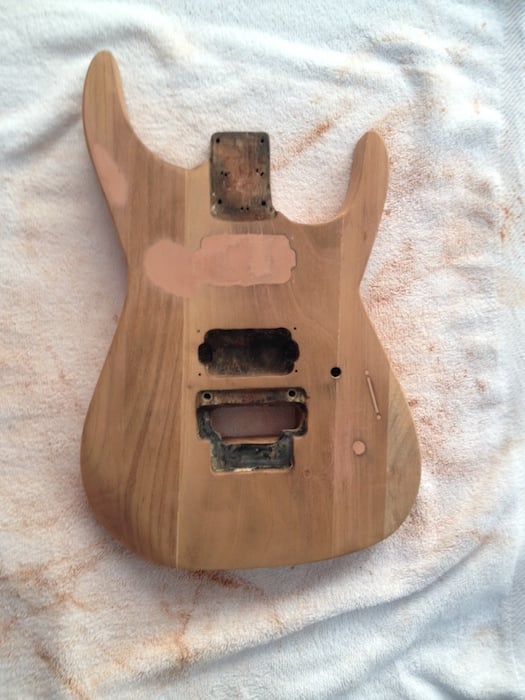
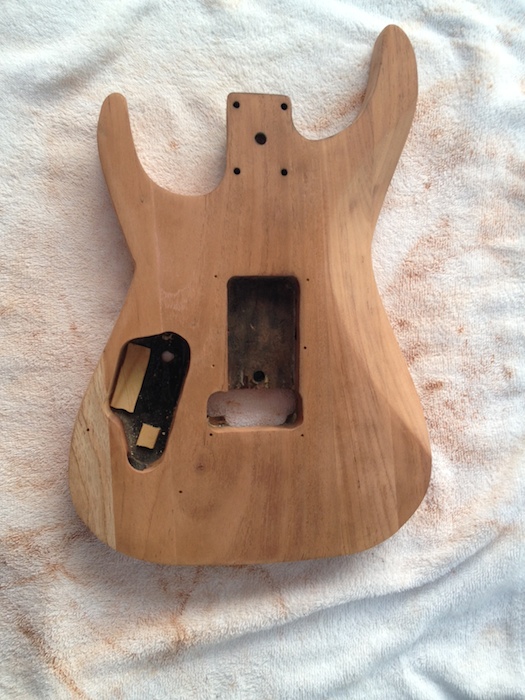
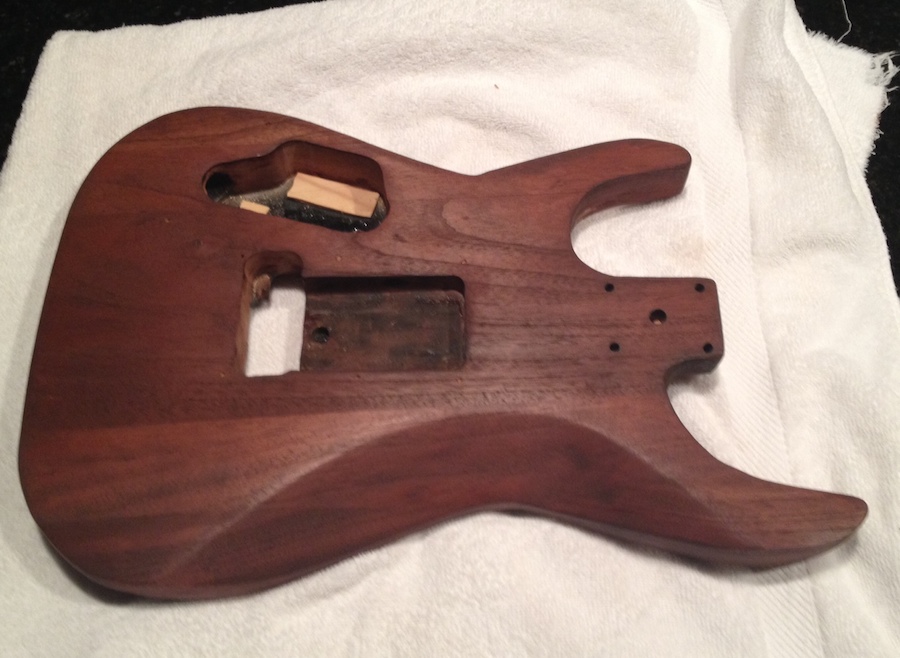
I've been reading a thread about this sort of neck issue thing ( http://www.tdpri.com/forum/tele-technical/...eck-pocket.html ), people shimming necks and also lowering pockets. I've learned that you don't want to cut into the neck, and the luthier guy I talked to said I may not need to lower it at all - but I think I will have to. Anyway I have hope, and this is just a project on a project guitar. I got in my new Jackson about an hour ago and I LOVE IT, everything about it! Sure, it's not a USA custom, it's a Japanese model, but the neck feels great, it looks great and it will be set up great with some hot active EMGs and a D-Tuna on the Floyd Rose. So I'm tickled over that - and this project is relaxing to me and I am enjoying learning (finding my zen) - even if I end up really screwing the pooch and getting a Warmoth body. At this point, I am truly amazed at how far it has come since that first picture where it was burned to a crisp. Plus I have enough veneer and products to screw up at least 5 more cheap bodies.
|
|
|
|
|
|
|
|
|
Apr 10 2014, 11:18 PM

|
|
Great to hear your new jackson is working out
You never know when you "buy before you play" so it's great that it's a keeper Before you put the stock emg81/85 in, try to see if you can play an axe with their newer offerings if possible. They have a new set with alnico mags that retains the emg punch but doesn't sound all compressed as emgs are prone to. The EMG 57/66 combo is one that many players are switching to these days. It's got a great sound to it and is very dynamic. I had a few guitars with 81/85 sets and eventually moved on to passive/alnico pups but I'd have gone for these if they were available at the time ANDY JAMES uses this set and I can see why. "Better" is a loaded term, but I'd go so far as to say these are just "Better" pups than the standard 81/85, which haven't changed much since the original. Here is the info. http://www.emgpickups.com/guitar/humbuckin...bucking/57.html 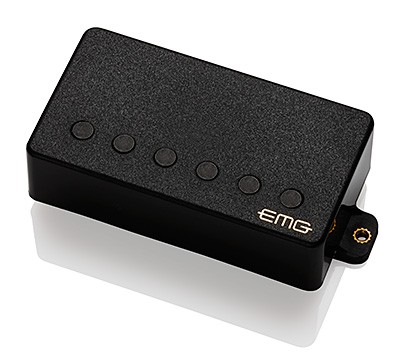  QUOTE (Spock @ Apr 10 2014, 05:20 PM)  I've considered that and it's very possible. But I still have hope. I'll post another pic in the morning with some finer sanding completed - it is so close - plus I got my veneer in today.
I've been reading a thread about this sort of neck issue thing ( http://www.tdpri.com/forum/tele-technical/...eck-pocket.html ), people shimming necks and also lowering pockets. I've learned that you don't want to cut into the neck, and the luthier guy I talked to said I may not need to lower it at all - but I think I will have to. Anyway I have hope, and this is just a project on a project guitar. I got in my new Jackson about an hour ago and I LOVE IT, everything about it! Sure, it's not a USA custom, it's a Japanese model, but the neck feels great, it looks great and it will be set up great with some hot active EMGs and a D-Tuna on the Floyd Rose. So I'm tickled over that - and this project is relaxing to me and I am enjoying learning (finding my zen) - even if I end up really screwing the pooch and getting a Warmoth body. At this point, I am truly amazed at how far it has come since that first picture where it was burned to a crisp. Plus I have enough veneer and products to screw up at least 5 more cheap bodies. This post has been edited by Todd Simpson: Apr 10 2014, 11:20 PM |
|
|
|
|

|
|
|
|
|
Apr 11 2014, 04:34 PM
|
|
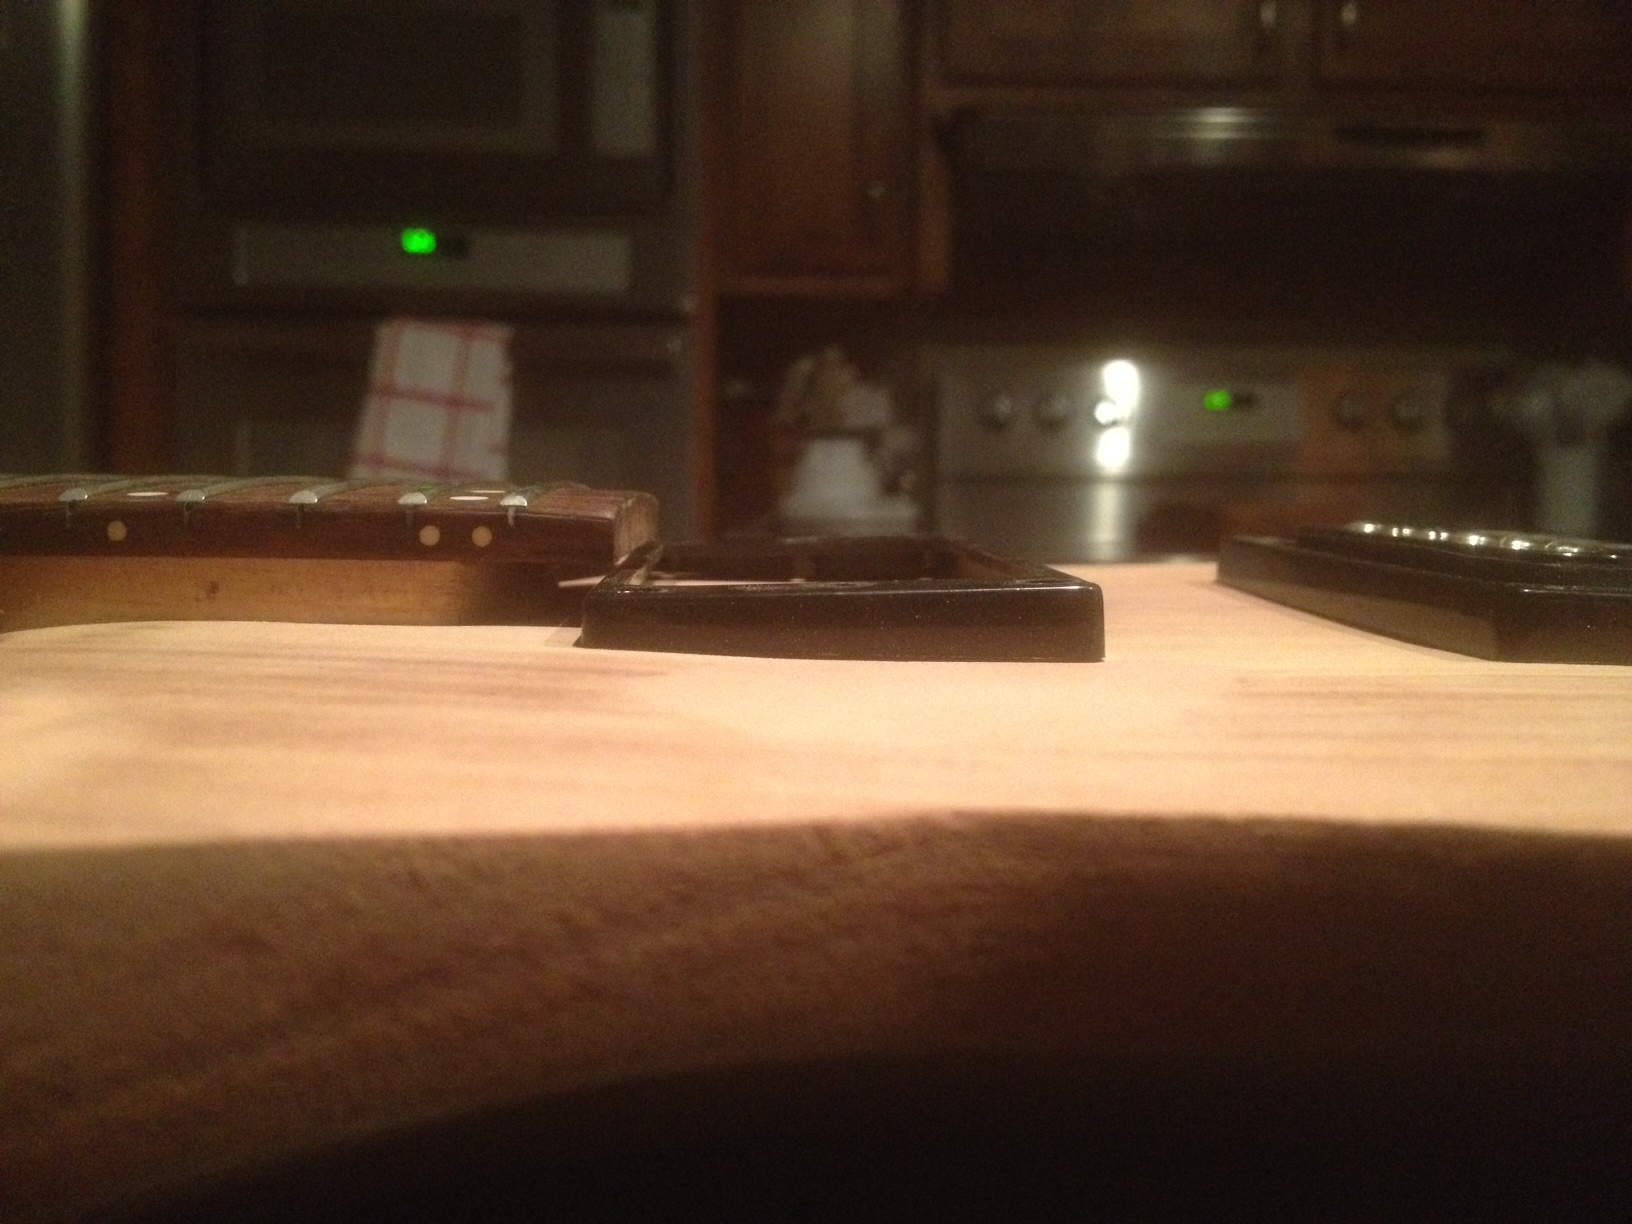
While researching "staining mahogany" I found this video, and this guys fretboard has a gap to the body as well.
Plus I found this thread too talking about newer Fender Telecasters with the gap overhang - and since Jackson is owned by Fender now, I'm guess this is normal on many guitars. Small gap between fingerboard and top of body. http://www.tdpri.com/forum/telecaster-disc...d-top-body.html |
|
|
|
|
 
|
1 User(s) are reading this topic (1 Guests and 0 Anonymous Users)
0 Members:


