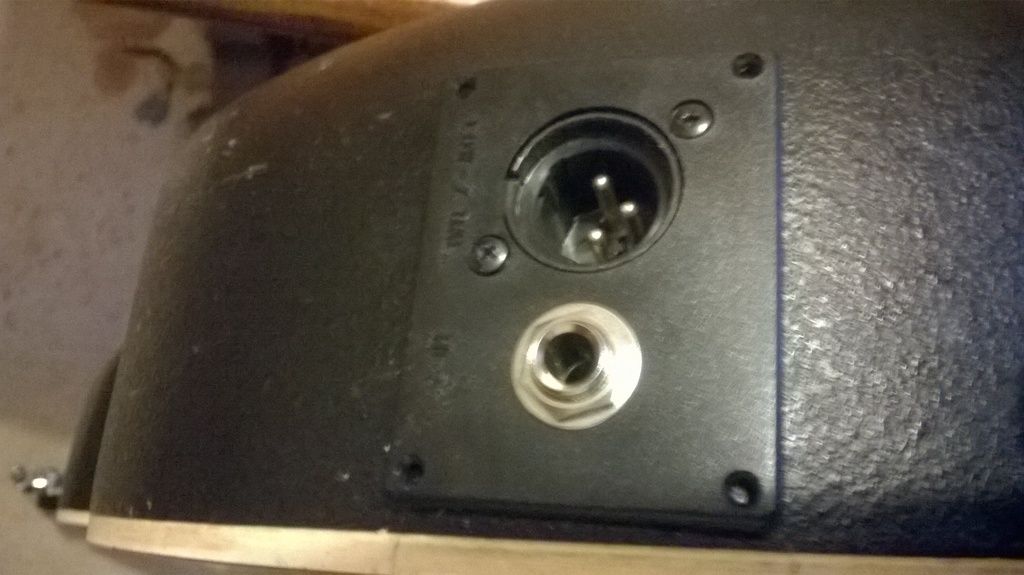
Use exactly the same method for the Jack Plate:-
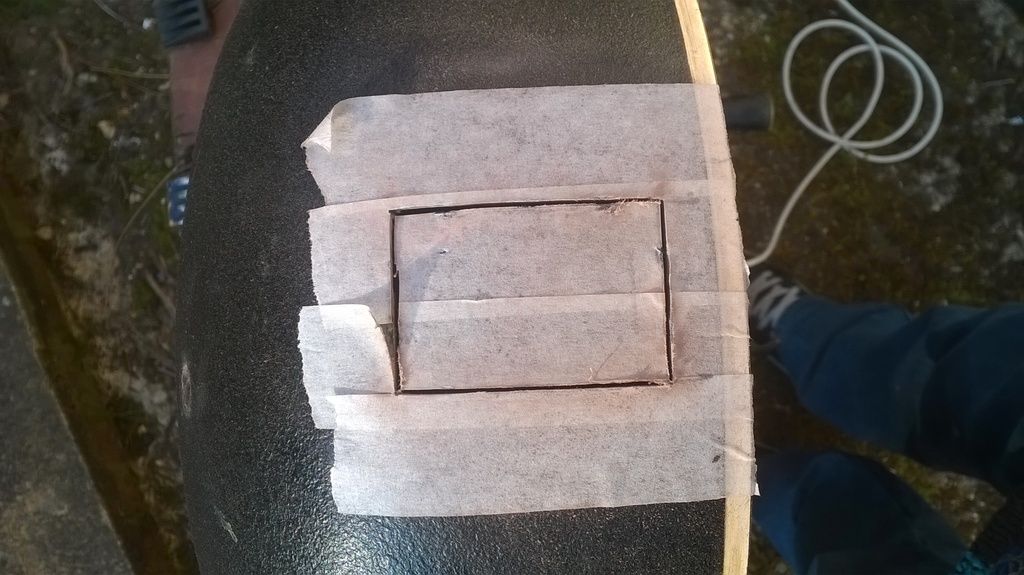
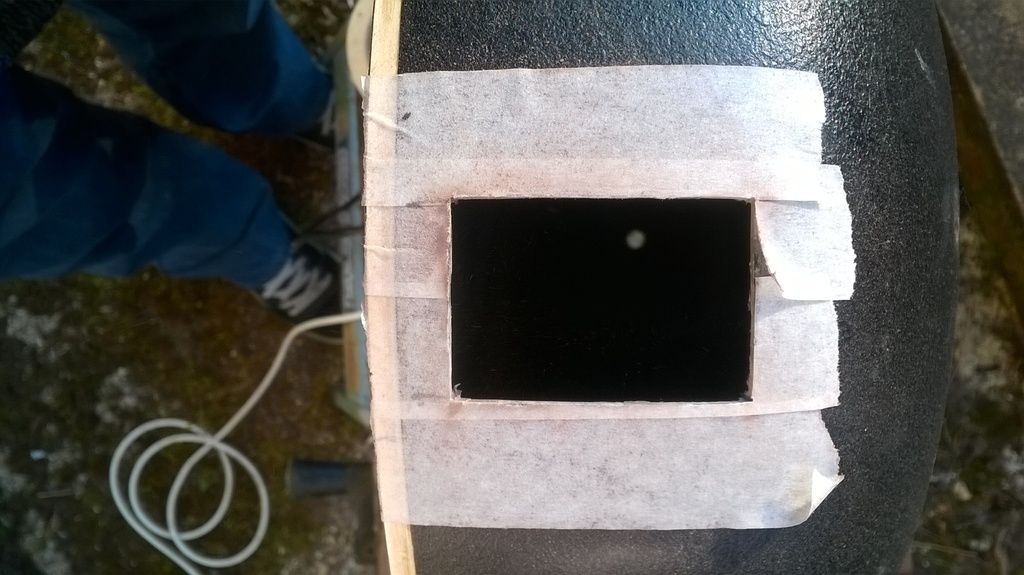
For the installation of all the new parts:-
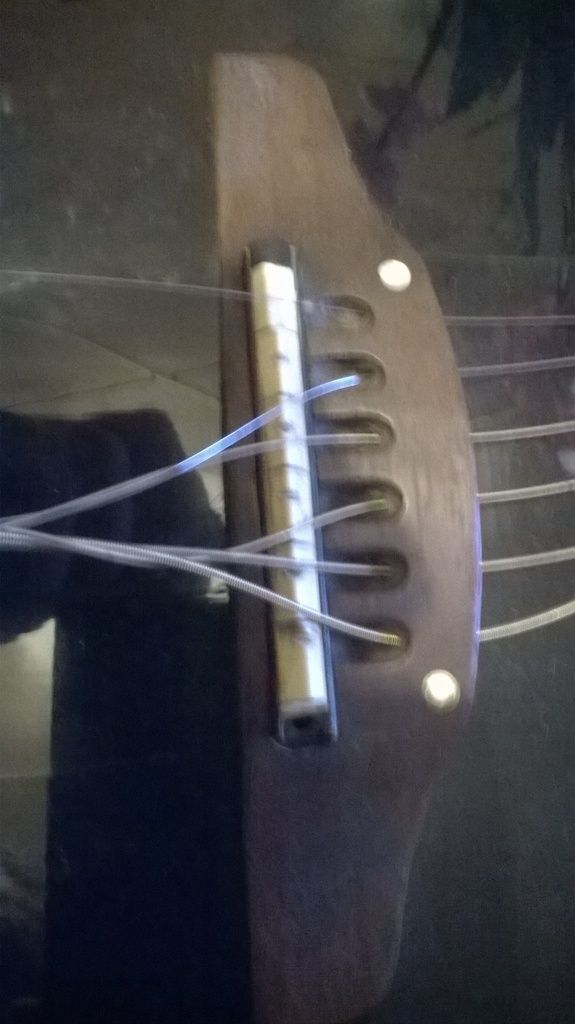
First, we'll install the Piezo Under Saddle/Bridge. The Piezo strip lays in the bottom of the Bridge in the Saddle Slot, the connecting wire feeds through that hole on the right into the Body Cavity.
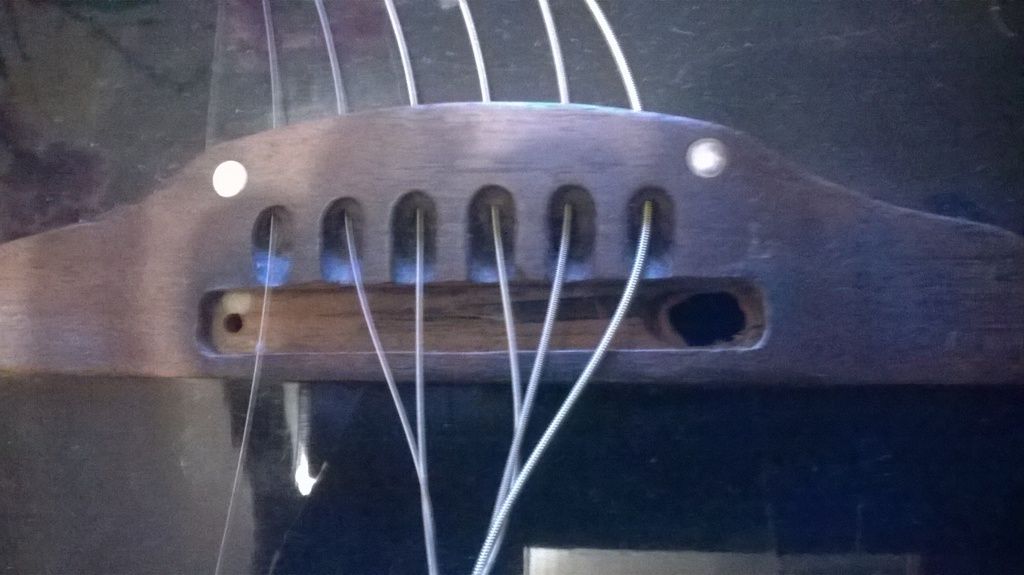
The Saddle is then replaced.
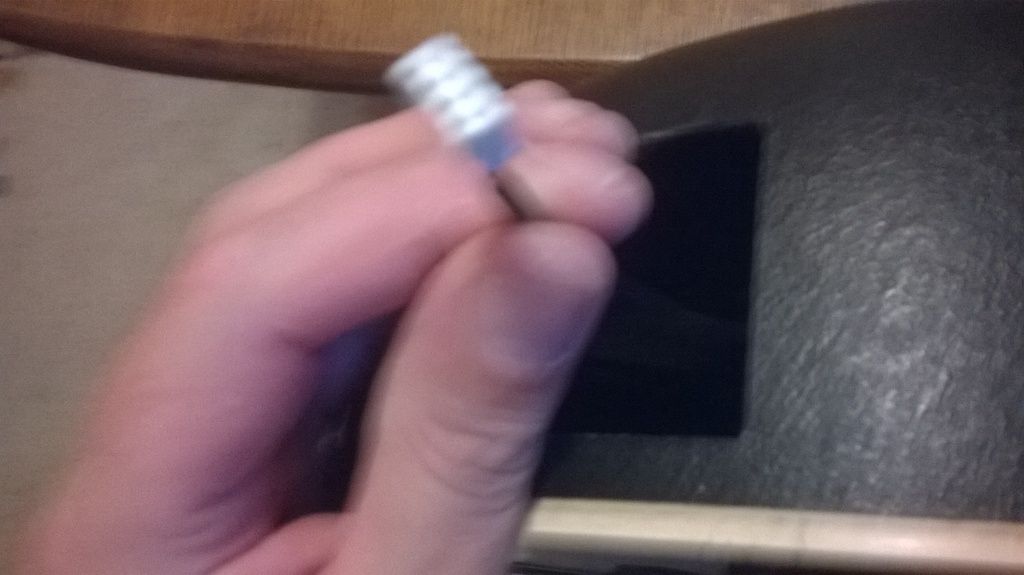
On the end of the Piezo is a small Jack Plug:-
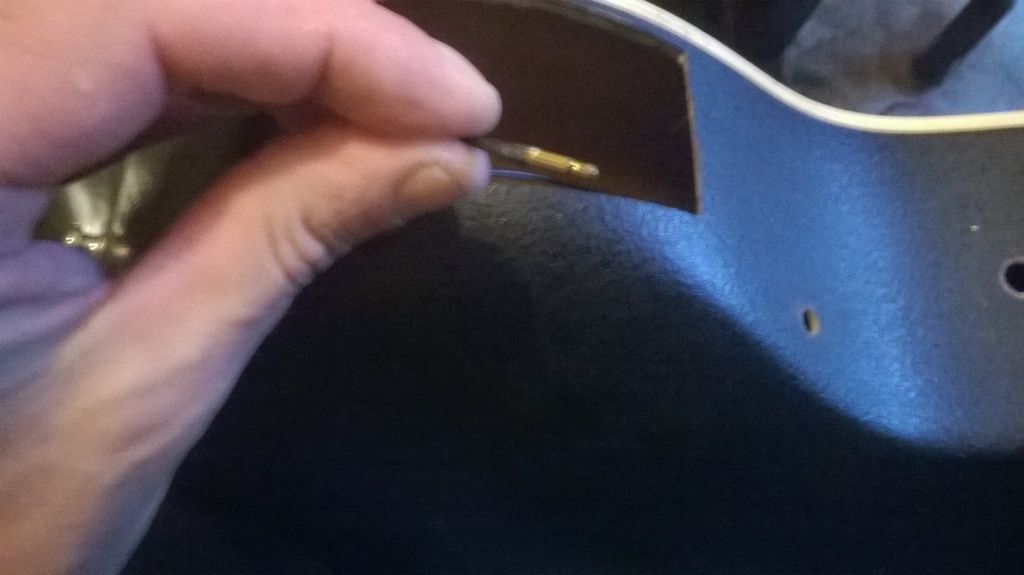
This plugs into the underside of the Pre-amp unit:-
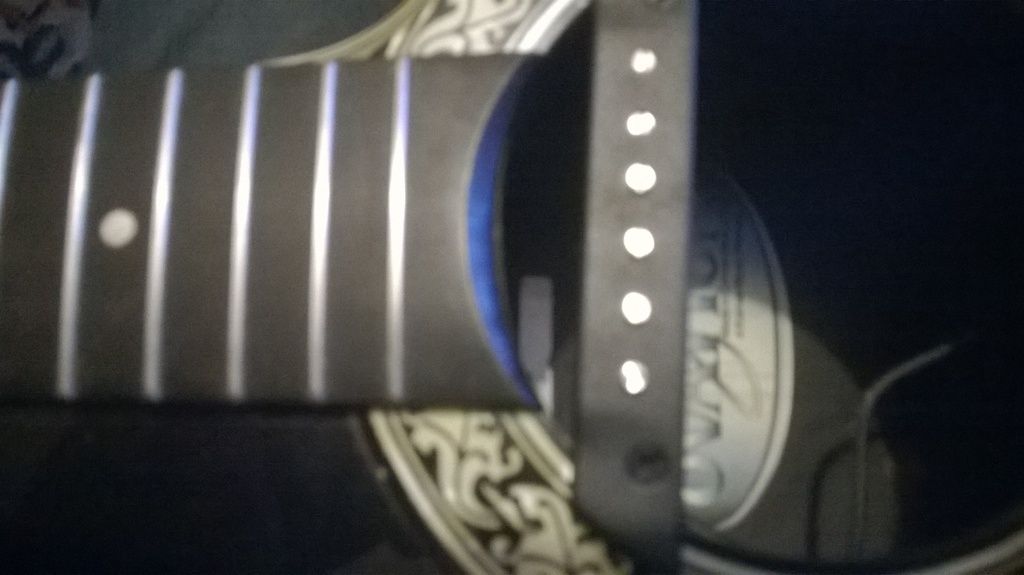
Next we fit the Magnetic Pickup in the soundhole. This is optional and doesn't HAVE to be installed, but I thought I'd install everything that was supplied!
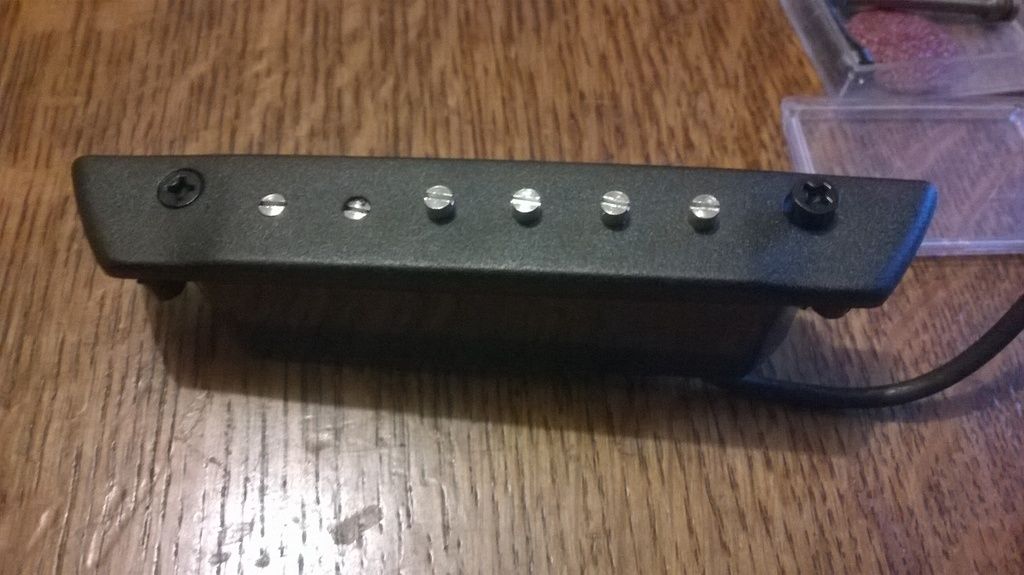
This is held in place by two clamps, one on either side that tighten up using the two Phillips screws.
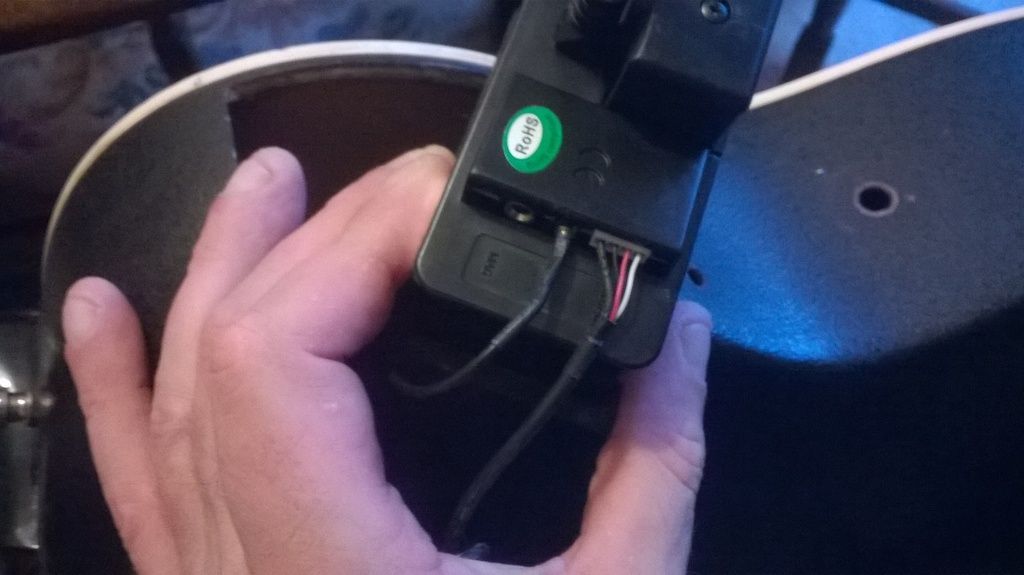
Once in place, feed it's wire out of the Pre-amp hole and connect to the underside of the Unit. You can't get these two plugs mixed up as they are different sizes!!
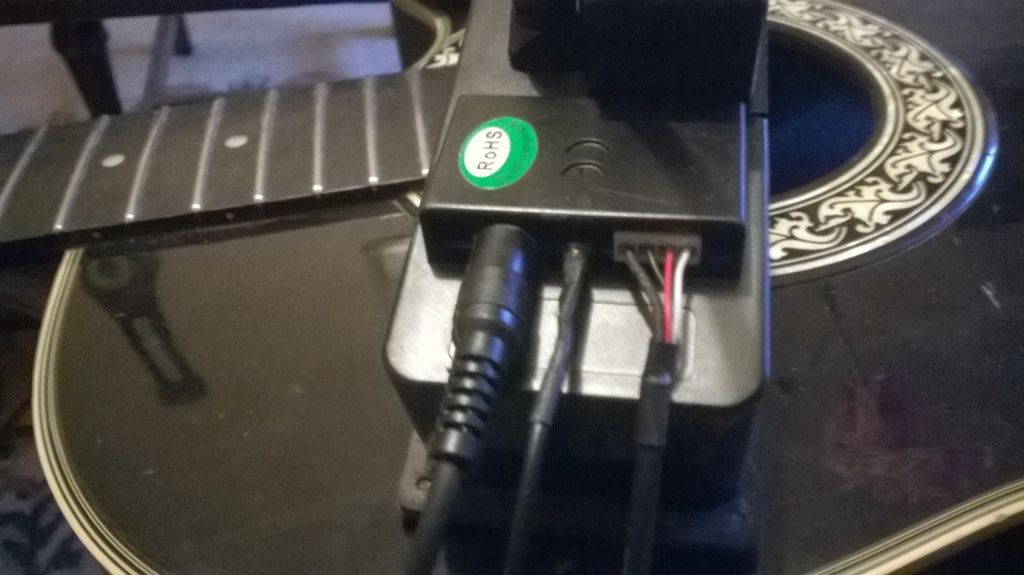
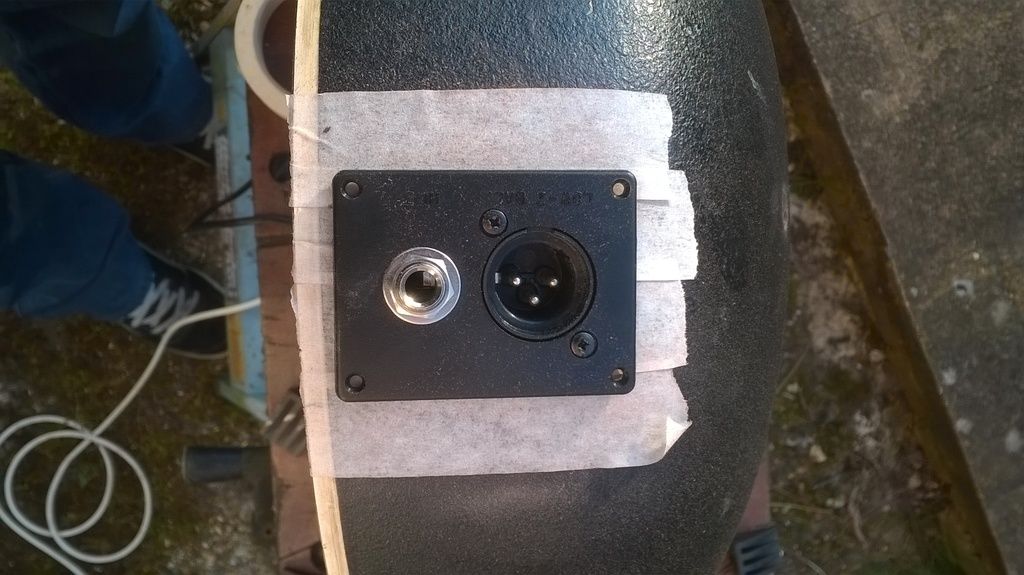
Now, there's a long wire with a White plug on it that we need to feed from the the Pre-amp, through the Body and out of the Jack Plate aperture!
This plug fixes onto the Jack Plate. Again, it can only fix one way round so you can't go wrong!!
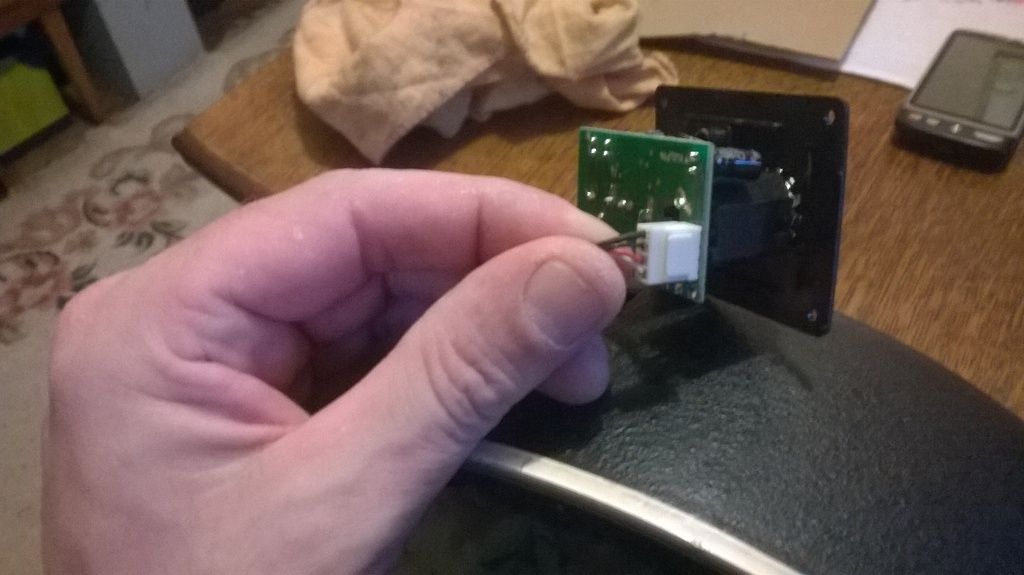
Push the Jake Plate into it's new home and we're almost there!!!
The next, and almost last, thing to do is to use your Rotary Multi-tool again. Use a 0.3mm drill bit and pre-drill all the Mounting Screw holes on the Jack Plate and the Pre-amp Unit:-

Install the supplied screws, there's two sizes here, small ones for the Jack Plate and slightly larger ones for the Pre-amp. Once they're installed, re-string your guitar, install a Battery in the Pre-amp Unit (easily done from the top) and that's it, you're good to go!!!!
I hope this walkthrough was of interest to those that wanted it!!

Part 1 is HERE!!
