


Locking Up A Floating Tremolo, Chopping wood |

|
|
|
|
Jan 3 2008, 10:22 PM

|
|
My guitar have recently started to go out of tune constantly when ever I use the tremolo. So I had a look at the knife edge it balances on and saw that it's becoming worn down on one side. I'm sure this is one of the disadvantages with the RG models compared with the Prestige model ones.
...and I haven't used mine so extensively either... Because of those reasons, to have it stay in tune and while I don't use it so much anyway I decided to make it hardtail out of this double locking trem Before anything else, remove the cover plate back and loosen the strings to the extend that the trem can be lift out of it’s cavity I started by removing the edge that the back plate rests on, just to get a flat "wall" to rest the piece of wood that will hold the one side of the trem in pace. 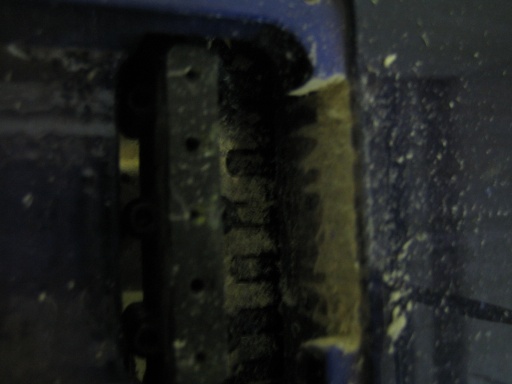 First I drilled several holes to weaken the wood and then just used a knife to cut it away. Basswood is surprisingly crispy and soft. So this part was almost like breaking a piece of chocolate bar and the uneven edges that gives, I softened the chocolate edges with the knife aswell. 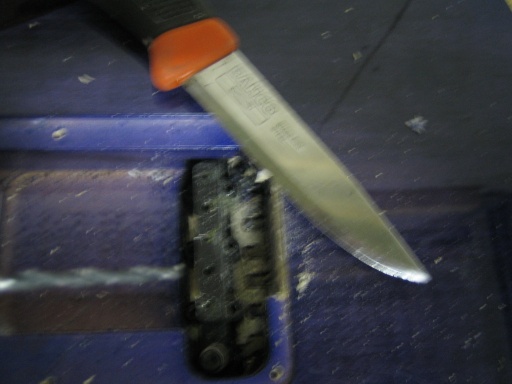 Then I just polished the surface with sandpaper 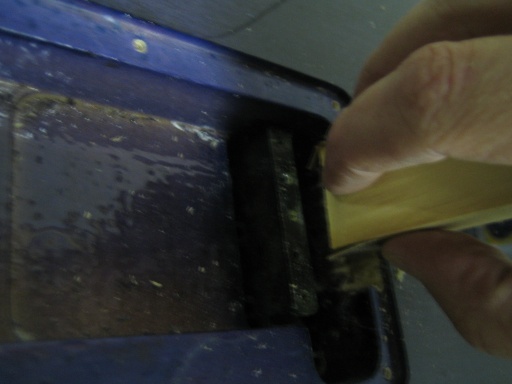 I measured from the back wall to the trem block and got it to 17 mm. …thank god for the metric system ;-) And doing this while I was holding the trem aligned on the other side. 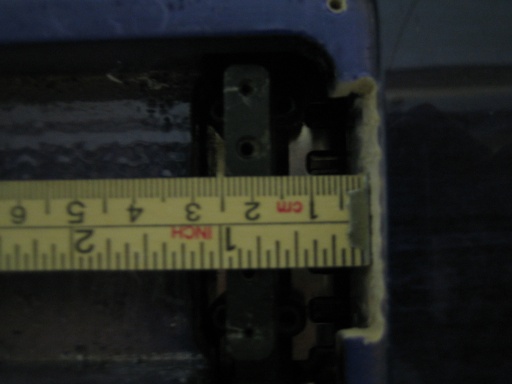 I took a small piece of scrap wood that would fit, cut it out closer to 17 mm, but a tad larger and marked with a pen the size it should be. Marking all around it so I have a solid line to follow. 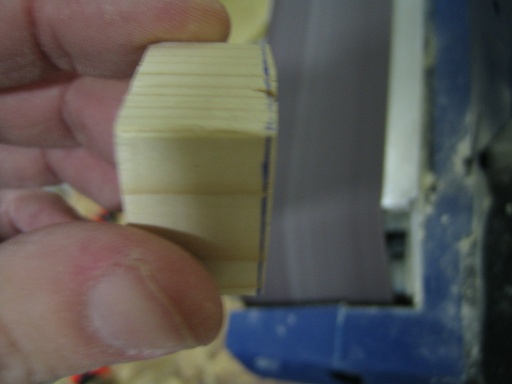 A power tool sander put upside down was used to make the piece even and then I try fitting it. This time, at 17 mm, a little to big as the wood and the trem block form a wedge shaped hollow in between them. 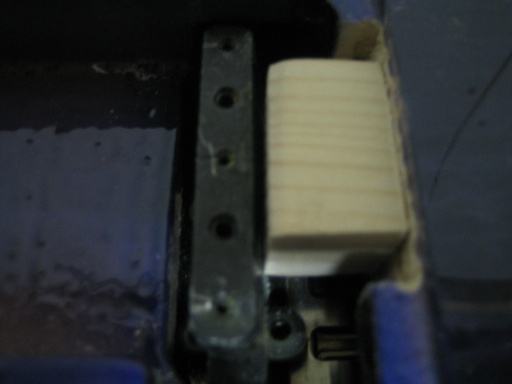 Had to sand some more off of it, maybe down to 16 mm I don’t know, or the piece was uneven from when I spun it around it’s possible it was a fraction of a mm thinner on the edges compared to the middle. I never checked but kept sanding until it fit nicely. 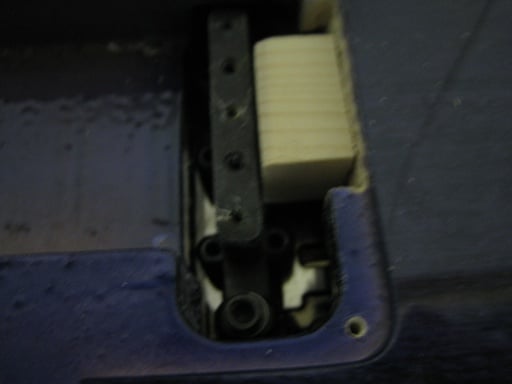 Aligned with the body as well  While at it I had to straighten out the neck a bit since it was very uneven also in the tuning, if set in tune on the lower frets the upper frets could be quite some bit out of tune. Unscrewing the lid 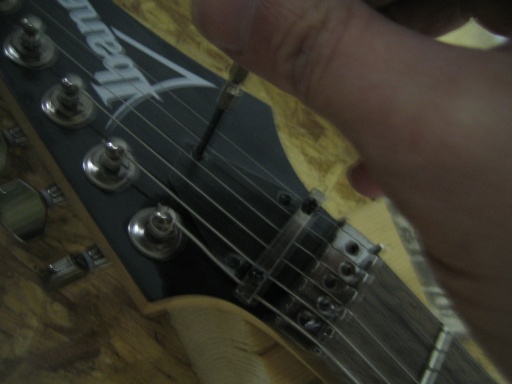 And this is how I went about checking the neck besides hearing and visually see it with a tuner that something was wrong. I pressed down the last fret and the first fret and then it’s pretty easy to see how the neck is bent. Just because it’s a little bent that doesn’t mean the truss rod has to be adjusted but in this case it had to be done. 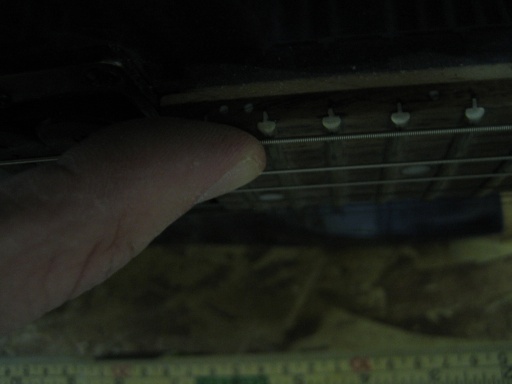 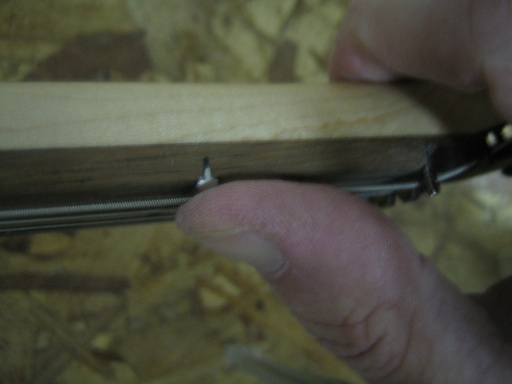 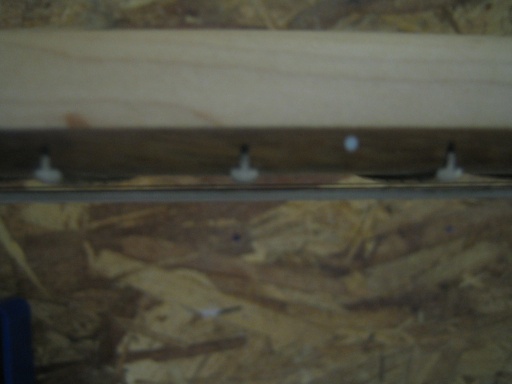 Then comes the hard part, to figure out which direction to turn the screw. The mid space between finger board and string was too large for me and I wanted it shorter, hence straightening the neck which means I will be turning the screw clockwise. In my mind that should make the scale between nut and bridge longer - a very small bit but enough to help with the tuning and the tone on the upper frets. With the action set very low the higher frets “dies” since when the strings vibrate they come in contact with the even higher frets and stop vibrating. Straightening the neck will increase the distance between string and fingerboard on the upper frets. Not that I necessarily have to keep the action that low but knowing that I can makes me confident my guitar is set up well. I couldn’t mark the truss rod for it’s original position so I carved “1/6 cw” onto the back of the plastic cover which means 1/6’th of a full turn clockwise. Incase I have to go back for whatever reason. 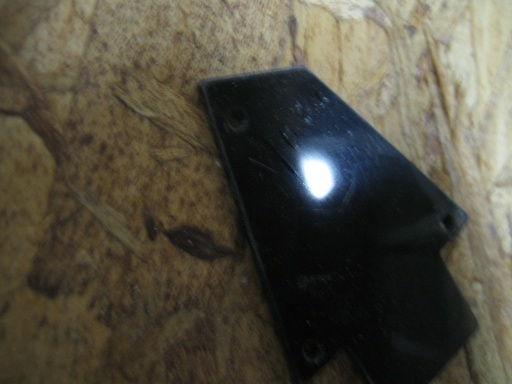 Finally I want to stabilize the trem even more so I’m putting in small wooden pieces also on the other side to really keep it in place. 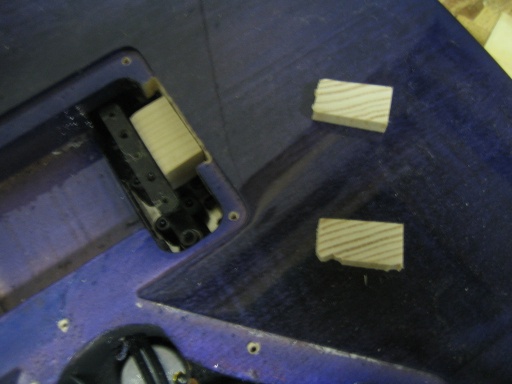 Some mild force to get them in place using a rubber duck... hammer I mean ;-) Rubber or nylon hammers should be ok for this, don’t ever use a metal tool of any kind since that could cause damage in an equal relation to how bad an aim you’ve got. 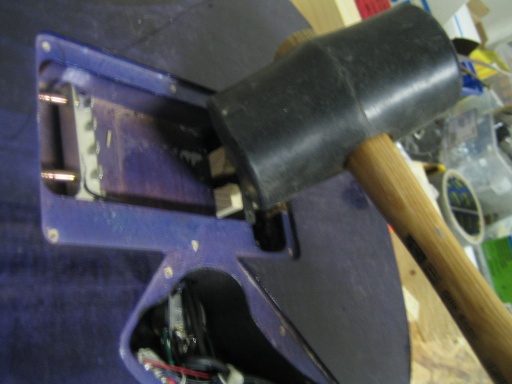 I’m not sure I will keep the springs but I put them in place for one reason only, to not lose them. In fact I think it would be more stable to rely on the trem to sit in place by the pulling force from the strings, now the strings will even out this force which is kind of silly since it’s counteracting the initial purpose to lock the bridge. If I notice any problems with the guitar not staying in tune I will remove them. 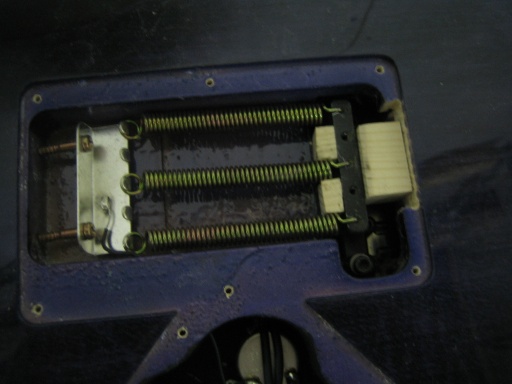 So far the tone sounds a lot better, it’s not just imagination which could be the case when one is looking for success in ones work but the upper frets are playable to for certain something good came out of it. Now I have to adjust the saddles a tiny bit to get the tuning correct all over the neck, it’s already close to perfect but the thin E and B string need saddle adjustment. I’m leaving the cover plate for the electronics off since I have a pair of DiMarzio Evolution pickups at home and I might take some photos of how I change them. This post has been edited by MickeM: Jan 3 2008, 10:32 PM -------------------- My bands homepage
All time favourites: B. Streisand - Woman in Love, M. Hopkin - Those were the days, L. Richie - Hello |
 |
 
|
|


Posts in this topic
 MickeM Locking Up A Floating Tremolo Jan 3 2008, 10:22 PM
 Andrew Cockburn Wow, cool! I would imagine this would help sus... Jan 3 2008, 10:35 PM
 MickeM QUOTE (Andrew Cockburn @ Jan 3 2008, 10:3... Jan 3 2008, 10:42 PM
nnn
Mr T Thanks for posting this! I'm gonna have to... Jan 4 2008, 10:12 AM Juan M. Valero yeah, great pics !! I'm never gonna us... Mar 2 2008, 10:01 AM Muris Awesome article MickeM,thanks!! Mar 2 2008, 11:29 AM
nnn
Pavel Saw some people doing that but i still prefer havi... Mar 2 2008, 11:35 AM Joe Kataldo Cool I don't like Floyd rose, too much tuning ... Mar 2 2008, 12:04 PM Milenkovic Ivan Great topic - veru useful, used to do something ve... Mar 2 2008, 12:34 PM
nnn
nnn
 
|
1 User(s) are reading this topic (1 Guests and 0 Anonymous Users)
0 Members:


