Building A Usa Strat On A Budget
| Line 284: | Line 284: | ||
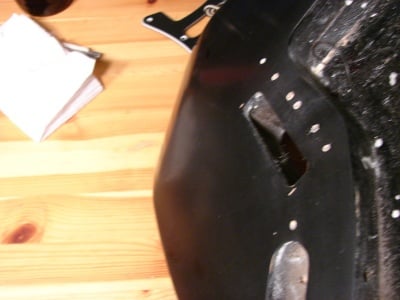
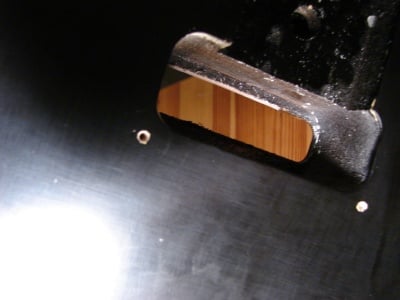
A view from the bottom. If you look closely you'll notice theres a little lip that goes around the hole, I'll explain what it is in just a moment | A view from the bottom. If you look closely you'll notice theres a little lip that goes around the hole, I'll explain what it is in just a moment | ||
| + | |||
| + | |||
| + | [[Image:ustrat45.jpg|400px]] | ||
| + | |||
| + | |||
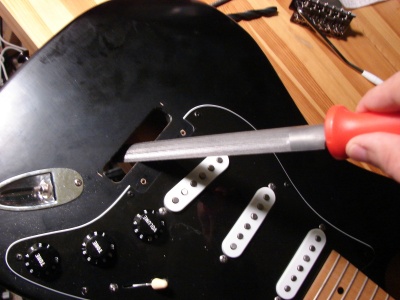
| + | The grit on this file wasn't very aggressive, so progress was very slow. I got impatient and went for a very aggressive file. This decision turned out to be a big mistake. | ||
| + | |||
| + | |||
| + | [[Image:ustrat46.jpg|400px]] | ||
Revision as of 16:03, 9 December 2010
Contents |
Introduction
An article by Mudbone
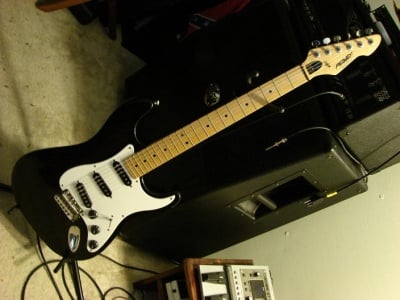
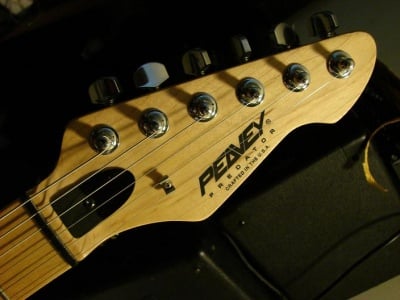
I have recently purchased a 1993 USA Peavey Predator with the intention of upgrading all the hardware. For those of you who aren't familiar with the USA Peavey Predator, its essentially a Strat copy with a kinda funny looking headstock. The neck and body were made in the US, and the hardware were made in the Far East I believe.
Brand new its was sold for less than $300, and on first inspection it is quite obvious where Peavey cut corners to bring down the price - the hardware is rubbish. Terrible tuners, cheap tremolo made from pot metal, and mediocre pickups.
There is one advantage this guitar has over its Fender counterpart, and that is the neck. It is a very fast and comfortable, and made from two pieces, thereby making it resistant to warping. The fretboard does have a gloss finish, which I don't particularly care for, and I wish it had a darker tint to it. It has medium frets, not exactly my first choice, I would much rather have jumbo frets.
The other area where this guitar strays from the typical Strat is the body wood. It is a Poplar body, and from what I've read on the forums it has an alder cap. Now before you knock it for being made of poplar, Fender themselves have claimed that poplar is just as good of a tonewood as alder. In fact, some of the first Strats were made with poplar. During the 90's Fender could not get their hands on any alder and used poplar as a substitute on their USA series guitars.
Anyways, all this talk of tonewood is trivial, for the thing that matters most is how it sounds - thats it. I have played it, and it does have a nice resonance to it. The guitar sounds good unplugged, which is a good sign. It does sound a little thin, but this can be attributed to the cheap pot metal tremolo block. An upgrade to a steel block could cure this.
So, here are the upgrades I have planned for this guitar, which is ALL of the hardware. The only thing that shall remain stock is the neck and body. I want to keep this as cheap as possible, but don't want to sacrifice too much on quality.
- Peavey USA Predator - $150
- Wilkinson WV6SB tremolo - all steel parts with a steel block - $32
- Tonerider Pure Vintage Pickups with white covers - $100
- RS Guitarworks Complete Vintage Upgrade Kit with Jensen oil and paper capacitor - $63
- Black Triple-ply pickguard - $10
- Dunlop Strap Locks - $14
Now what I haven't decided on yet is what kind of tuners I would like to get. I know for sure I would like to get locking tuners, just how much I want to spend is another matter. Guitar Fetish has some for around $35 and the Sperzels on eBay are around $50-60.
The final upgrades I would like to do are a Graphtech nut and string trees. I think I'll have the nut installed by a luthier, not sure yet.
As far as the aesthetics, I'm gonna hit the body with some steel wool to get rid of the gloss and give it a satin finish, I think it will contrast nicely with the glossy pickguard. In the end its gonna look somewhat like David Gilmour's black Strat. Thats not the way I planned on it happening, I didn't even want a black guitar. I actually wanted a white guitar and planned on blacking out all the hardware. However, when you buy used you can't always get exactly what you want.
Now I'm sure some of you are saying I could get a used USA Fender for around $400, and that argument does have merit. However, for me this more than just having a great guitar, it is also a learning project. By the time I'm done I will know more about different aspects of the guitar than I previously did, plus I hope you guys can benefit from my project as well.
I would like to thank Stratman79 for his suggestion of the Tonerider pickups. From the demos I've heard on Youtube they sound great and the price shall save me a few bucks.
Getting Started
In the original post I said the plan was to install the RS Guitarworks electronics kit, but that plan has been scrapped. I ended up getting the Specialty Guitars Strat upgrade kit that was tuned to have vintage/modern SRV sound. I saved about $25 going with this kit. The RS Guitarworks kit had a paper and oil capacitor, which was a big portion of the cost. I just couldn't justify dishing out that kind of money for something that makes little, if any difference in tone.
Also, I ended up going with the Guitar Fetish tuners instead of the Sperzels, and saved $30 in the process. These two changes saved me $55, which goes to show you if you don't keep a level head the price of your project can skyrocket. If I ad in the the savings from getting the Tonerider pickups instead of the Texas Specials, the savings expand to $135. Remember, this is a budget project, keeping costs down is absolutely essential.
The tuners were too big for the holes, so now I have to bore out the holes to 10mm. I was gonna do it with a reamer, but they're expensive, so I'm just going to drill out the holes. I'll start off with a 6mm bit then work up to a 10mm, at least thats the plan for now.
Anyways, enough yapping, on with the pictures.
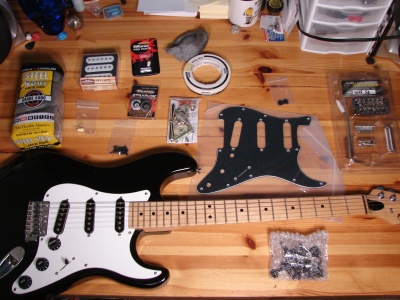
This is what I started with:
All the parts laid out
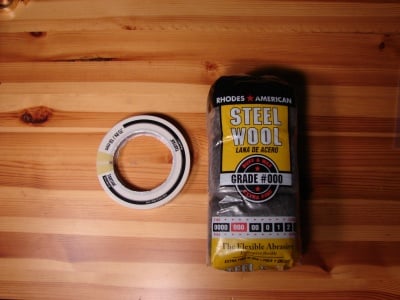
Steel wool and tape used to buff out the gloss and give to guitar a satin finish
Tremolo Kit
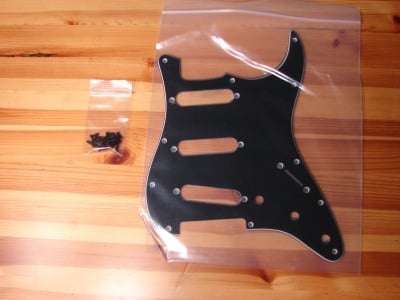
Pickguard and black screws
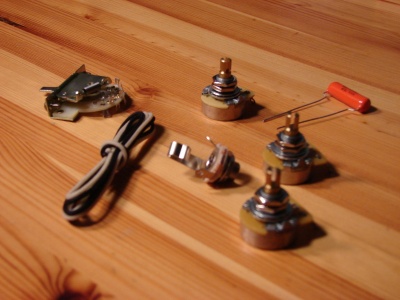
Electronics Upgrade Kit
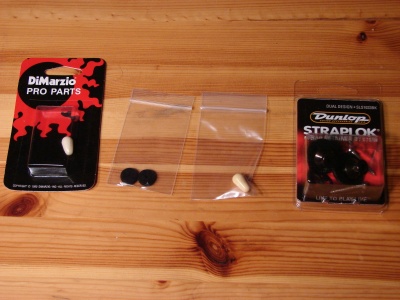
Straplocks, felt pads, and Pickup selector cap
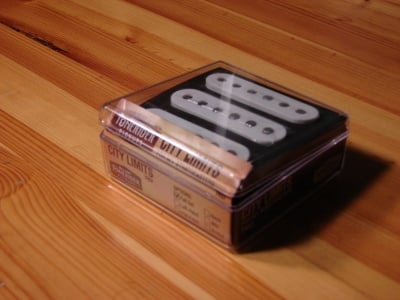
Tonerider City Limits Pickups
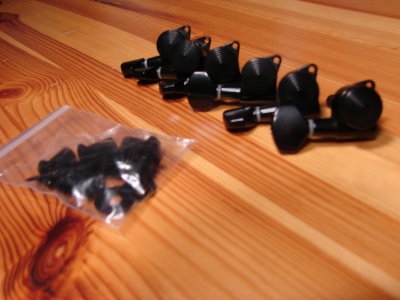
Tuners
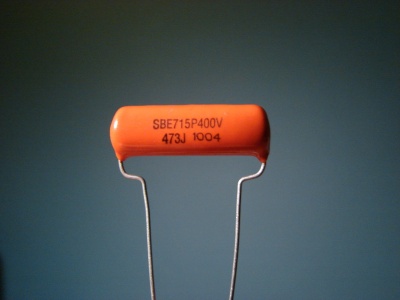
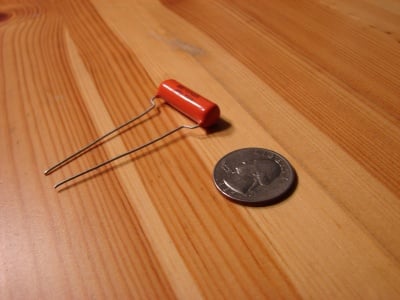
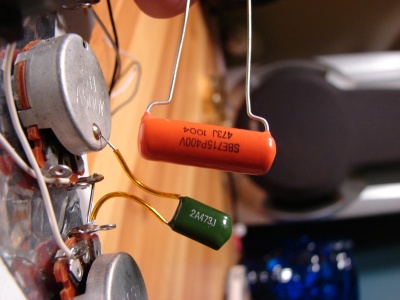
Orange Drop Capacitor
I put the cap next to a quarter just so you can get an idea of how big it is. It was actually a lot bigger that I thought it was gonna be.
Replacing Hardware
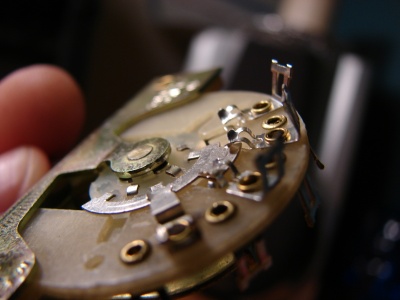
Pickup Selector. I had to push down the little metal tabs to make sure they made contact with the sliding plate, they were slightly bent up upon arrival.
The crappy ass loaded stock pickguard.
A ceramic bar going across the pole pieces, pretty nasty if you ask me, you can see where Peavey cut corners.
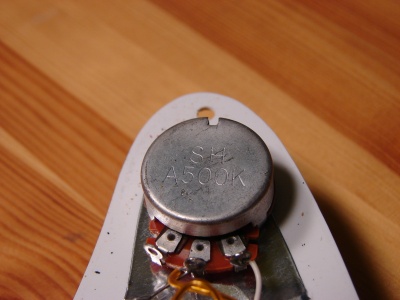
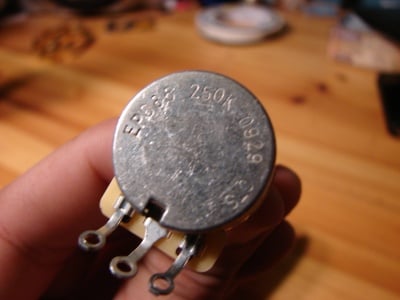
500K pots? Aren't single coils supposed to have 250k pots? The stock pickups must be really dark sounding.
Stock capacitor.
New CTS pot.
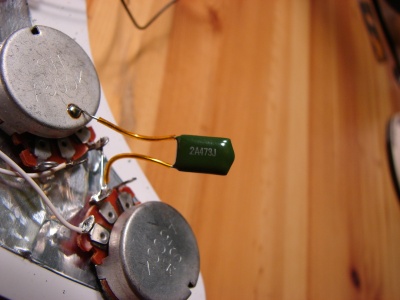
A side by side comparison between old and new caps.
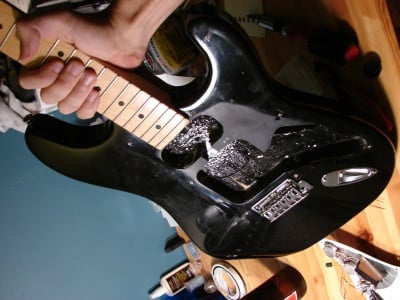
Almost empty guitar.
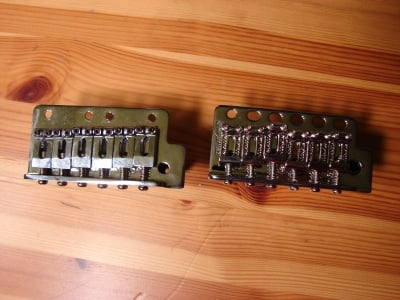
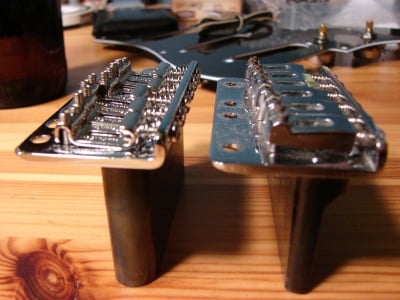
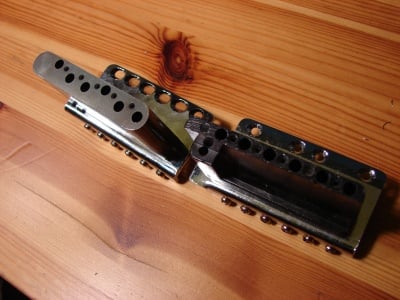
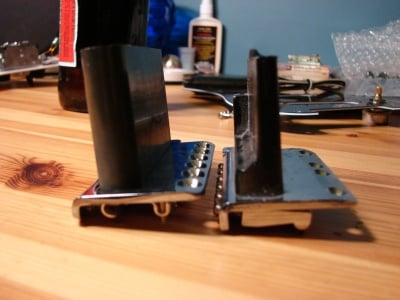
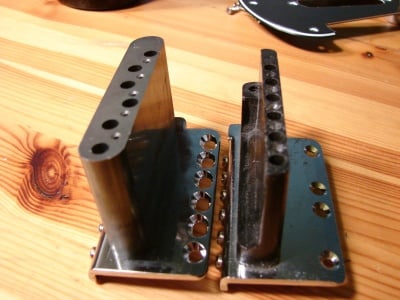
New and old bridges, side by side
Check out the significant mass difference between the new and old tremolo blocks.
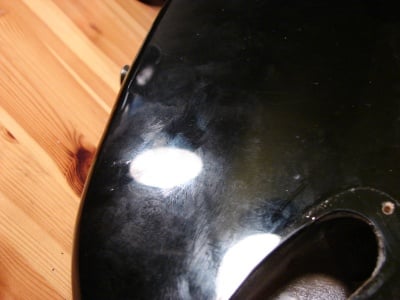
A guitar and its gloss finish shall soon be parted.
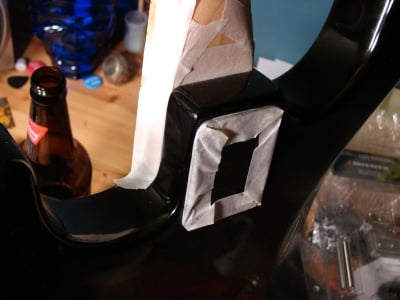
If you don't want to remove the neck, tape off the parts you don't want buffed by the steel wool. Also, if you have a sharp eye, I'm sure you'll notice the exceptionally terrible brew known as Budweiser. This is a budget project, and requires budget beer to keep your nerves in check, because this project can get exceptionally aggravating.
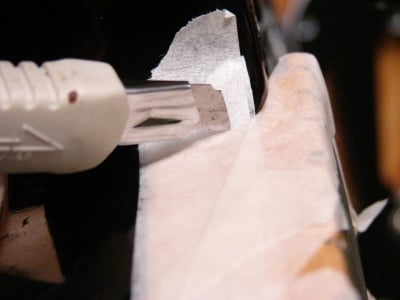
Then trim the tape with a blade.
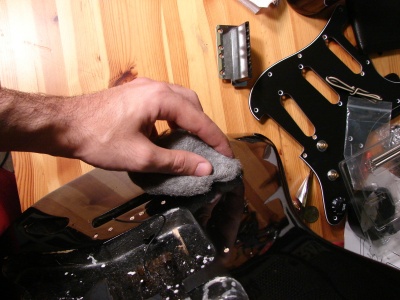
I didn't really buff it at the work bench, because it makes a HUGE mess, I just wanted to add a visual illustration. Seems kinda cheesy now. If you're gonna do this, I suggest getting a big ass magnet and putting it in the steel wool, so that little steel flakes don't fly everywhere. If I only remembered this tip beforehand. Keep in mind, the steel wool dust rusts, so wherever its lands will soon turn rust colored.
No more gloss, not quite satin, but close enough.
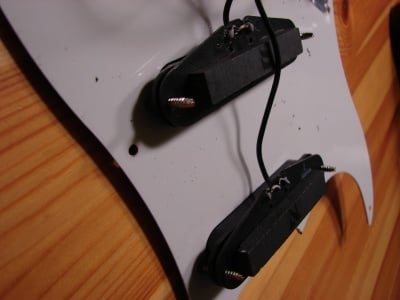
The new pickups came with surgical tubing instead of springs.
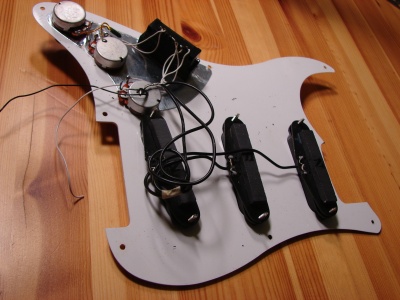
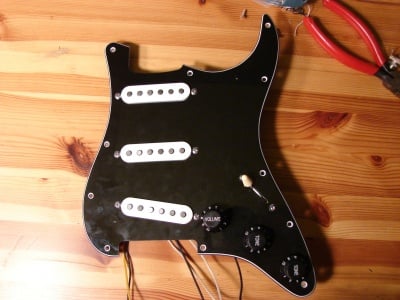
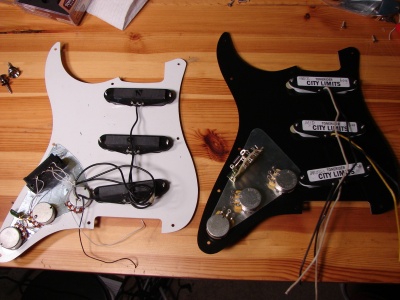
New pickups installed in new pickguard.
New and old, side by side.
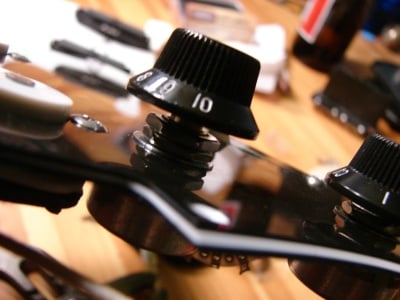
The old knobs didn't fit, so I had to order new ones.
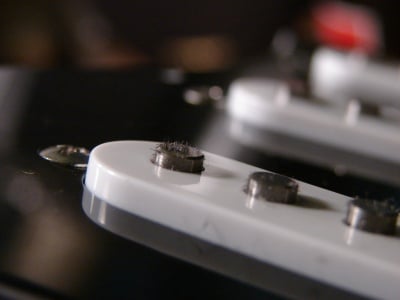
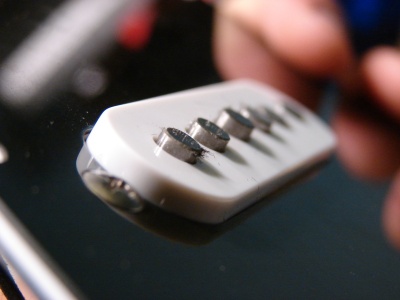
This is what happens when you're careless with the steel wool. I didn't clean it up properly and now its stuck to the pickups.
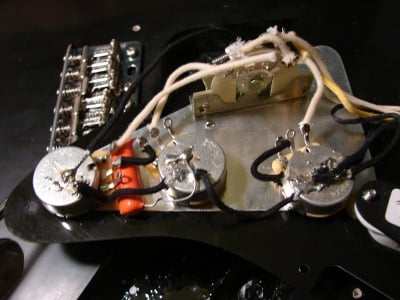
Everything all wired up. Yes I know, its looks like it was soldered by a baboon with severe brain damage.
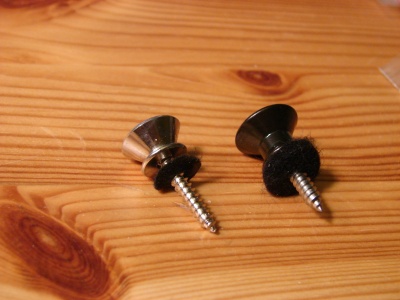
New and old strap locks. I ended up stripping the screw on the upper horn straplock. I then tried to drill out the screw and remove it with an extractor. The drill bit broke and got stuck in the screw. If I could only type the words that were coming out of my mouth... So now the straplock is a little wobbly and removing it will be a royal pain in the ass. Its staying like this for now. So heres a tip, remove the neck so you can get to the screw at a better angle, and also so you can predrill the hole first.
Tremolo installed. The hole for the tremolo was too small, and the tremolo block now binds on the body. This body clearly wasn't designed for a block this big. If you look closely you'll see that the side of the tremolo facing the pickups is rubbing on the wood. So the next step will be to remove some wood. It shouldn't be too difficult, I just haven't decided how I'm gonna do it yet.
Fixing the Tremolo and installing the tuners
Finished... Well almost. The only thing left to change is the nut, but thats not going to happen for a while (got other projects that now have priority). Other than that, every single piece of hardware has been upgraded.
Now we need to tackle the problem of the binding tremolo and install the tuners.
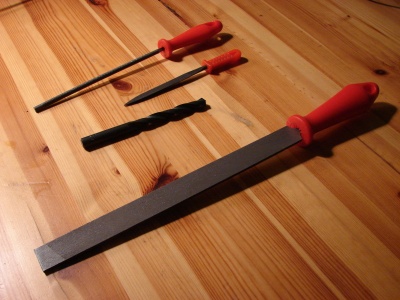
The tools I used to bore out the tremolo hole and tuners holes in the headstock. The drill bit is 10mm.
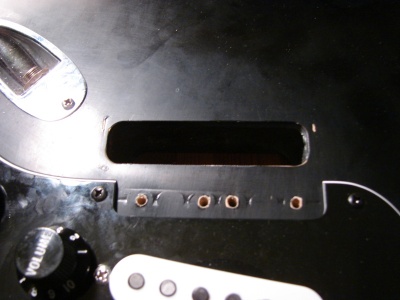
Before being bored out
A view from the bottom. If you look closely you'll notice theres a little lip that goes around the hole, I'll explain what it is in just a moment
The grit on this file wasn't very aggressive, so progress was very slow. I got impatient and went for a very aggressive file. This decision turned out to be a big mistake.
