

Guitar Connections
| Line 128: | Line 128: | ||
| - | [[Image:marmic.jpg]] | + | [[Image:marmic.jpg|400px]] |
Revision as of 15:32, 1 July 2011
An article by instructor Ivan Milenkovic
We all need to connect our gear in various ways, and there are always more than one piece of gear that we can connect, wetter it's only PC and amplifier line out. Many people connect these devices, and get noise problems, or even fried cards, and are not sure why. It turns out not all the connectors work on the same "level", as I will explain soon.
Contents |
LEVELS (VOLTAGES)
As far as analog signals go, there are several different standards that had to be made, relative to the strength of the output signal from the source. Today, we use 3 of these standards: Line-level, Mic-level and Instrument-level.
Line Level
One that is most commonly in use is "Line Level". It's used to standardize the voltage/strength of the input/output signals, in order to make connecting of various audio gear possible. Most gear that has Line Level inputs are CD and DVD players, consumer electronics like MP3 players, or integrated/consumer PC audio cards.
The standard for Line Level signal is around 750 milivolts. What this means is that all the outputs or inputs that are marked as "Line", are usually operating at this voltage.
For example, with intergrated sound cards you can see the arrow sign, or "Line In" or "Line Out" sign. This means that you can connect this line level output to another device that is operating at line signal voltage at their connectors.
Mixing consoles usually have various inputs available, because of their function, so they usually have labeled out line level inputs as well. On most mixers, the last 4 or 8 channels (ones without XLR connectors, are usually operating only at 750mV (line-level).
There are two types of line level:
consumer line level is at -10dBV
professional line level is at +4dBu (or dBm)
In order not to get you confused with dBV and dBu values, it is just important to understand what goes where. Here are some common connectors and what line level they operate at:
RCA (phono) connectors are usually -10dBV.
XLR connectors are usually +4dBu (Mic Level).
TRS quarter inch jack plugs can be either -10dBV or +4dBu, depending on the use.
Mic Level
Microphones are operating at much lower voltages then line level devices, around 1mV - 80mV. This signal is too weak and prone to external interference. This means that a preamp is being used for microphones in order to get the mic-level low voltage signal to line-level high voltage signal.
Instrument Level
Instrument level is not a standardized voltage, but can vary depending on the instrument's output, and it's usually somewhere between mic and line level voltages.
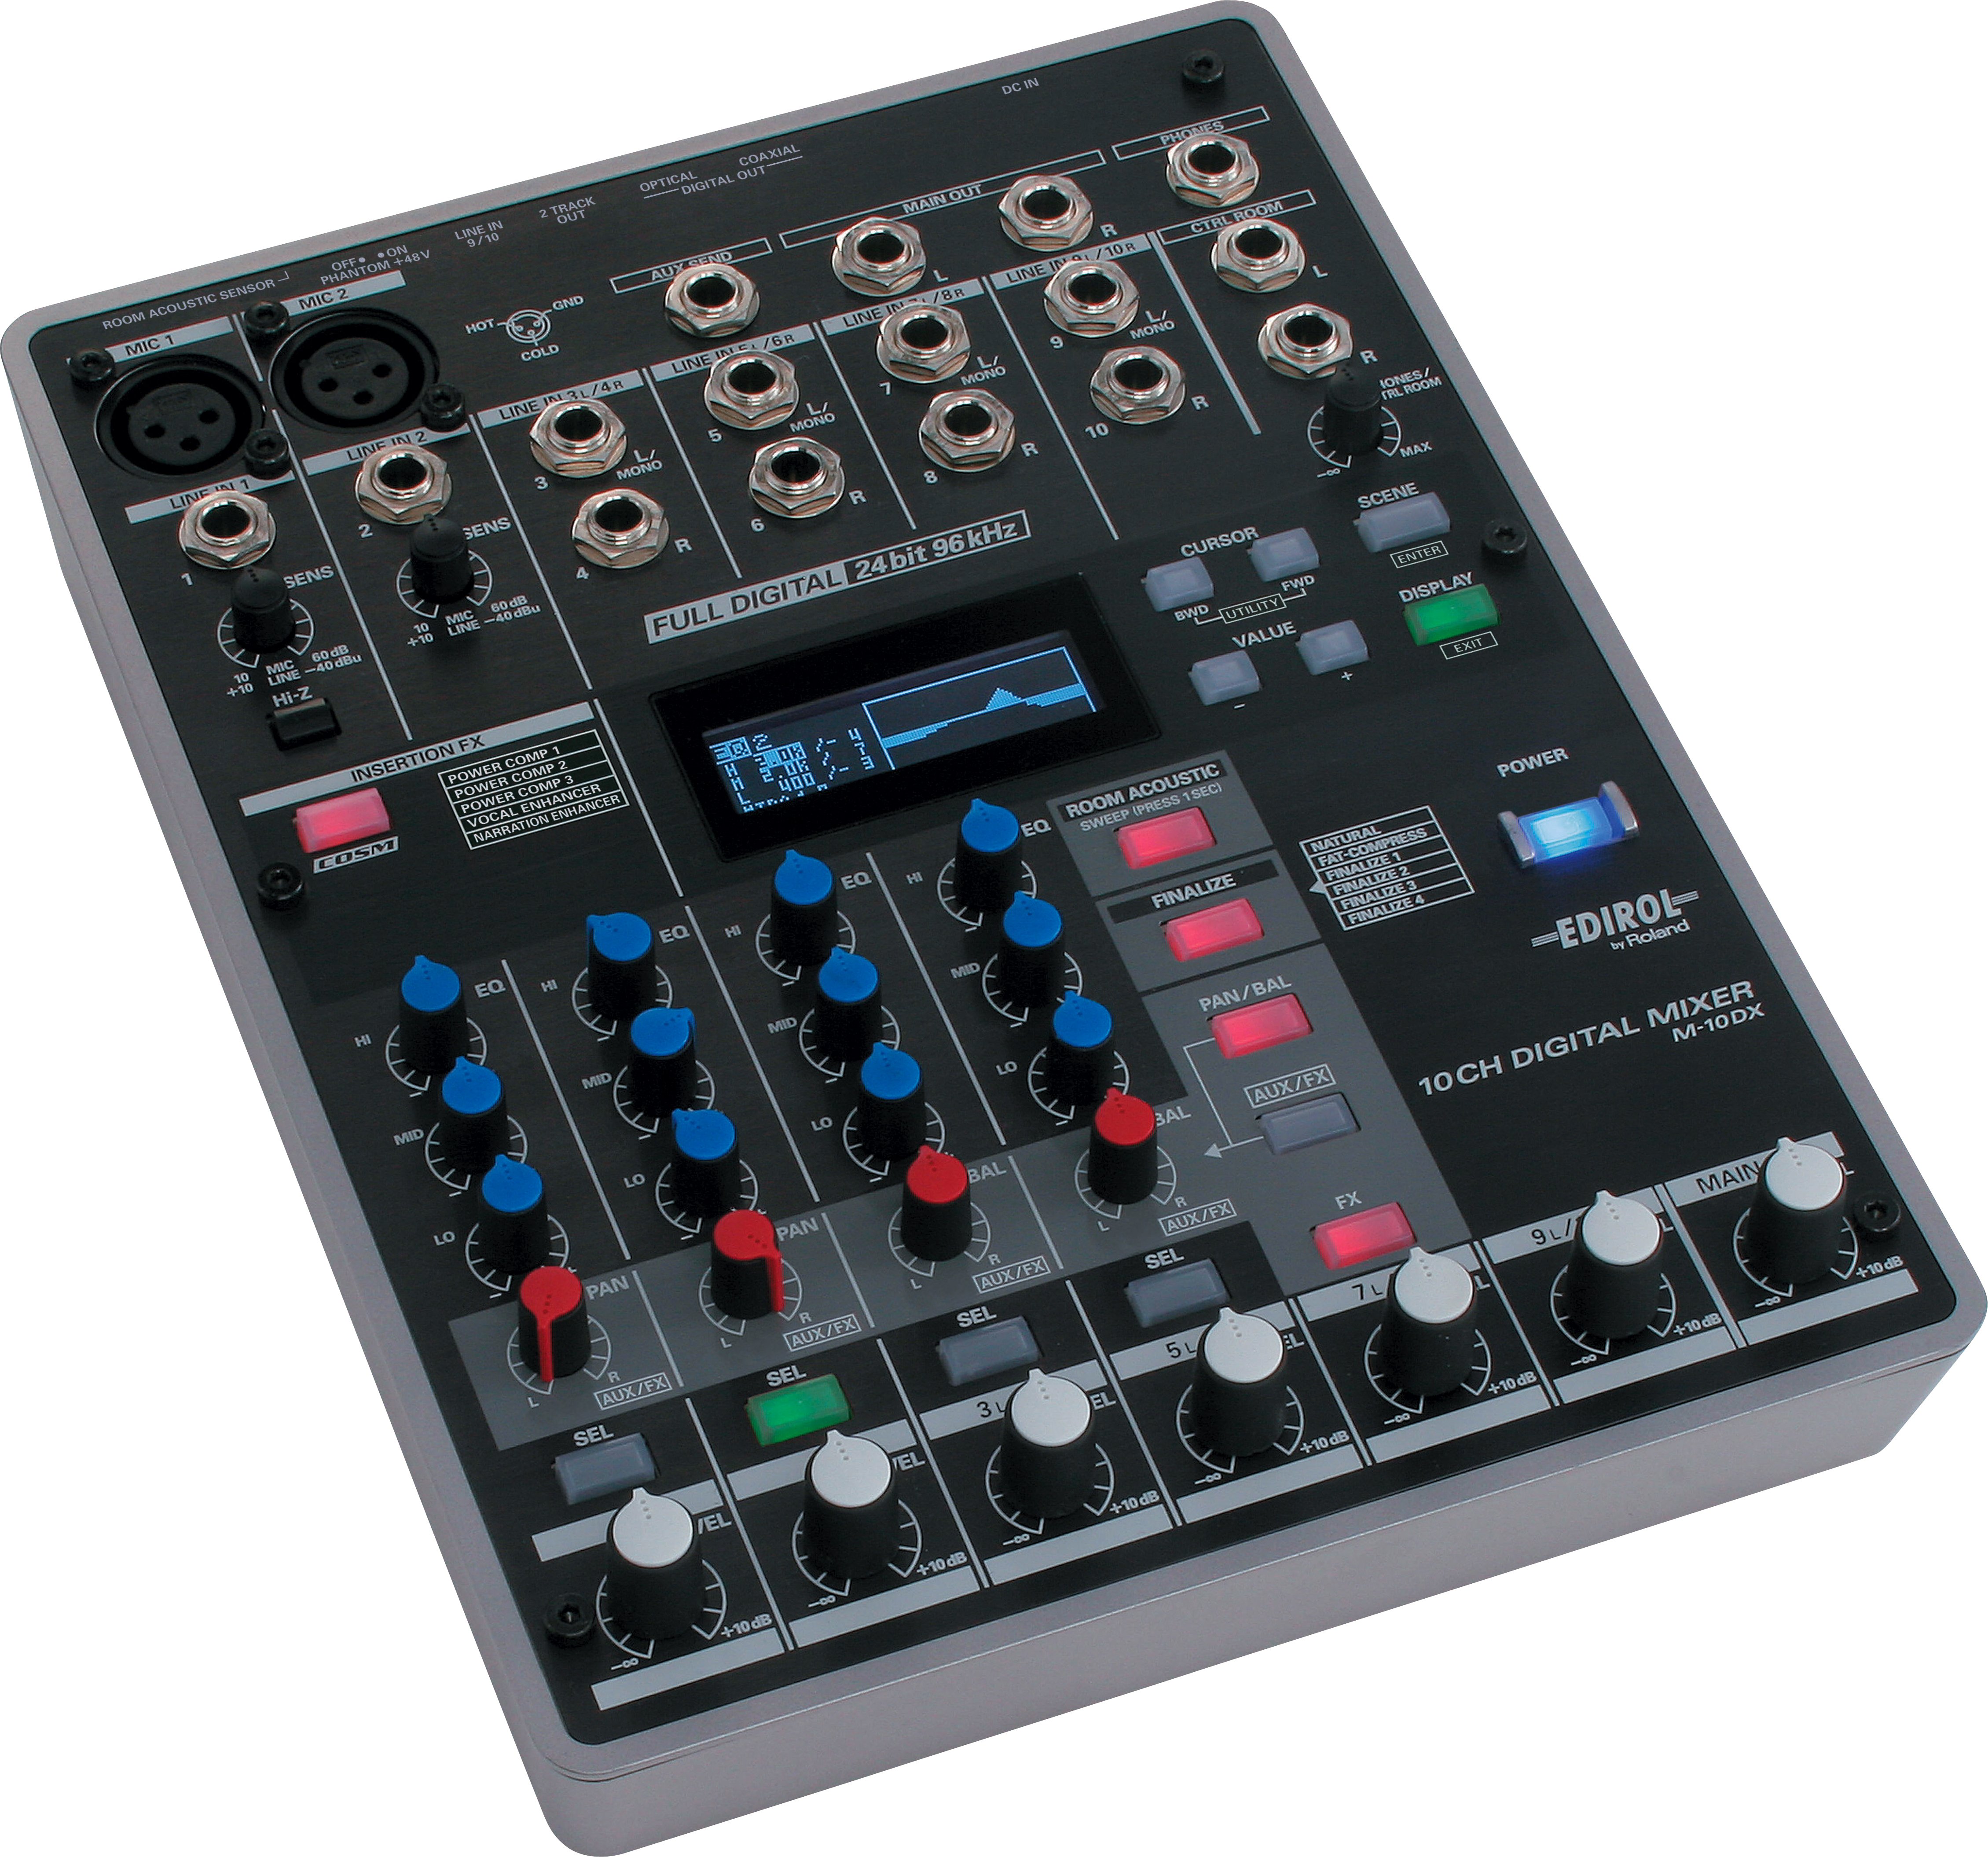
Here's a hi-res picture of a mixer that has mic-level and line-level inputs:
As you can see, XLR inputs are low voltage mic-level inputs, and they can handle lower voltage power, which means that you can "burn" the inputs by using the higher voltage sources like instruments or line-level devices. Preamps are very sensitive, and serve to amplify the low voltage mic signals to appropriate 750mV line-level.
Also, notice that there are lots of line-level inputs available on the mixer. All these serve for standardized 750mV equipment.
Impedance
A high impedance circuit tends to have high voltage and low current. A low impedance circuit tends to have relatively low voltage and high current. Impedance is usually labeled as "Z" and it is measured in "Ohms" (Ohm).
If you connect a low-Z source to a high-Z load, there is no distortion or frequency-response change caused by this connection. But if you connect a high-Z source to a low-Z load, you might get distortion or altered response.
When you connect an electric bass guitar or an electric guitar (a high-Z device) into an XLR-type mic input (a low-Z load). The low frequencies in the signal will roll off, so the guitar will sound thin.
We want the guitar to be loaded by a high impedance, and we want the mic input to be fed by a low-impedance signal. A direct box or impedance-matching adapter does this.
- Microphones and line outputs are usually low Z.
- Electric guitars, synthesizers, and line inputs are usually high Z.
- XLR mic inputs are low impedance; phone jack mic inputs are high impedance.
BALANCED/UNBALANCED audio:
Balanced audio is a method of interconnecting audio equipment using impedance-balanced lines. This type of connection is very important in sound recording and production because it allows for the use of long cables while reducing susceptibility to external noise.
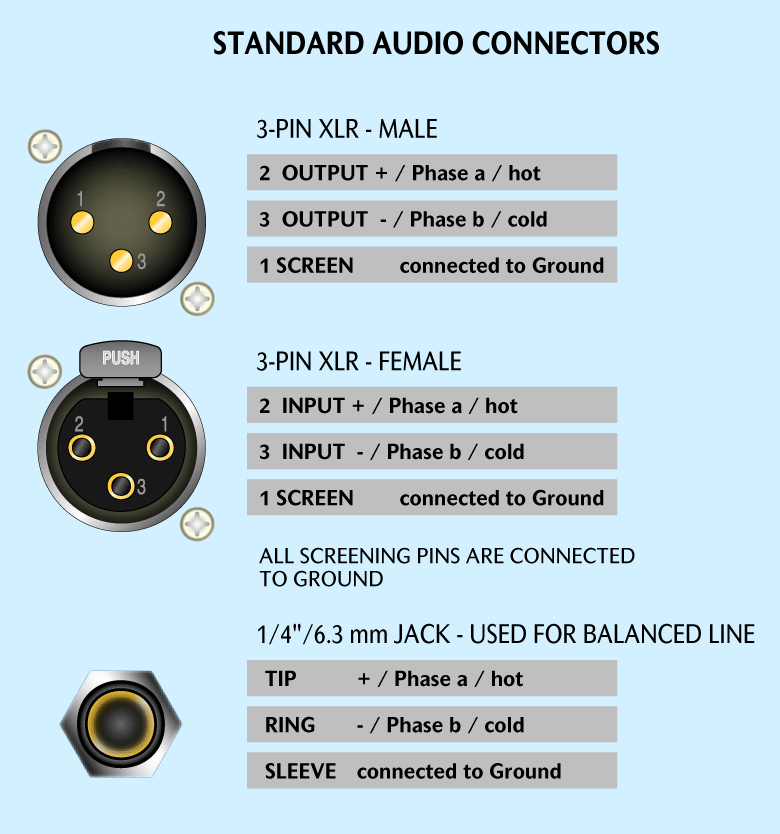
Balanced connections use three-conductor connectors, usually the XLR or TRS connector. XLR connectors, for instance, are usually used with microphones because of their durable construction, while TRS jack plugs are usually used for mixer inputs and outputs because of their smaller profile.
TRS and XLR cables are basically the same, except having different connectors, here you can see the picture for XLR male/female and TRS connectors.
All these have ground wire, and two wires that carry the same signal, hot & cold. These two wires are phase-reversed, so they aren't susceptible to external noise.
- Microphones usually have low-voltage, low impedance signal that is very susceptible to interference, and because of this, they are usually featuring balanced connectors.
- Electric guitars and bass guitars have "mid" voltage, high impedance sources, and they usually have unbalanced connectors
- Consumer audio devices usually feature unbalanced connectors
- Prosumer audio usually feature both unbalanced and balanced connectors
Conecting the guitar
After all this technical mumbo jumbo about connections, it's time to actually start pluggin in (finally) There are several ways you can connect and record your guitars, most often used include the ones bellow. They are ranged so that the first ones in the list require most budget, but are least practical. Lower down the list are cheaper options, but more practical and flexible:
1. Plug the guitar into an amp, mic the cab, and record the microphone sound into mic preamp/sound card
2. Plugging the guitar into guitar head with line out, or guitar preamp, and connecting to line in on sound card
3. Plugging guitar into processor, connecting the processor via analog or digital link to sound card
4. Connecting the guitar into audio card with Hi-Z input (aka audio interface) and modeling the tone from software
1. The first option is the most expensive one, and it will require most money and biggest chunks of gear. The end result may prove to be most natural one, but only if you know what you are doing. Just as having a pro skate doesn't make you Tony Hawk (it actually guarantees lots of injuries! )- having all that gear doesn't qualify for best tone possible, in fact, it can test your patience at moments. With experience, it can guarantee best tones tho. If you own guitar amp, guitar cab, room to crank it and to baffle it, microphone(s), mic preamp, and sound card (duh..) you can start experimenting right away.
There is one (and only IMHO! ) good thing about this particular approach. The sound from a real tube amp will be better then the sound you will emulate through software or processor. Real thing is always better than the emulation, no matter how good the emulation is. But, you can also create a mosquito attack tone easily, and some guy with software will create that huge tone you are craving for. How? By experimenting and knowing your gear, recording space and mixing techniques inside out.
Bad sides of this approach is that you have to play relatively loud (not important if you have deaf neighbours), you have to experiment a lot in studio, have nerves to always adjust, record, adjust record.. One important downside of this approach is that people usually have couple of amps only, and this will prove limiting after a while in creating various tones. If you do have the amp that you really like and it has your signature tone, there is always an option of getting another cool mic, another cool preamp, another cool stand, another cool acoustic foam, another cool cab... you see where this is going? __IPBWIKI_IMG_HTTP__www.guitarmasterclass.net/guitar_forum/style_emoticons/default
/smile.gif__IPBWIKI_IMG_HTTP_END__
Various ways of micing this marshall cab:

I will not put too much words about the factors that are important, but will mention some of the important ones, and leave you to experiment, cause this is the best way to actually observe and learn your particular gear in your particular recording situation:
- proper room acoustics - quality balance of the complete gear chain (eliminating bottlenecks first) - choosing the best possible gear for the job - microphone placement and microphone combinations - loudness of the amp vs microphone sensitivity - setting the tone right in relation to musical arrangement/function - avoiding clipping and EQing (a lot) before recording - recording dry (unless there is nice acoustics available for capturing)
In general, problematics of this kind of recording involves lots of factors, but with lots of experimenting and studying, great results can be achieved. I do recommend testing this method if you have the gear and means available.
Since the gear list is big, and budget can increase greatly with each component, I do recommend thinking it over before you actually go into the shop and get everything you need. You might want to consider other options too.
This method is as close as it gets to professional studio recording, so it might be worth taking a shot, and interesting experience for those who would like to taste some of that work. Like I said, the end results can be very satisfying after a while, and you will be richer for one cool experience, which will eventually help you in the emulating world too. Here applies the general rule: Once you learn how the "real thing" sounds, it will be easier to emulate it later through software.
Categories: Gear | Theory


