How To Change The Bridge Pickup Of A Stratocaster
Original article by GMCer Crazy Diamond
Contents |
Introduction
A few weeks ago I decided to change the bridge pickup on my Fender Stratocaster. Like a lot people I found that I didn’t really like the sound of that pickup and that I wanted something that could handle a little more distortion. After shopping a bit online I have found a DiMarzio Chopper pickup that looked pretty cool. So I have ordered that pickup and I have installed it by myself. At first I wanted to take some pictures in case something went wrong, so I could look at the original settings. But once I had the camera out I thought that I could share my experience with you.
Changing a pickup is a really easy task and if I have been able to do it properly, anybody can do it. There is an excellent tutorial that was made by Marcus Siepen and I recommend watching it before trying to change your pickups. Even though I liked that tutorial I have decided to make one especially for the Stratocaster since a lot of Stratocaster owner have replaced or want to replace their bridge pickup.
Tools
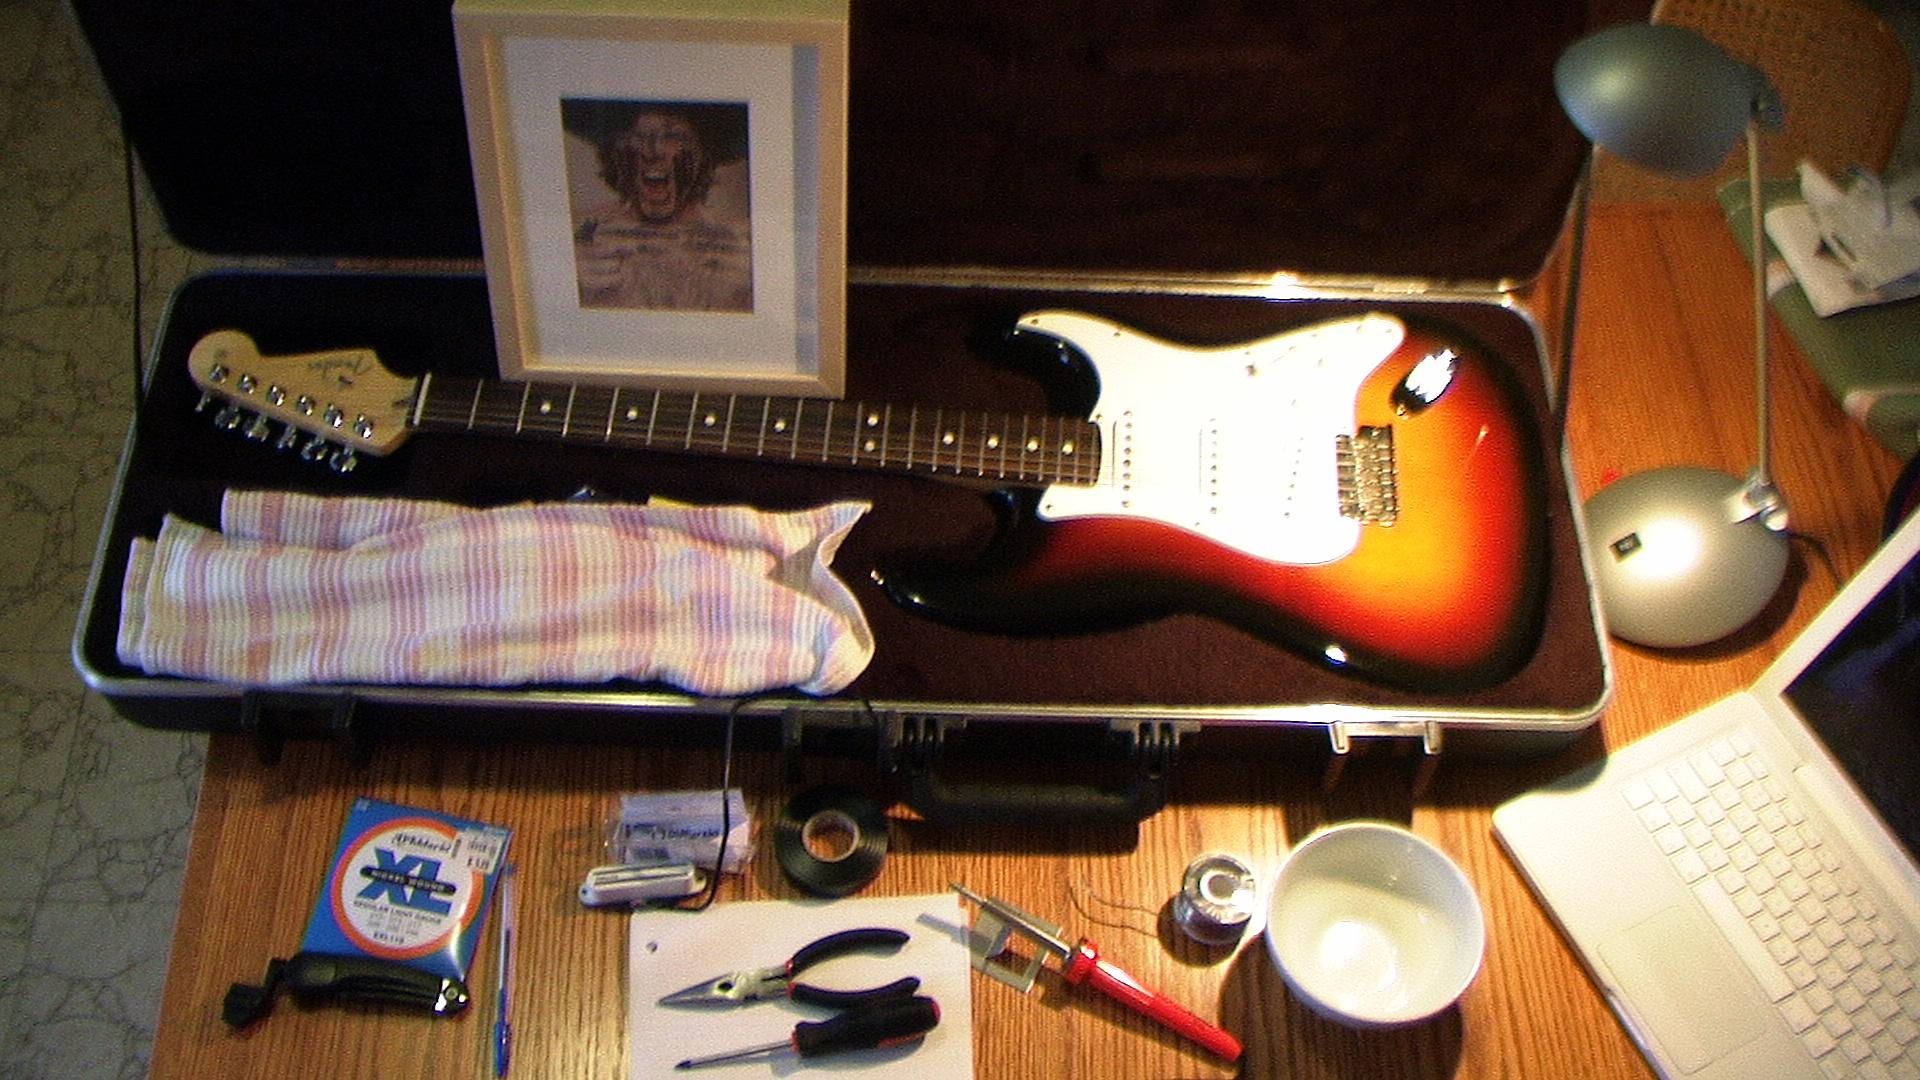
The first Step you have to take is gather all your equipment. I hate starting a job and need to find a tool later on.
For this job you will need to gather a few things around:
Guitar (obviously)
New pickup
Good lightning
Screwdriver and pliers
A soldering iron
Computer (for online reference)
Electric tape
Bucket (to keep all your screw in a safe spot)
Pen and sheet of paper to note the old settings
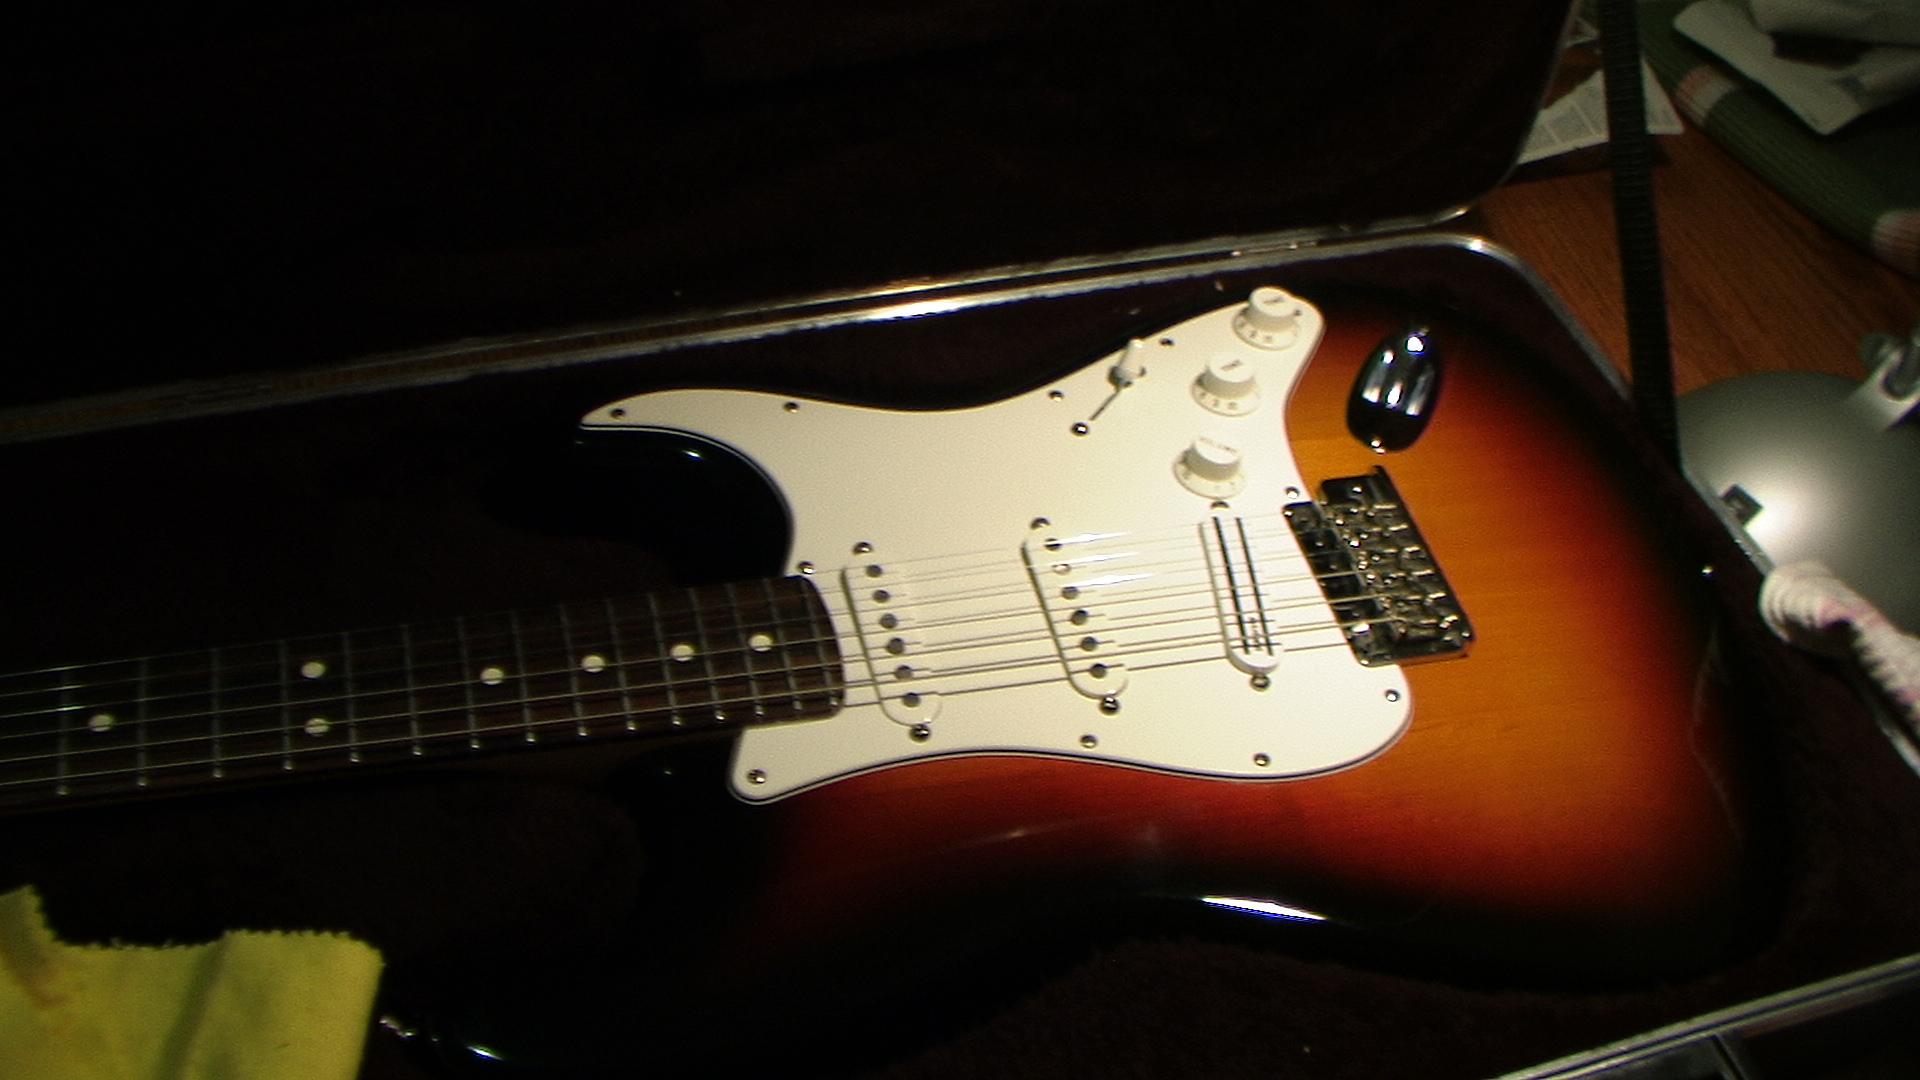
The picture is my Mojo; this guy is a crazy local guitar player (Jean Leloup)
Removing your pickup
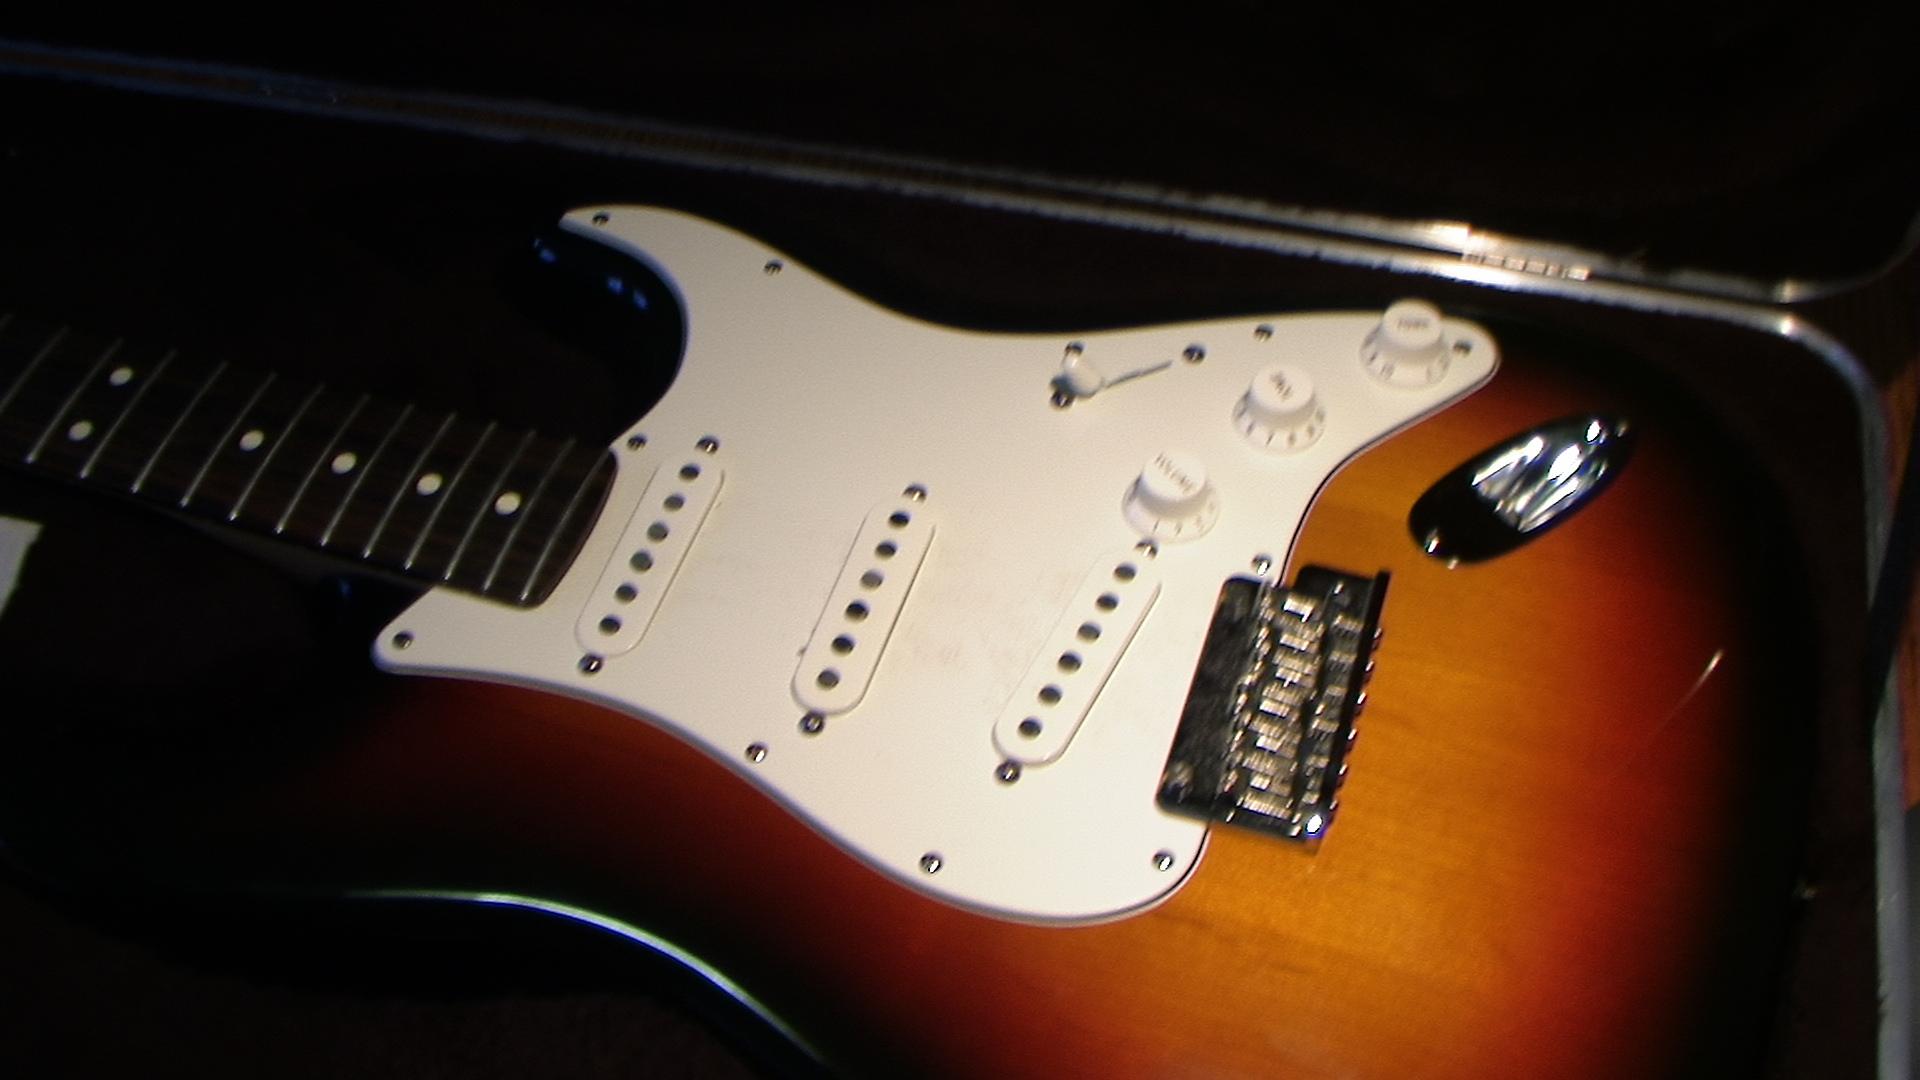
Once everything is done the first step is to take all your strings off. Then right after, you have to remove the pickguard, only take off the screws that are around the pickguard. The six screws around the pickup are set for the height adjustment. In the next picture it is the biggest screws that are made for the pickup adjustment.
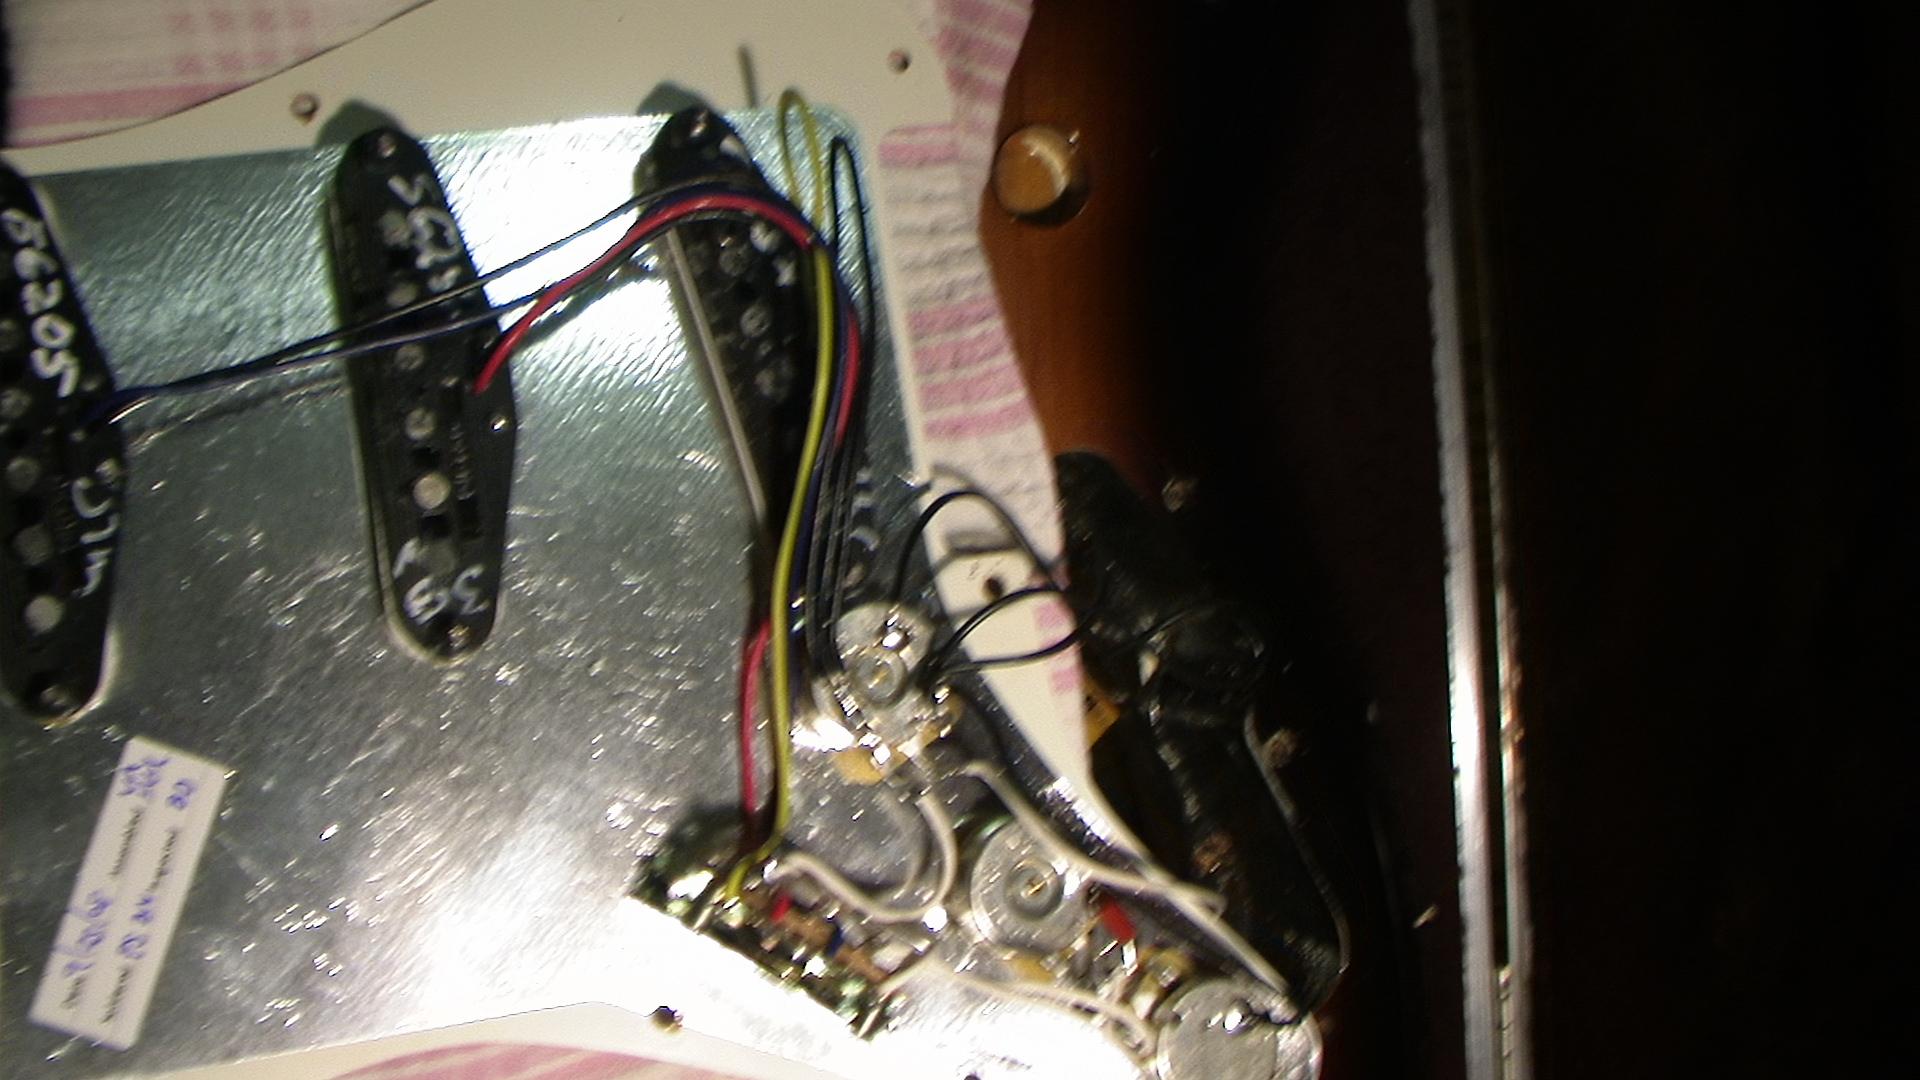
Before putting the pickguard upside down, you should put a cloth on your guitar to prevent any scratches. The back of your pickup should look like this.
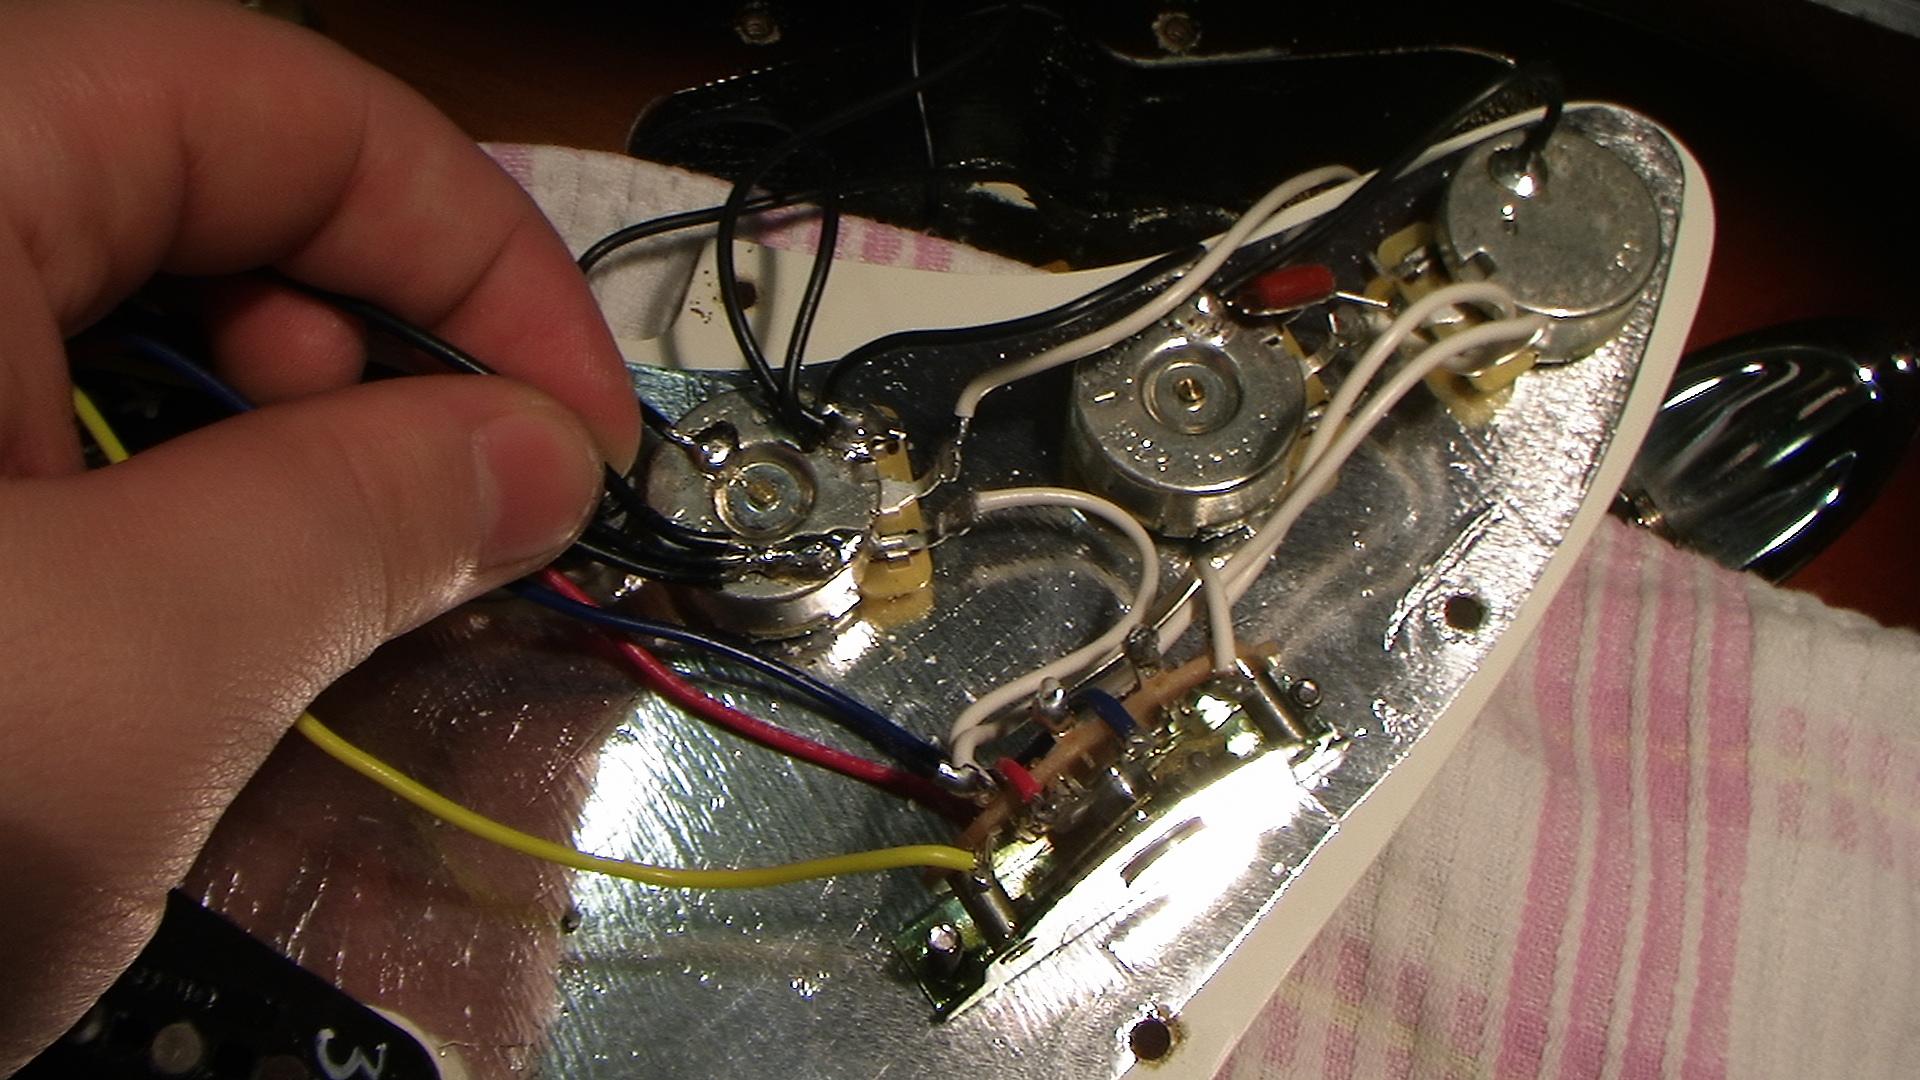
There are two wires that are connected directly to the pickup. I have followed those to wire and with the soldering iron I just disconnect them.
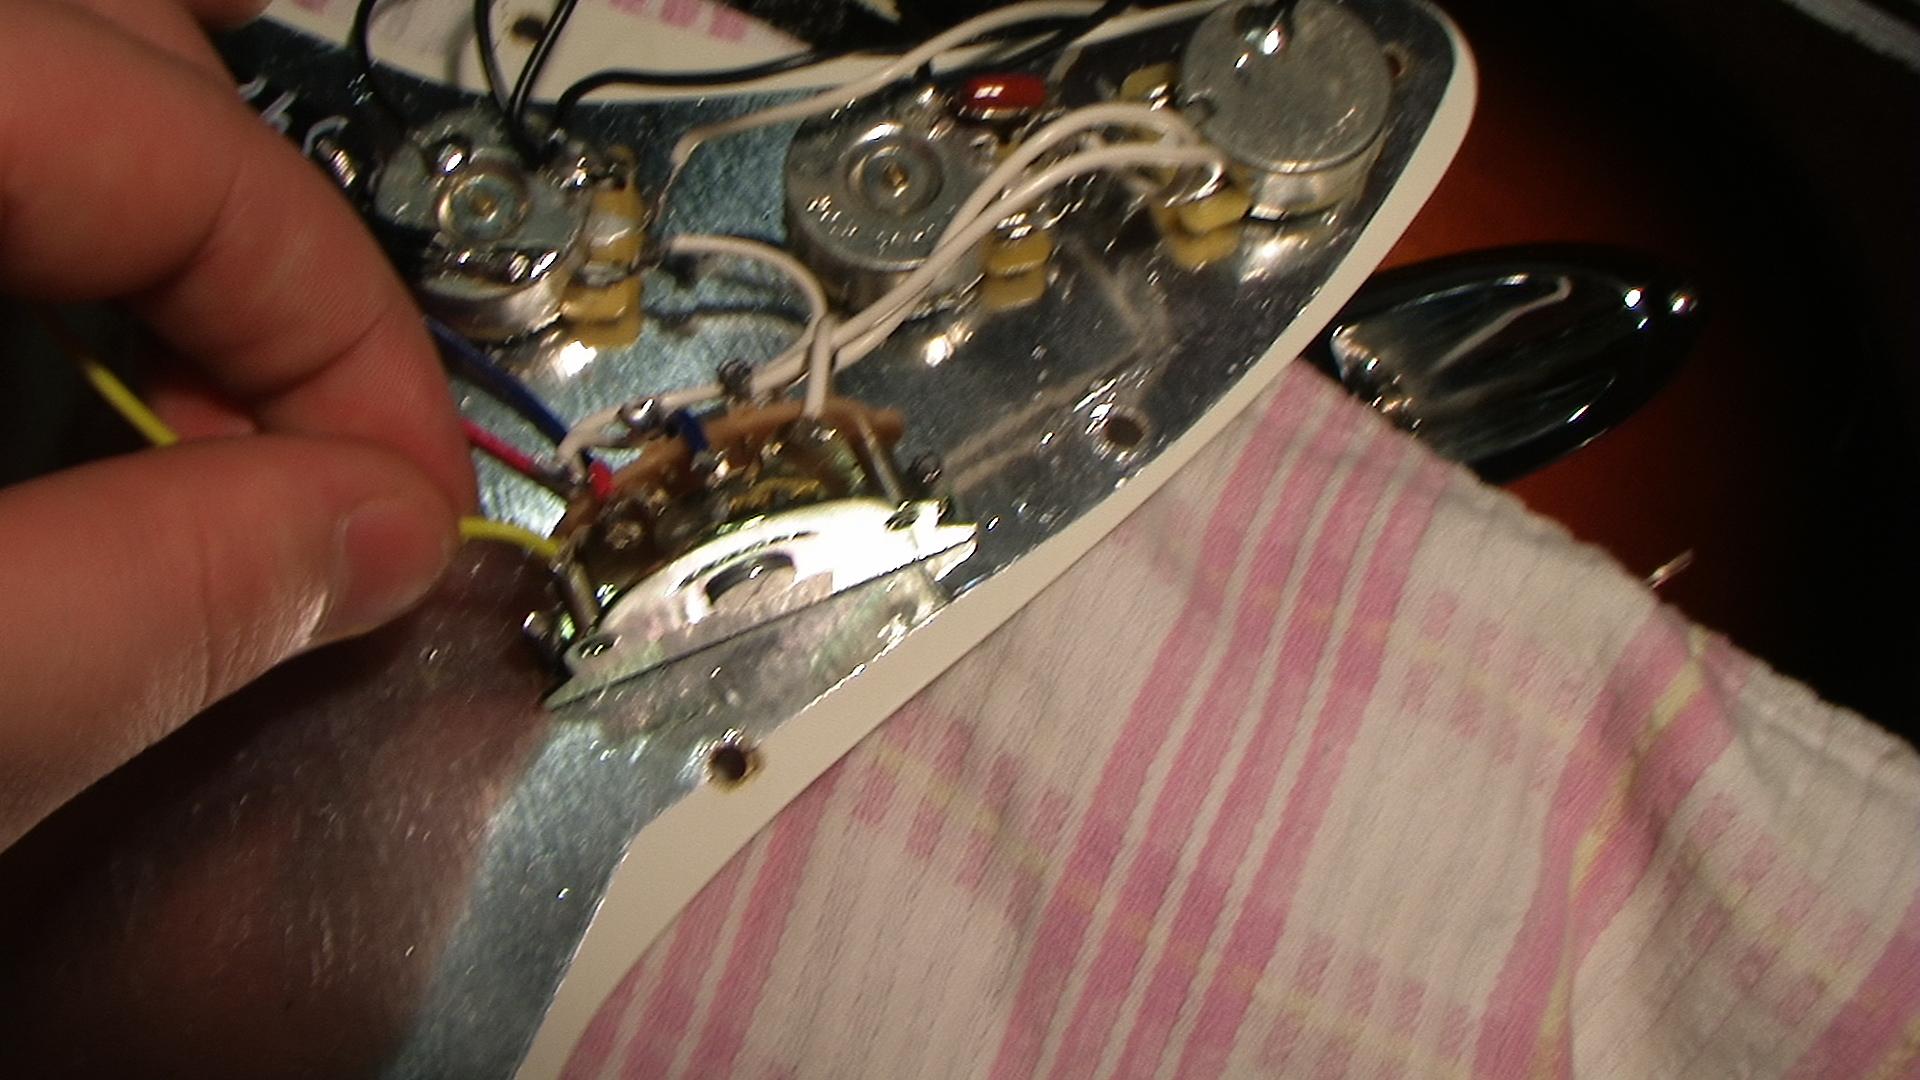
The yellow wire was easy to take off.
The black one was a little harder since it was connected with other wire. I had to take it away from the other wire.
Once your pickup is disconnected you just have to take off the 2 screws on the front side of the pickguard that are on each side of the pickup. Then you just have to remove the pickup.
Installing the new pickup
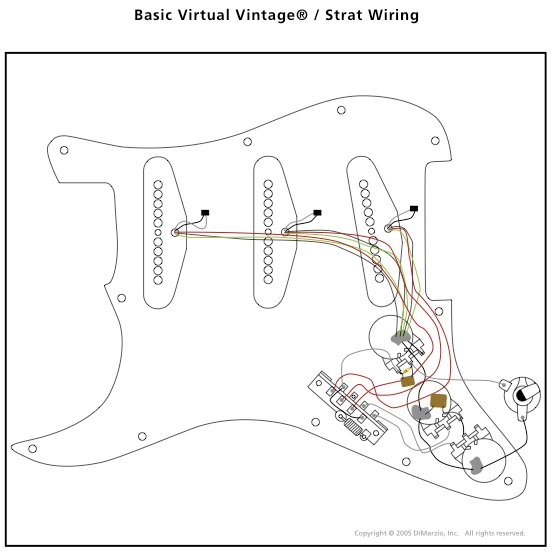
Next step is putting the new pickup in. Don't screw it too much, you will set the height at the end. Now you have to connect the wire. There are more than two wires in this pickup but don’t panic, it wont make it harder to install. For this installation, I have followed this plan (found on the DiMarzio website). Be sure that the colors of your wires are going to be the same has on the plan that you are following.
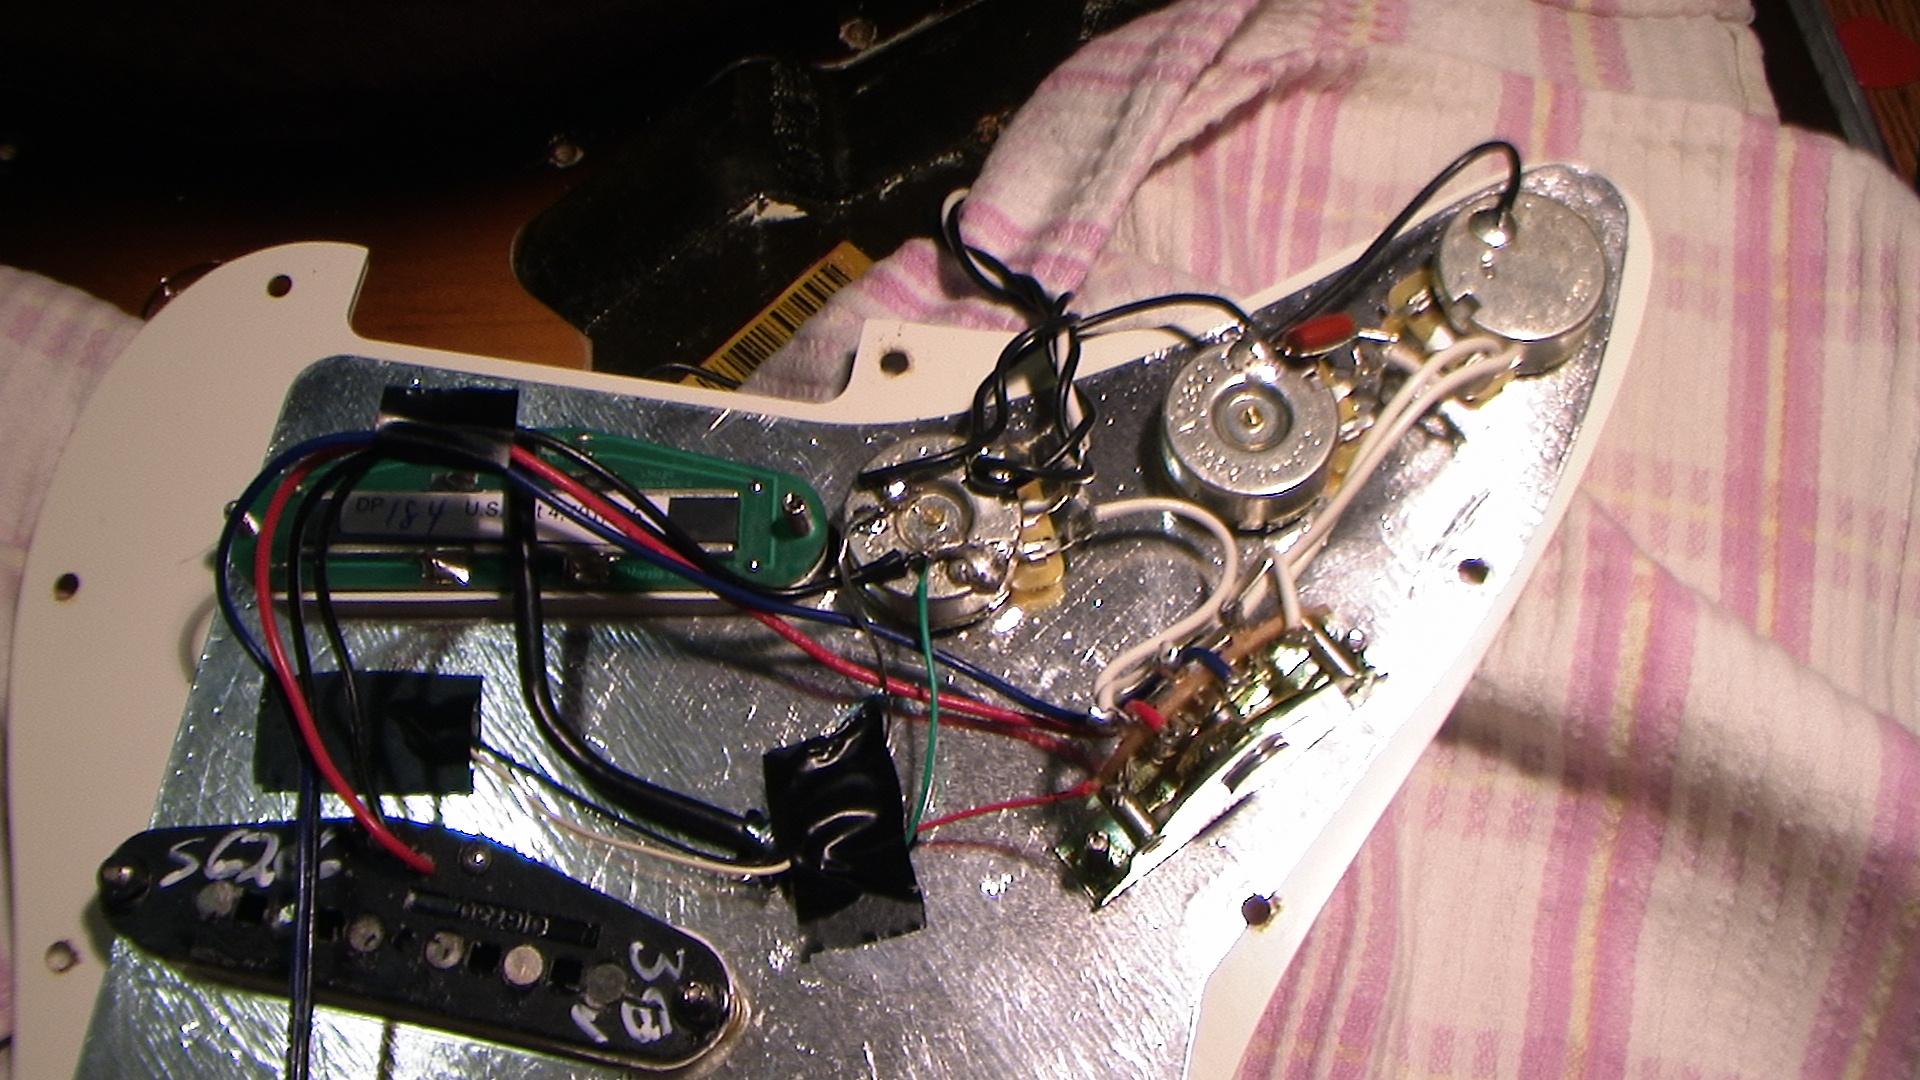
First of all, I cut the black and the grey wire short and I turn them together. After that I just taped them on the back of the pickguard. After that, I took the red wire and I connected it to the pickup selector at the place where the original pickup was connected. For the last step I connected the blue wire and the green wire together and soldered it on the back of the volume knob.
Final result looks like this:
Sorry for the bad image quality we can’t see the color properly.
Now you need to put the pickguard back and put your new strings on the guitar.
Now everything should work properly. Once you find that everything is working you can set the height of your pickup.
Enjoy your new Pickup and if you don’t like it you can put your old pickup back.
Original article by GMCer Crazy Diamond


