Klon Centaur
| Line 4: | Line 4: | ||
''An article by Yoncopin'' | ''An article by Yoncopin'' | ||
| + | == Making the Klon Centaur == | ||
Here are a few of the details of what I put together. First, the layout was my standard stripboard, using this design [http://tagboardeffects.blogspot.com/2014/07/klon-centaur-silver-edition.html Klon Centaur Silver Edition] | Here are a few of the details of what I put together. First, the layout was my standard stripboard, using this design [http://tagboardeffects.blogspot.com/2014/07/klon-centaur-silver-edition.html Klon Centaur Silver Edition] | ||
| - | [[Image:klon1.jpg | + | [[Image:klon1.jpg|650px]] |
I'm going to guess what Todd refers to as the secret sauce is probably the germanium diodes. The design called for a Russian D9E, but I used 1N34's as the original creator eventually revealed were used in the original. Here's some background on [https://robertkeeley.com/2013/09/germanium-transistors/ silicon vs germanium diodes] | I'm going to guess what Todd refers to as the secret sauce is probably the germanium diodes. The design called for a Russian D9E, but I used 1N34's as the original creator eventually revealed were used in the original. Here's some background on [https://robertkeeley.com/2013/09/germanium-transistors/ silicon vs germanium diodes] | ||
| Line 26: | Line 27: | ||
[[Image:klon6.jpg|650px]] | [[Image:klon6.jpg|650px]] | ||
| + | |||
| + | |||
| + | == Audio Demo by Todd Simpson == | ||
Revision as of 12:38, 9 June 2017
An article by Yoncopin
Making the Klon Centaur
Here are a few of the details of what I put together. First, the layout was my standard stripboard, using this design Klon Centaur Silver Edition
I'm going to guess what Todd refers to as the secret sauce is probably the germanium diodes. The design called for a Russian D9E, but I used 1N34's as the original creator eventually revealed were used in the original. Here's some background on silicon vs germanium diodes
Next, I laid out the enclosure in Sketchup.
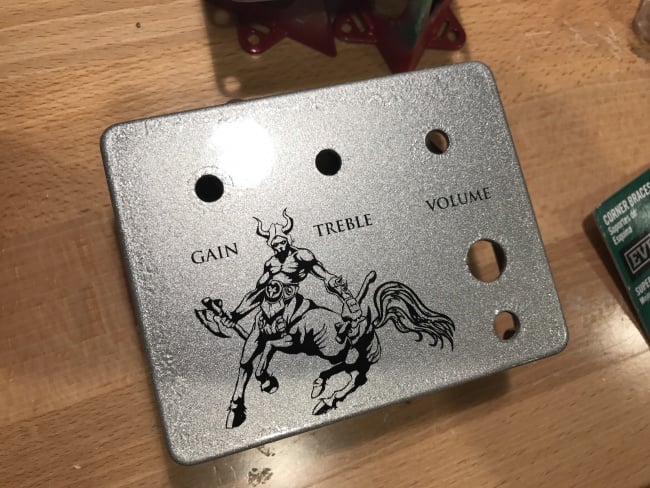
I almost always do this now, because it's quick and I make sure everything will fit before drilling. Below is the drilled enclosure after I applied the laser waterslide decal. A quick clear coat and assembly and it was ready to rock.
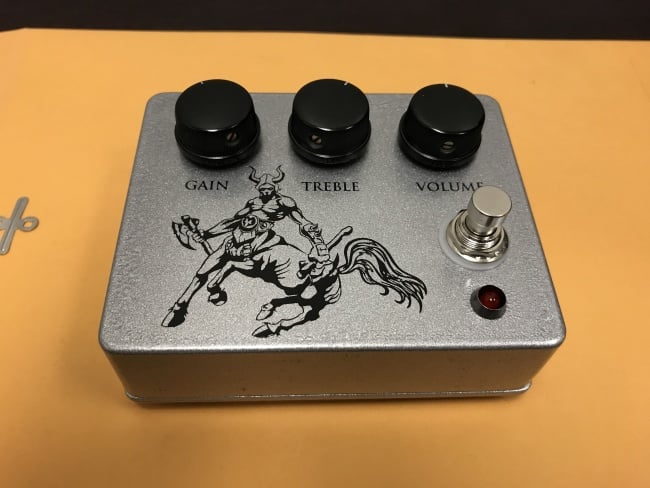
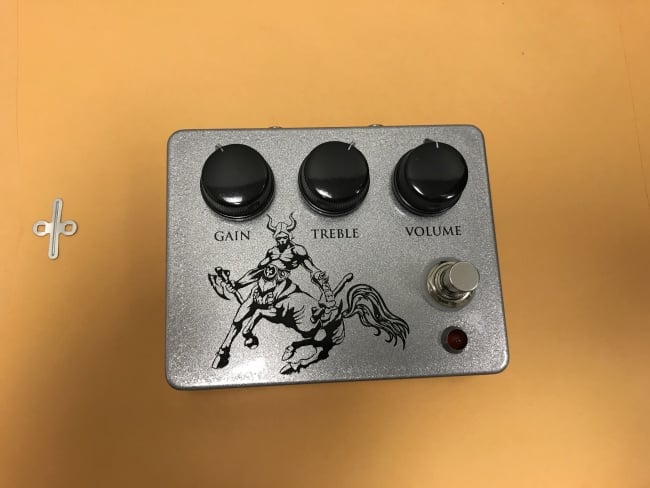
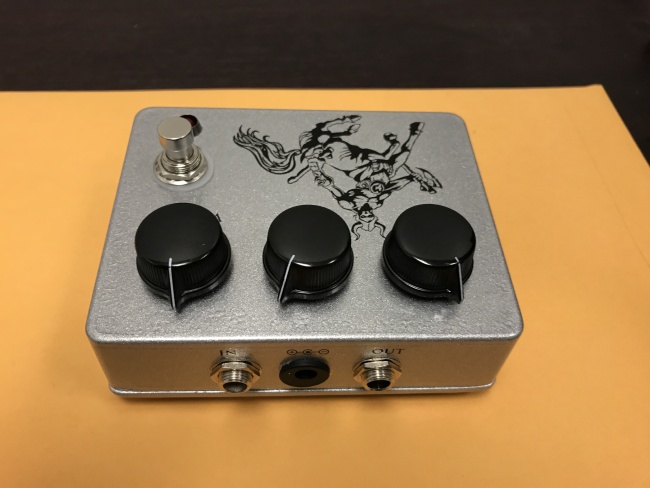
Here's a few more quick shots of it before mailing it off:
